


8 of 13
WX-501-0531 • 01.22
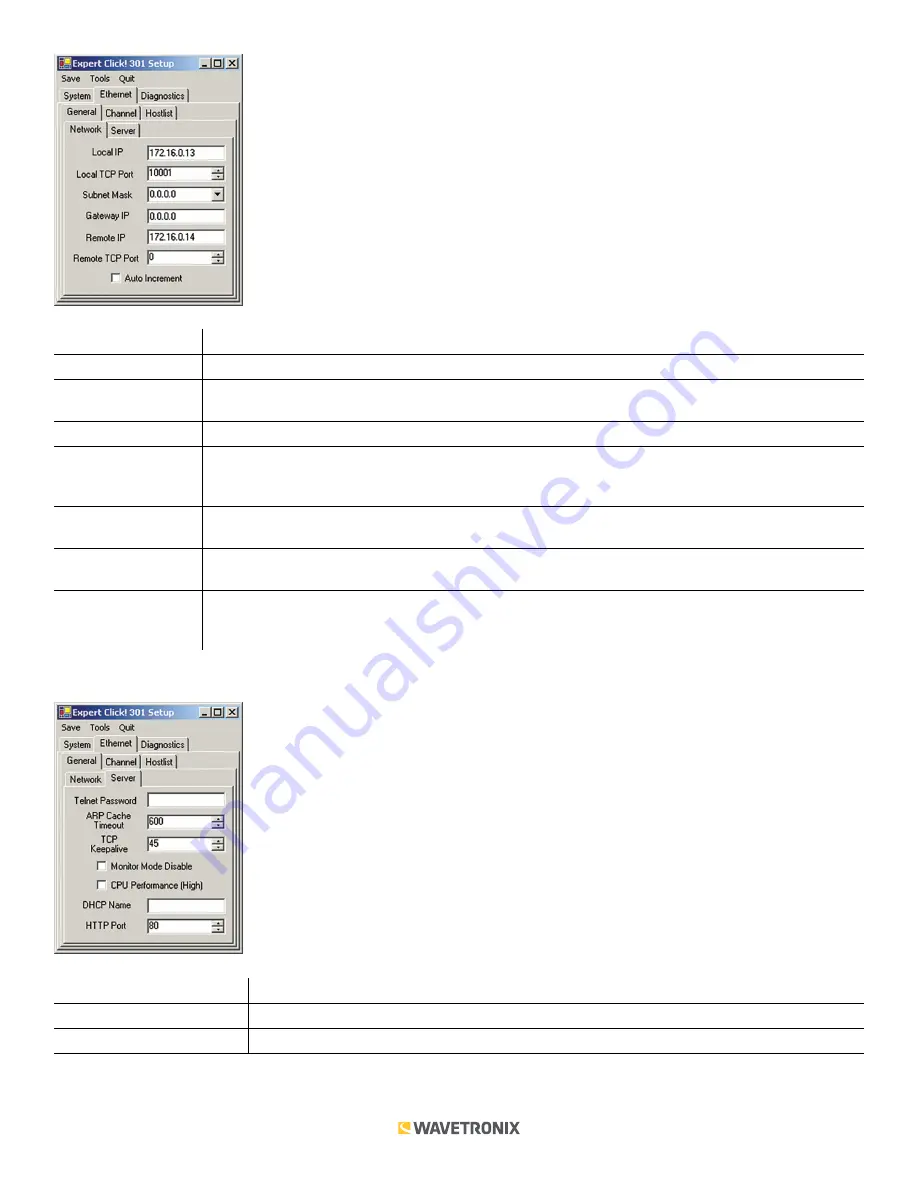
Setting
Description
Local IP
Lets you view and change the IP address currently assigned to the device.
Local TCP Port
Lets you view and change the IP port currently assigned to the device. Each Click 301 defaults to
10001.
Subnet Mask
Defines the number of bits taken from the IP address that are assigned for the host part.
Gateway IP
Lets you view and change the gateway IP address. The gateway address should be the IP address
of the router connected to the same LAN segment as the unit. The gateway address must be within
the local network.
Remote IP
Allows you to enter the IP address of the Click 301 that the Click 301 you’re configuring should
connect to. Each Click 301 defaults to a remote IP address of 172.16.0.14.
Remote TCP Port
Allows you to enter the port of the Click 301 that the Click 301 you’re configuring should connect to.
Each Click 301 defaults to a remote port of 10001.
Auto Increment
Increments the local port number for new outgoing connections automatically. The range of auto-
incremented port numbers is 50,000 to 59,999 and loops back to the beginning when the maximum
range is reached. Only use this automatic port increment feature to initiate a connection using TCP.
The
Ethernet > General > Server
tab allows you to configure server settings (see the figure and table below).
Setting
Description
Telnet Password
Allows you to enter the password required for Telnet access.
ARP Cache Timeout
Defines the number of seconds (1–600) before the device refreshes the ARP cache.


