ENGLISH
EN
11
PPLIMW15428C | 2019 / 06 Watts
3.4 Pair your devices to the
central
• Install your devices (see relevant
device manuals)
• Create the room if it doesn’t exist (See
section 3)
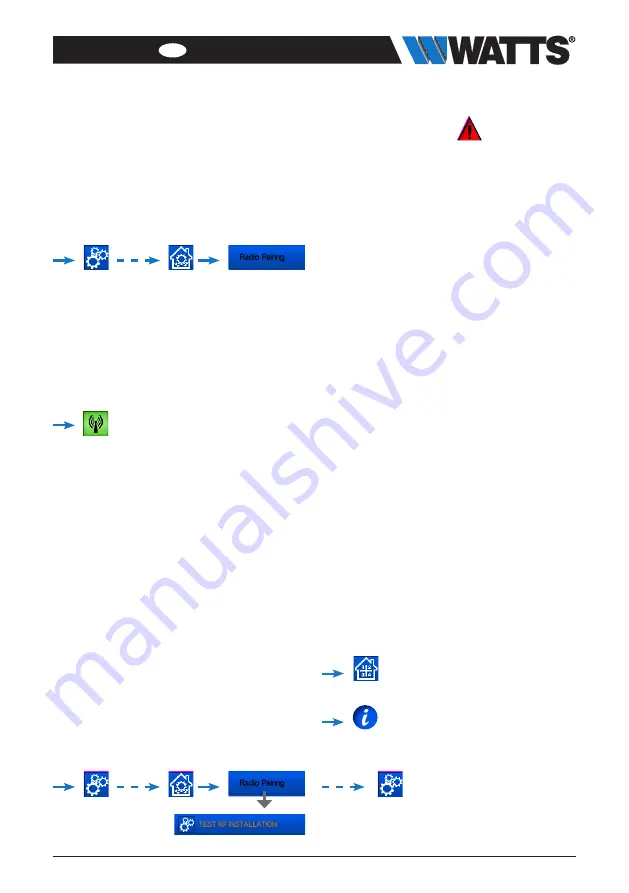
• Go to Radio pairing
• Choose the device type (heating, On/Off
Device etc)
• Choose the room
• Note: The master (thermostat or
BT-M6Z02 RF) must be the first paired
device
• Put the device in pairing
mode (refer to device leaflet)
• Follow the instructions given by the
Central (check on the device that
the pairing is successful, refer to the
device leaflet)
• n.b.: Automatic pairing time in case of
RF communication loss: 10s.
• n.b.: Pairing of the repeater: Select any
device type, any room and does not
consider the pairing failure message
on the central unit at the end of the
procedure. The led should be green fix
on the repater.
• Check the successful installation
You will have warning
in home menu
for RF errors communications. The warn-
ing flag should appear for a maximum of
10mn. It would then disappear if there are
no communication problems. If not, check
devices showing RF errors, try moving
them to another place and repeat the
procedure.
4. HYDRAULIC SYSTEM
ASSIGNEMENT
Within an installation, it may be necessary
to control devices such as pumps, valve
drives or heat / cool producers, as soon
as heating or cooling demand exists on at
least one zone.
With
WATTS Vision
®
, up to 4 such devices
can be switched via the “hydraulic circuit”
function.
Each of these 4 possible circuits can be
controlled via a single radio receiver.
STEP 1
:
Define which device is assigned
to a hydraulic circuit
With the plan of your installation, define
which devices are on “circuit 1”. Then, using
the Central controller, pair and configure all
these devices on circuit 1.
, enter a zone (room) that belong
to circuit 1,
, and select one device of circuit 1
(radio connecting box, radio receiver or radia-
tor thermostatic head)
Now you have entered the
configuration menu of the device.
Select
the menu “Heating settings” and make
sure that “Hydraulic heating” is selected
Summary of Contents for Vision BT-CT02 RF
Page 25: ......
Page 49: ...www wattswater eu...
Page 73: ...www wattswater eu...
Page 97: ...www wattswater eu...
Page 121: ...www wattswater eu...
Page 145: ...www wattswater eu...
Page 169: ...www wattswater eu...
Page 193: ...www wattswater eu...
Page 217: ...www wattswater eu...


