Page 13
To Restart System:
Step 1
- Install the filters as shown in the 'Changing The Filter
Cartridges' section on page 11.
Step 2
- Turn on water supply to the system at the Adapt-a-
Valve. (Check frequently over the next 24 hours to
ensure no leaks are present).
Step 3
- Open the RO faucet and leave it open until water
begins to trickle out (it will come out slowly).
Step 4
- Close the RO faucet allowing the storage tank to fill
with water. It may take 3 to 6 hours to fill the tank
completely depending on the production capability
of the membrane, local water temperature and water
pressure.
Step 5
- After the Tank has filled, open the RO Faucet to flush
the tank completely. You will know that the tank
is empty when the flow rate from the RO faucet is
down to a trickle. The second tank can be used for
drinking.
NOTICE
NOTICE
NOTICE
Check air pressure only when tank is empty of water!
DO NOT FREEZE.
If you have connected your RO system to a refrigerator / ice maker,
make sure the ice maker is off (do not allow water to flow to the ice
maker) until the tank has been allowed to completely fill.
Step 1
- Turn off the incoming
water supply to the
RO.
Step 2
- Open the RO Faucet
and allow water to
drain from the tank
until it is completely
empty.
TIP:
When water from the RO faucet slows to a trickle, with the faucet still
in the open position, you may add air to the tank to purge any left
over water, this will ensure that the tank is completely empty.
Step 3
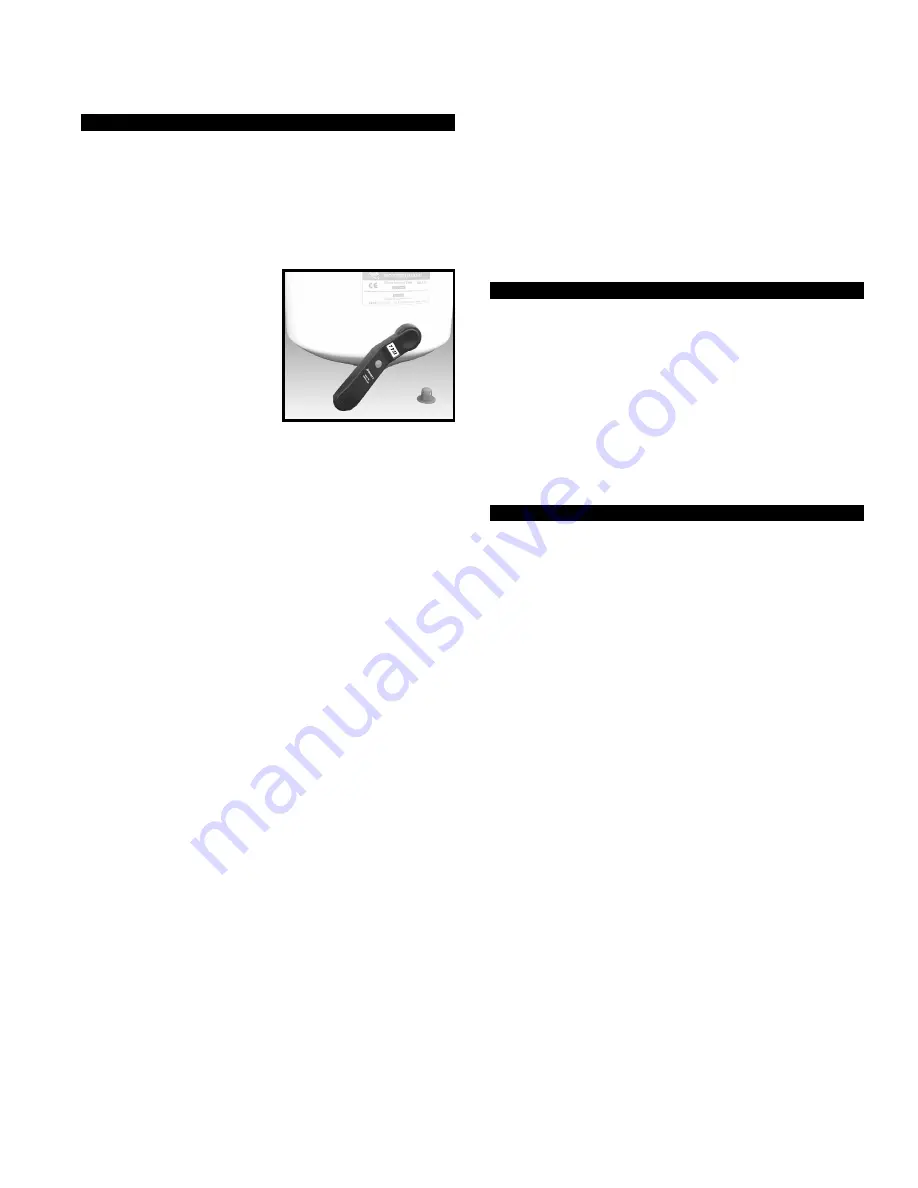
- Once all water in the tank is purged, check air
pressure using an air pressure gauge, it should read
between 5 - 7 PSI. (Digital air pressure gauge is
recommended)
Step 4
- Follow startup procedure on page 10.
Check air pressure in the storage tank when you notice a
decrease in available water from the RO system. Air can
be added with a bicycle pump using the schrader valve
that is located on the lower side of the tank behind the
blue plastic cap.
Turn off the water supply to your RO system at the Adapt-a-
Valve and open the RO faucet to drain the storage tank. Once
the storage tank is empty, remove all filter cartridges as shown
in the 'Changing The Filter Cartridges' section on page 11 (order
not important), place them into a sealed plastic bag and store in
your refrigerator.
Check Air Pressure in the Tank
Procedure for Extended Non-Use
(More than 2 months)
Summary of Contents for H2O-DWRO300
Page 31: ...Page 31 ...
Page 49: ...Page 49 ...


