background image

technical data

Enware products are to be installed in accordance with the Plumbing Code of Australia (PCA) and AS/NZS3500. 
Installations not complying with PCA and AS/NZS 3500 may void the product and performance warranty provisions.

Reference should also be made to the Australasian Health Facility Guidelines (AHFG), ABCB and Local Government 
regulations when considering the choice of, and the installation of these products.

This product must be installed and commissioned by a qualified plumber. 

For use with potable water only.

NOTE: Enware Australia advises: 
1. Due to ongoing Research and Development, specifications may change without notice.  
2. Component specifications may change on some export models.

Working Pressure Range

Min 50 kPa
Max 500 kPa

Maximum Static Pressure

1200 kPa

Maximum Working
Temperature

95°C (Jumper Valve) 
85°C (Spring loaded valve / Pre-Rinse spray gun)

Inlet Connection

1/2” BSP  
5/8” BSP (In-wall recessed SBA)

Flow Rate

4 L/min (Pre-rinse spray gun)
8 L/min (Pot filler)

FHS001
FHS002
FHS011
FHS021
FHS031
FHS041
FHS121
FHS131

FHS141
FHS141C
FWS001
FWS011
FWS021
FWS031
FWS031ADJ
FWS101

Installation and Maintenance Instructions

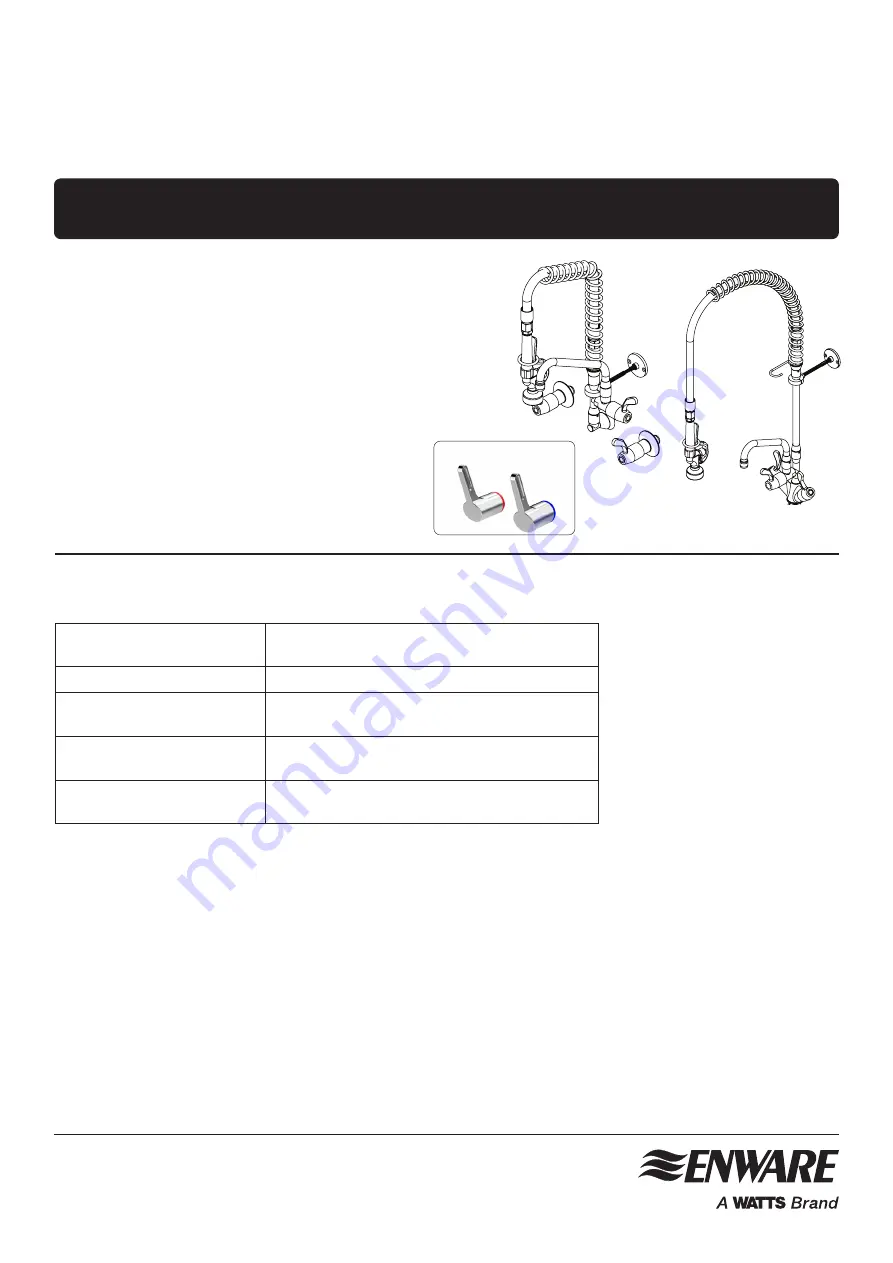
Food Service Pre-Rinse Assemblies

I00063_09 Oct 2023

1300 369 273  |  [email protected]  |  enware.com.au

With New Leva Handles

FWS121
FWS121C
FWS121W
FWS131
FWS131ADJ
FS704

Summary of Contents for ENWARE FHS001

Page 1: ...s 1 Due to ongoing Research and Development specifications may change without notice 2 Component specifications may change on some export models Working Pressure Range Min 50 kPa Max 500 kPa Maximum S...

Page 2: ...t and cold supplies are relatively balanced If not one side may override the other A pressure reduction valve may be required to address any imbalance in the water supply pressure or to comply with th...

Page 3: ...he positions of the two anti rotation pins on the underside of base Mark the corresponding pin locations onto bench and drill 2x holes 9mm 4 Fit base onto the bench and secure using 1 2 brass nut from...

Page 4: ...exible hose red for hot and blue for cold 3 Fit base onto bench through the drilled hole From underneath the bench fit large metal washer before fitting the brass locking nut Hand tighten locking nut...

Page 5: ...k this on each end of the breeching piece Cut the breeching piece to the required length using tube cutters or similar hand tool Assemble the breeching piece to tap bodies SEE IMAGE 11 1 4 Ensure the...

Page 6: ...the measurement again and cut the copper tube with tube cutters De burr the copper tube Take tap bodies out of the holes and keep at hand Fit the spout 4 Pull the brass 1 2 threaded tail off the copp...

Page 7: ...age the O rings in the process Push the T piece assembly until it comes to a stop SEE IMAGE 18 9 While holding the T piece up from top of the bench fit a clear plastic washer and a cover dome onto eac...

Page 8: ...e SEE IMAGE 28 5 Check that the tap frame has two O rings on the spigot fitting on each side Check that they are lightly greased with food grade O ring grease 6 For adjustable breech models Measure th...

Page 9: ...is approx 12mm proud from finished wall 3 Flush the line thoroughly before connecting tap fittings Once the line is clear of debris proceed to next step 4 To fit wall base mount apply thread sealing t...

Page 10: ...evious section Wall Mounted Single Inlet Model installation procedure on Page 12 5 The SBA must be installed separately to the dress fittings Firstly pull the indicator buttons out remove flange and l...

Page 11: ...for leaks from SBA s Cover the outlet with a towel to minimise water splashing 8 Once water tightness is confirmed seal gaps between the SBA s and the wall with silicone sealant or other appropriate s...

Page 12: ...on c If lever handles do not line up parallel in the straight position it is recommended to offset them away from the centre Fit colour indicator ring onto lever handle To do this place an indicator r...

Page 13: ...damage the O rings while doing so Push the joints together all the way until the male joint comes to a stop 3 Check that the riser is sitting plumb straight up Measure the distance between the wall a...

Page 14: ...has engaged into the recess of the male spigot then tighten gently Before fully tightening the grub screw check that the pot filler is facing the preferred direction If spout needs to swivel tighten...

Page 15: ...ened 4 Check that all taps and the trigger spray are turned off 5 Turn water supply on to check for leaks at all connection points The tap is now ready for use water connections WARNING Hot water will...

Page 16: ...wn toward the user or turning outwards to open SEE IMAGE 45 operating instructions cleaning IMAGE 43 IMAGE 45 Turn Contra Rotating Handles Off On Off On Off On Off On Bench Mounted Mixing Set Wall Mou...

Page 17: ...r FSJ308LTC Anticlockwise to close FSJ308RTC Clockwise to close Food service SBA spindle for new old style lever handle Hob Mount Wall Mount Pillar Bib FSJ381C Cold Pot Filler Clockwise to close FSJ38...

Page 18: ...licone based grease SERVICING THE TRIGGER SPRAY 1 Using two 2 Phillips head screw drivers undo the locking screws from the handle and remove handle 2 Using a 26mm spanner remove the cover dome and red...

Page 19: ...asher is missing Check washer is installed Water leaks from tap body SBA has been loosened from tap body Tighten SBA back into body Water leaks from top of tap spindle Gland nut has loosened or gland...

Page 20: ...loss or damage during product transit or transportation making a claim To make a claim under this warranty you must notify us in writing within 7 days of any alleged defect in the product coming to yo...

Reviews: