8
5.6 Setting the Reading Mode
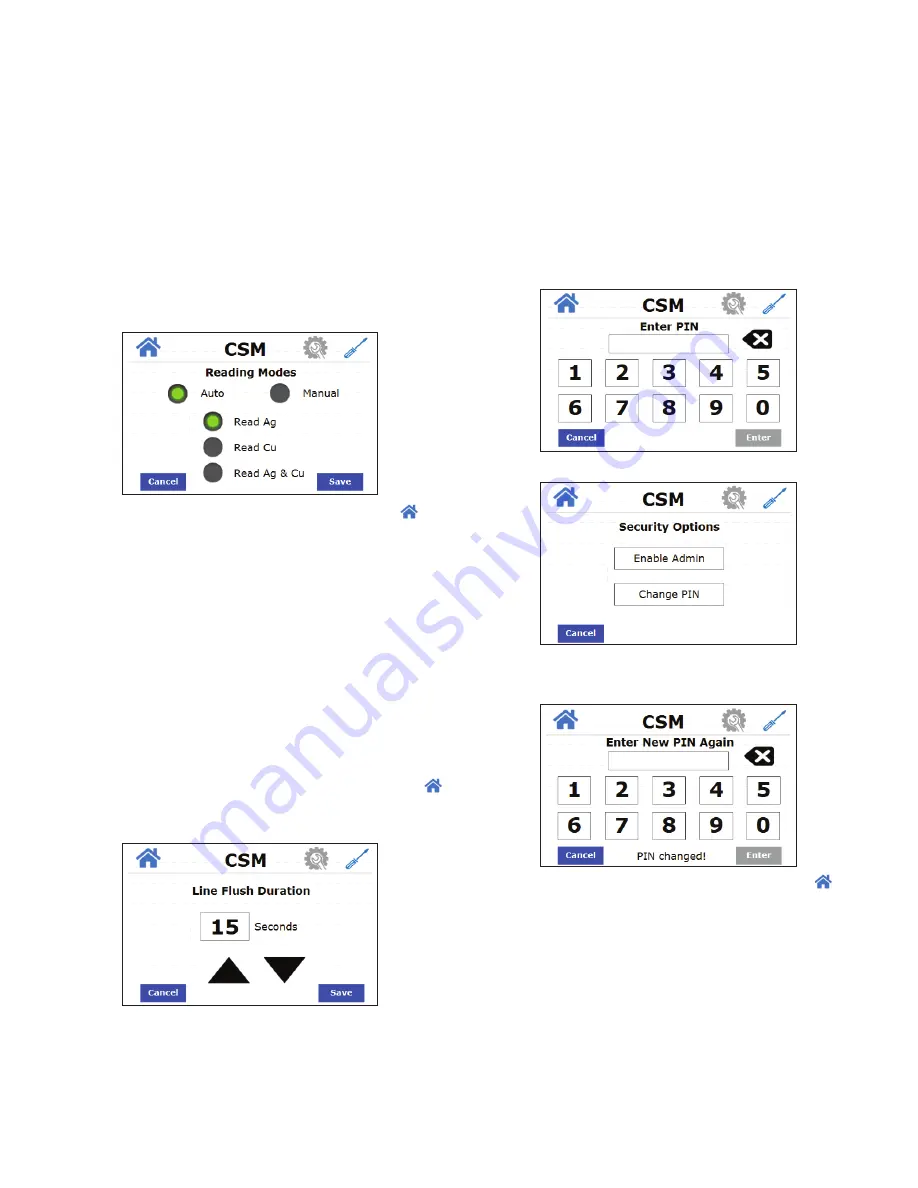
The CSM has 2 different modes of taking readings, The first is Auto
Mode. In Auto Mode, measurements are taken at a preset time interval
and displayed on the Home screen. A countdown clock showing the
time until the next reading is displayed in the status bar on the bottom
of the home screen.
The second mode is Manual Mode. In Manual Mode, the date/time
button on the home screen is used to take an on-demand reading. The
date/time button displays the date and time of the last reading while
the measurement data is shown to the right. The status bar shows
GOOD, rather than a countdown clock.
To set the Reading Mode:
1. Press
Measure Ag, Cu, Ag/Cu
on the Configuration Menu screen.
2. Press
Auto
or
Manual
.
3. Press which parameter you wish to monitor: Silver, Copper or both.
Then press
Save
.
4. Once the desired Reading Mode has been saved, press the
button to return to the home screen or press
Cancel
to return to the
previous menu.
5.7 Adjusting the Line Flush Duration
A line flush is necessary to wash the cuvette between measurements.
The line flush setting is used to set the amount of time in seconds to
wash the cuvette. This time will be applied to the wash step in the
reading sequence, discussed later in this manual. The default duration
is 5 seconds, which is also the minimum. The maximum line flush
duration is 60 seconds. The suggested line flush duration is 1 second
for every foot of sample line tubing (assuming inlet pressure of 4-60psi)
To adjust the line flush duration:
1. Press
Line Flush Setting
on the Configuration Menu screen.
2. Using the up and down arrows, set the desired duration for the line
flush in seconds.
3. Once the desired Line Flush Duration has been saved, press the
button to return to the home screen or press
Cancel
to return to the
previous menu.
5.8 Security Setting
The CSM has a security setting that when enabled will only allow
authorized users with a valid numeric password to configure the
instrument. The user must enter a 6 digit PIN to gain admin access.
There is a Master PIN that is hard-coded into the software and it
cannot be changed. If a user forgets their personal pin, HF can provide
the Master PIN and the instrument will prompt the user to choose a
new PIN. Contact HF scientific Technical Service Department for the
Master PIN.
To enable a Security PIN:
1. Press
Security
on the Configuration Menu screen.
2. If this is the first time entering the Security PIN, enter the Master
PIN provided by HF scientific. If you already have a personal PIN
assigned, enter that PIN. Press
ENTER
.
3. Press Enable Admin or Change PIN.
4. If selecting to
Enable Admin
, enter the security PIN again to
enable. If selecting
Change PIN
, enter the new pin. You will be
prompted to enter the new pin a second time. Then press
Enter
.
5. Once the security PIN or setting has been saved, press the
button to return to the home screen or press
Cancel
to return to the
previous menu.


