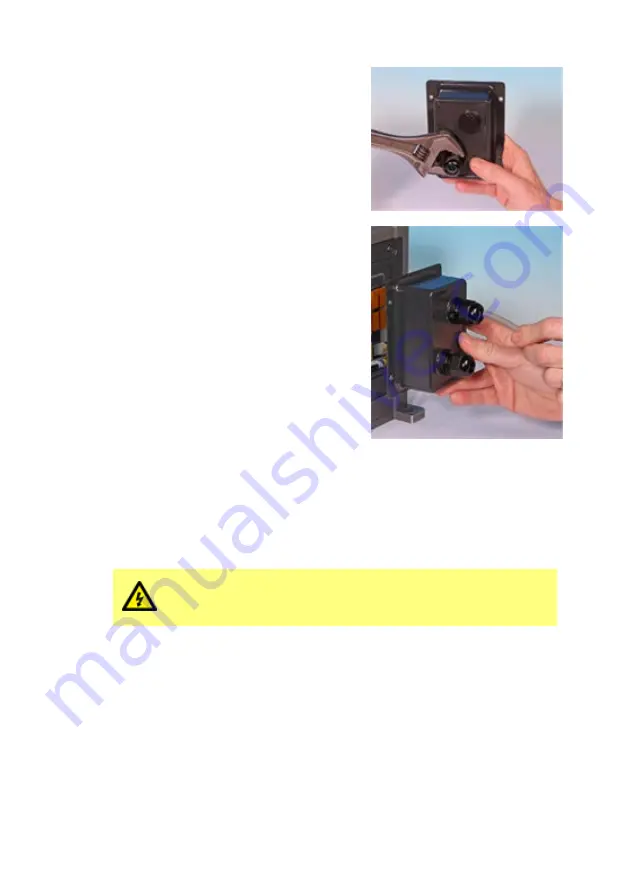
3.
Tighten the gland to 2.5 Nm using a suitable
21 mm spanner, to ensure a seal. If a different
gland is used, it must be watertight to IP66.
3.
Loosen the gland cap (do not remove it) and
pass the cable in through the gland. When it
has passed through the gland, continue to
push the cable through.
4.
Pull through sufficient cable to reach the
connectors required, leaving a little slack.
5.
Strip the outer sheath as necessary and
remove 5 mm of insulation from the
conductors. No tinning or ferrule is required.
Note:
If very stiff or large-diameter cable is
used, it may be convenient to strip the outer
sheath before passing the cable’s conductors
through the gland. However, to ensure a
watertight seal, the cable must have an
undamaged sheath within the gland when it is
tightened.
6.
Prepare the cable screen(s) by twisting a suitable length. The twisted length(s)
shall ideally be sleeved to prevent shorting.
7.
Secure the end of the cable screen to the Faston receptacles on the spade
connector provided.
8.
Push the bared connector into the terminal whilst depressing the sprung button.
Release the button to clamp the wire in the terminal.
Avoid loose strands not located in a terminal. These may
cause short circuits or electric shock. Bootlace ferrules may
be used up to the maximum cable size permitted.
m-qdos-allmodels-en-07
45


