106
Watkiss BookMaster Service Manual - Issue 1 - 04/12/00
Installation
•
Installing the BookMaster with a Watkiss Vario collator
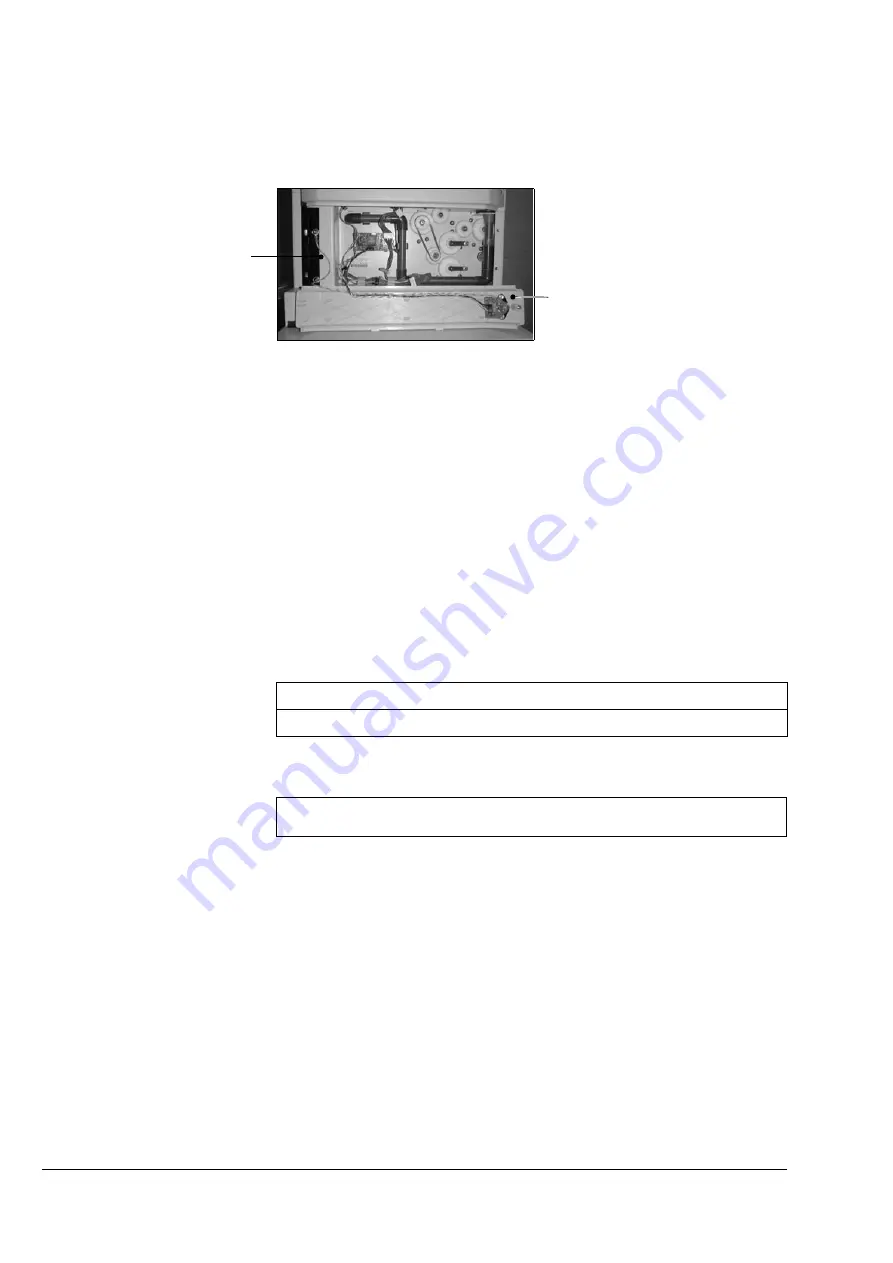
• The blue/black/red cable (4 pin) connects to PL5 on the base PCB.
• The orange/white cable (2 pin) connects to PL4 on the Base PCB.
• The yellow/green earth cable should be connected to the base side plate
via one of the bottom M5 button screws.
1. Fit the motorised infeed onto the BookMaster (see section 7.5 ‘‘Motorised
2. Connect the interface cable between the BookMaster motorised infeed and
the collator side cover. Note that the cable is reversible.
3. Setup the Vario collator to communicate with the bookletmaker. Further
details of this may be found in the Vario Service Manual if required.
• If installing the bookletmaker with a Vario collator, enter Terminal
Emulator Mode via a PC and serial link. Toggle the
OUT3
function.
The emulator will respond
OUTPUT 3 ERROR SIGNAL
. Also select
SFT
from the Engineer Menu to enable the remote stop function.
• If installing the bookletmaker with an Eco-Vario collator, set the four
DIL switches on the rear of the Control PCB in the Drive Unit. Switch
1 (supply frequency) should not be changed. The remaining three
switches should all be off (default setting).
Vario Bench Cover & Nagle
socket
Yellow/Green earth cable connected
to the Vario side plate
Figure 7:13 Vario Bench Cover & Nagle socket
DIL SWITCH
SW 1
SW 2
SW 3
SW 4
POSITION
Do not change
OFF
OFF
OFF
Table 7:2 Eco DIL Switch Positions for Nagel Interface
Note: When using the BookMaster with an Oscillating Base, Oscillate must not be
selected from the control panel when feeding into the BookMaster.
Summary of Contents for BookMaster
Page 6: ...c iv Watkiss BookMaster Service Manual Issue 1 14 12 00...
Page 18: ...12 Watkiss BookMaster Service Manual Issue 1 14 12 00 System Description Fuses...
Page 54: ...48 Watkiss BookMaster Service Manual Issue 1 14 12 00 Service Procedures TrimMaster Pro...
Page 56: ...50 Watkiss BookMaster Service Manual Issue 1 14 12 00 Electronics Software Connection Diagrams...
Page 57: ...Electronics Software Connection Diagrams Watkiss BookMaster Service Manual Issue 1 14 12 00 51...
Page 58: ...52 Watkiss BookMaster Service Manual Issue 1 14 12 00 Electronics Software Connection Diagrams...
Page 59: ...Electronics Software Connection Diagrams Watkiss BookMaster Service Manual Issue 1 14 12 00 53...
Page 60: ...54 Watkiss BookMaster Service Manual Issue 1 14 12 00 Electronics Software Connection Diagrams...
Page 61: ...Electronics Software Connection Diagrams Watkiss BookMaster Service Manual Issue 1 14 12 00 55...
Page 62: ...56 Watkiss BookMaster Service Manual Issue 1 14 12 00 Electronics Software Connection Diagrams...
Page 63: ...Electronics Software Connection Diagrams Watkiss BookMaster Service Manual Issue 1 14 12 00 57...
Page 64: ...58 Watkiss BookMaster Service Manual Issue 1 14 12 00 Electronics Software Connection Diagrams...
Page 65: ...Electronics Software Connection Diagrams Watkiss BookMaster Service Manual Issue 1 14 12 00 59...
Page 66: ...60 Watkiss BookMaster Service Manual Issue 1 14 12 00 Electronics Software Connection Diagrams...
Page 67: ...Electronics Software Connection Diagrams Watkiss BookMaster Service Manual Issue 1 14 12 00 61...
Page 127: ......


