Waterous PB18 Series Operation Instructions Manual Download Page 20

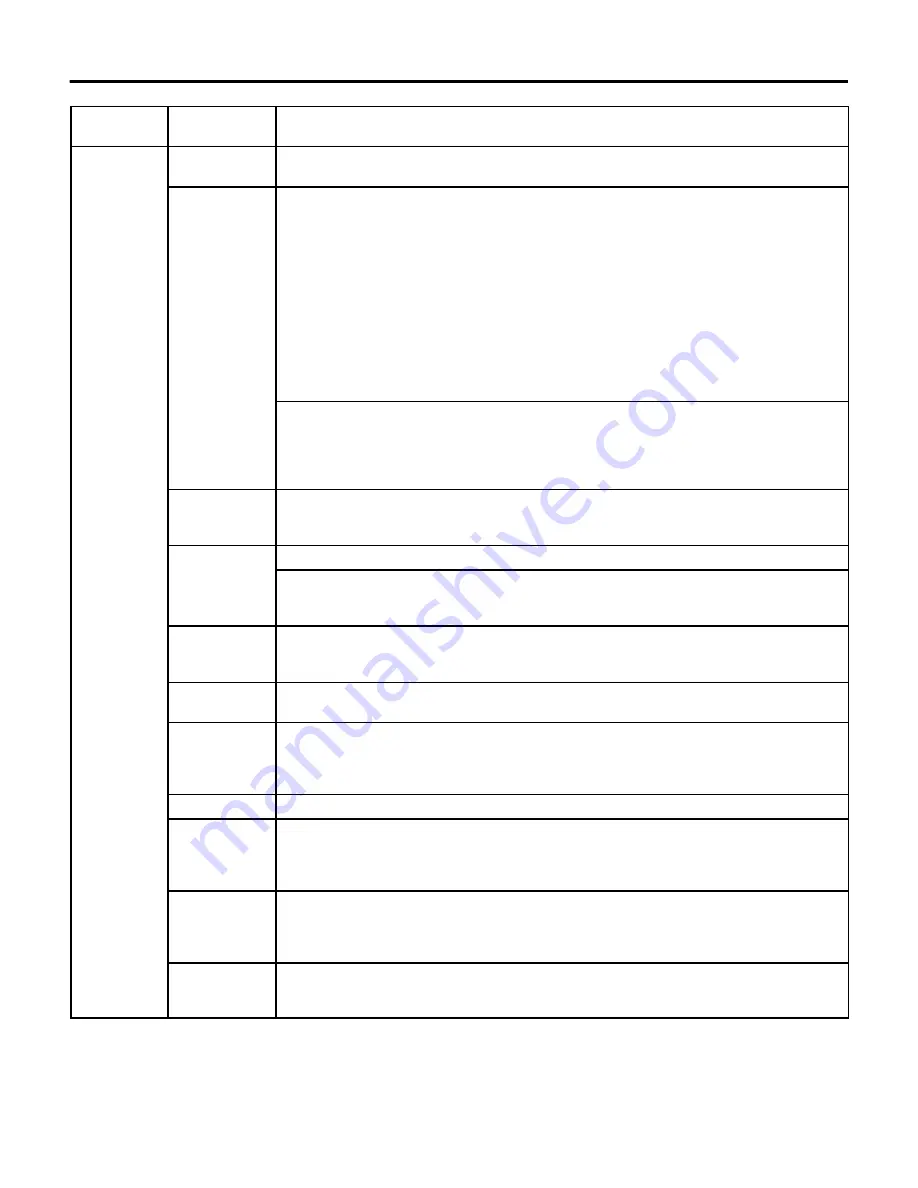
TROUBLESHOOTING

Page 19 of 20

CONDITION

POSSIBLE

CAUSE

SUGGESTED REMEDY

Pump fails to
prime or
loses prime

Priming line
petcock closed

Open the priming line petcock at the suction inlet of the pump body when priming.

Air leaks

Clean and tighten all intake connections. Make sure intake hoses and gaskets are in
good condition. Use the following procedure to locate air leaks:

1.

Connect intake hose to pump and attach intake cap to end of hose.

2.

Close all pump openings.

3.

Start engine and advance throttle to “FAST” position.

4.

Pull the priming lever to “PRIME” position until intake pressure gauge
indicaates 22 in. Hg (If primer fails to draw specified vacuum, it may be
defective, or leaks are too large for primer to handle).

5.

Return the priming lever to the “RUN” position and shut off engine. If vacuum 
drops more than 10 in. Hg in 5 minutes, serious air leaks are indicated. With 
engine stopped, air leaks are frequently audible. If engine leaks cannot be 
heard, apply engine oil to suspected points (intake hose connections, piping 
joints, mechanical seal) and watch for break in film or oil being drawn into pump.

Completely fill water tank (if so equipped). Connect intake hose to hydrant or auxiliary
pump. Open one discharge valve and run in water until pump is completely filled and air
is expelled. Close discharge valve, apply pressure to system and watch for leaks or
overflowing water tank. A pressure of 100 psi (8.6 bar) is sufficient. DO NOT EXCEED
RECOMMENDED PRESSURE.

Air trapped in
pump and
piping

When pumping from a water tank, priming the pump may be necessary under some
conditions because of air trapped in pump and piping.

Dirt on intake
strainer

Remove all leaves, dirt and other foreign material from intake strainer.

When drafting from shallow water source with mud, sand or gravel bottom, protect intake
strainer by suspending it from a log or other floating object to keep it off the bottom.
Anchor float to prevent it from drifting into shallow water.

Defective
primer

After prolonged service, the engine muffler, spark arrestor or exhaust primer may be­
come plugged with carbon deposits or rust. Disassemble and clean or replace compon­
ents as required.

Engine speed
too low

Advance throttle to “FAST” position.

Bypass line
open

If a bypass line is installed between the pump discharge and water tank to prevent pump
from overheating with all discharge valves closed, look for check valve in the line. If the
valve is stuck open, clean it, replace it or temporarily block off line until a new valve can
be obtained.

Lift too high

Reduce the vertical distance between the water source and the pump intake.

End of intake
hose not sub­
merged deep
enough.

Although intake hose might be submerged enough for priming, pumping large volumes
of water may produce whirlpools, which will allow air to be drawn into intake hose.
Whenever possible, place end of intake hose at least two feet (.6 m) below water source.

High point in
intake line

If possible, avoid placing any part of intake hose higher than pump inlet. If high point
cannot be prevented, close discharge valve as soon as pressure drops, and prime
again. This procedure will usually eliminate air pockets in line, but it may have to be
repeated several times.

Primer not
operated long
enough

The maximum time for priming should not exceed 45 seconds for lifts up to 10 feet (3m).

Summary of Contents for PB18 Series

Page 1: ...oval 11 Engine Adapter Assembly Removal 12 Overhaul Instructions Geared Pump 13 Volute Body Removal 13 Impeller Removal 13 Gear Case Cover Removal 14 Impeller Shaft Assembly 14 Drive Gear Removal 15 G...

Page 2: ...y 6 DO NOT use this unit on forest covered brush covered or grass covered unimproved land unless the spark arrester is attached to the muffler 7 DO NOT operate the engine with an accumulation of grass...

Page 3: ...overheating opening a discharge valve may be unnecessary WARNING Suction and high pressure hazard May cause injuries to the hands fingers or severe cuts or abrasions to the skin Never insert hands or...

Page 4: ...e burns Do not touch hot mufflers cylinders or fins as contact may cause burns WARNING Kickback notice May cause injury to hand or arm To prevent hand or arm injury pull the cord slowly until resistan...

Page 5: ...WARNING LABELS Page 4 of 20 Figure 1 Warning Labels IL2366...

Page 6: ...PREPARATION BEFORE OPERATION Page 5 of 20 Figure 2 Preparation Before Operation Operator Panel Fuel Fill Connect Discharge Hose Close Pump Drain Connect Intake Hose Drain behind rail...

Page 7: ...ssure Indicator Engine Speed Control Throttle Fuse Panel Light Switch Ignition Switch OFF RUN ST ART Discharge Pressure Auxiliary 12 VDC Power Connection Intake Pressure Panel Light Fuel Fill Engine E...

Page 8: ...switch OFF rotate the engine crank shaft several times with the rewind start rope to make sure the engine and pump turn over freely with no abnormal rubbing noises WARNING Low oil May result in engine...

Page 9: ...he hoses Use care when disconnecting hoses and allow any residual pressure to bleed off before uncoupling Pumping from Water Tank 1 Open valves in piping between water tank and pump intake and the dis...

Page 10: ...water or dirty water flush entire sys tem with clean fresh water for several minutes to remove all traces of impurities Transmission Maintenance PB18G Gear Case Models Only Drain and refill with one...

Page 11: ...OUNTED PUMP Page 10 of 20 IL2365 Figure 3 Priming Tube Removal IL1315 3 Remove 4 hex hd screws and wash ers from the engine side of the pump volute body Slide the volute body off the adapter attached...

Page 12: ...n removal Be sure to protect the tapped hole in the shaft when using any type of puller 7 Remove the impeller key IL1316 Square Key 1 4 x 3 4 in SS Impeller Socket Hd Screw 3 8 24 x 1 in OVERHAUL DIRE...

Page 13: ...et head cap screws and wash ers holding the engine adapter to the engine 10 Remove the engine adapter 11 Press out the mechanical seal stationary ring 12 Remove the engine adapter O ring 13 Remove wea...

Page 14: ...e impeller shaft If the impeller does not pull off the impeller shaft easily use a gear puller or two pry bars be tween the impeller and adapter The mechanical seal bellows assembly and primary ring w...

Page 15: ...t and bear ing assembly from the gear case cover 4 Remove gear case gasket 5 Press out the mechanical seal stationary seal ring oil seal Pull wear ring if required Figure 10 Gear Case Cover Removal OV...

Page 16: ...r Removal Flat Copper Washer 3 8 in Socket Head Screw 3 8 16 x 1 1 4 in IL1324 Gear Case Subassembly Shaft Sleeve O ring Oil Seal 11 Remove the 4 socket head cap screws and washers holding the gear ca...

Page 17: ...RHAUL GEARED PUMP Page 16 of 20 Figure 14 Mechanical Seal Assembly Geared Pump Sealing Surface Chamfered Edge Primary Ring Stationary Ring O Ring Bellows Assembly Impeller Gasket Nord Lock R Washer se...

Page 18: ...ner if included with mechanical seal Oil Seals Check the impeller shaft and engine crankshaft sleeve for signs of severe wear from the oil seal Ball Bearing Gears and Needle Bearing Check for severe w...

Page 19: ...followed by the shaft sleeve Be sure there are no burrs on the end of the sleeve 2 Before installing an oil seal in a housing apply a thin coat of sealant to housing oil seal seat Waterous recommends...

Page 20: ...y under some conditions because of air trapped in pump and piping Dirt on intake strainer Remove all leaves dirt and other foreign material from intake strainer When drafting from shallow water source...

Page 21: ...es the liner will separate from the outer wall and collapse when drafting It is usually impossible to detect Intake hose too small When pumping at higher than normal lifts or at high altitudes use a l...

Page 22: ...WATEROUS COMPANY 125 HARDMAN AVENUE SOUTH SOUTH ST PAUL MINNESOTA 55075 2456 U S A Phone 651 450 5000 FAX 651 450 5090 Web Site www waterousco com...

Reviews: