Installation and connection of outdoor unit
05.06.2015
30 / 80
Copyright
2013 by: WATERKOTTE GmbH. Subject to changes.
8.1.2
Clearance for ventilation and operation
When installing outdoor unit on a rooftop or other location unprotected
from the wind, align air outlet opening in such a way that it is not directly
exposed to strong winds. Strong wind blowing directly into the air outlet
opening may impede normal airflow and thus cause malfunctions.
Precautions against strong winds can be seen in the following
three examples:
Align air outlet to nearest wall, about 50 cm away from wall.
If unit is installed in a location that poses a risk of strong winds blowing
directly into the air outlet, install an optional air guide.
Air guide: Position the unit in such a way that the air discharged from
the air outlet is guided perpendicular to the direction from which sea-
sonal strong winds usually blow.
8.1.3
Mounting on base plate or on the wall
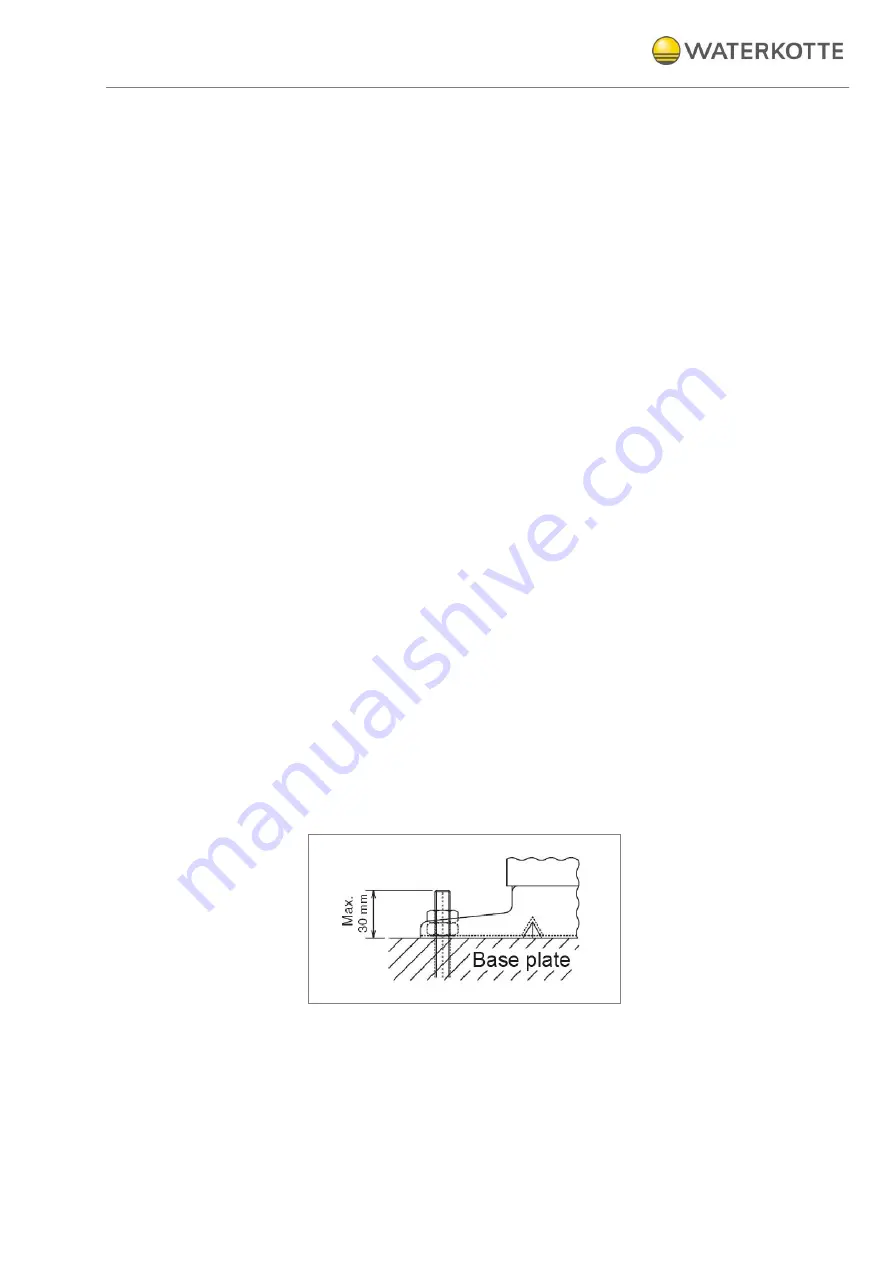
Secure the base of the unit firmly with four M10 screws to a proper base
plate (screws and nuts are not included in delivery).
Please note:
Connection directions: Connection (piping and wiring) can be done from
four directions: from front, right, rear and below.
Defrosting: Make sure that the water can flow. Excavation of the under-
ground ensures the water flow.
The installation height is dependent on the climatic conditions at the
place. Install the device about 40 cm to 60 cm from the ground. This
ensures that the resulting condensation can occur. In case of snow,
there is no impairment.
Note: ice formation is possible, especially in very cold weather. This can,
in extreme cases block the fans. Remedy: Ensure smooth running of the
defrost water and remove excess icing under the machine manually if
necessary.
Figure 17: Securing in base plate
WATERKOTTE GmbH offers a wall-mounting kit (F16802).


