11
PREMIER 2 SINGLE-SPEED INSTALLATION AND MAINTENANCE MANUAL
CAUTION:
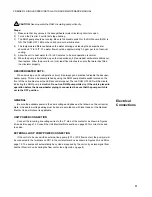
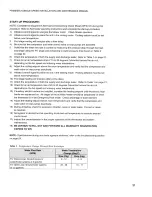
Never operate the DHW circulating pump while dry.
Steps:
1)
Make sure that any valves in the desuperheater water circulating circuit are open.
2)
Turn on the Premier 2 unit to first stage heating.
3)
The DHW pump should be running. Be sure the disable switch for the DHW pump (SW4) is
ON. The DHW OFF LED on the unit should not be illuminated.
4)
The temperature difference between the water entering and leaving the desuperheater
should be 5
°
F to 15
°
F. The water flow should be approximately 0.4 gpm per ton of nominal
cooling.
5)
Allow the unit to heat water for 15 to 20 minutes to be sure operation is normal.
6)
When the pump is first started, open the inspection port (if equipped) until water dribbles out,
then replace. Allow the pump to run for at least five minutes to ensure that water has filled
the circulator properly.
DESUPERHEATER NOTE:
When servicing a unit’s refrigeration circuit, it is always good practice to disable the desuper-
heater pump. This can be accomplished by using the DHW pump disable switch located on the
front of the unit cabinet near the LED annunciator panel. The red DHW OFF LED will illuminate,
indicating the DHW pump is disabled. Do not run DHW pump while dry. If the unit is placed in
operation before the desuperheater piping is connected, be sure that the pump switch is
set to the OFF position.
GENERAL
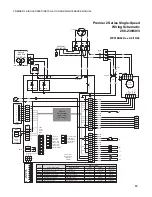
Be sure the available power is the same voltage and phase as that shown on the unit serial
plate. Line and low voltage wiring must be done in accordance with local codes or the National
Electric Code, whichever is applicable.
UNIT POWER CONNECTION
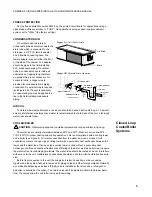
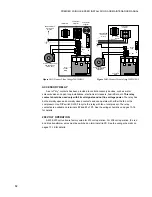
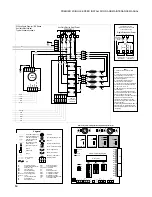
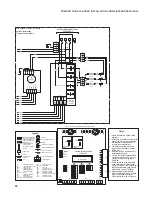
Connect the incoming line voltage wires to the “L” side of the contactor as shown in Figures
4A and 4B on page 12. Consult the Unit Electrical Data section on page 25 for correct wire and
fuse size.
EXTERNAL LOOP PUMP POWER CONNECTION
If the unit is to be used with an external loop pump (FC1 or FC2 flow center), the pump(s) will
be connected to the terminals on PB1 in the unit electrical box as shown in Figures 4A and 4B on
page 12. The pumps will automatically be cycled as required by the unit or by a slave signal from
another Premier 2 unit sharing the flow center (see Figure 8 on page 8).
Electrical
Connections
Summary of Contents for AT019D
Page 20: ......
Page 21: ......
Page 26: ...26 PREMIER 2 SINGLE SPEED INSTALLATION AND MAINTENANCE MANUAL Notes...
Page 27: ...27 PREMIER 2 SINGLE SPEED INSTALLATION AND MAINTENANCE MANUAL...


