7
To Set Up Recording Rates
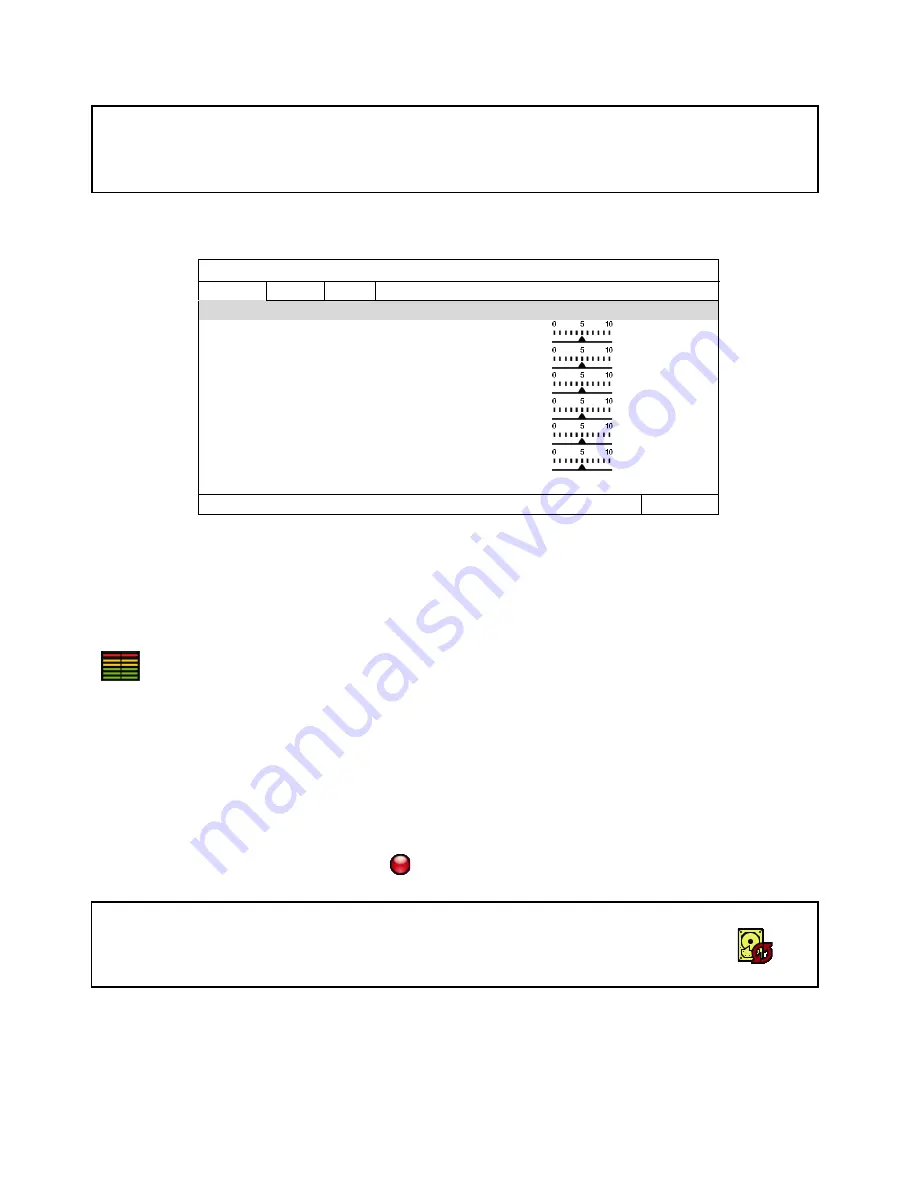
Choose “QUICKSTART” then “GENERAL” and then “RECORD CONFIG” to set the Recording Rate.
QUICK START
MANUAL EVENT TIMER
CHANNEL
PROFILE
TYPE
IMAGE SIZE
QUALITY
I.P.S.
CH1
PROFILE-1
H264
1280 x 720
15
CH2
PROFILE-1
H264
1280 x 720
15
CH3
PROFILE-1
H264
1280 x 720
15
CH4
PROFILE-1
H264
1280 x 720
15
CH5
PROFILE-1
H264
-
-
CH6
PROFILE-1
H264
-
-
EXIT
We recommend setting each camera to a maximum of 1280 x720, Quality 5 and 15fps. While any of
these cameras may be set higher, please be aware that it will reduce the total recording time to less than
2 weeks.
Note:
6 Cameras
– set I.P.S. to max 10
If CPU usage is continuously in the RED zone then you should reduce the I.P.S. even further (8).
Tip: You may wish to keep one camera at 10 where the quality is most important and reduce other to
balance the CPU load.
To Begin Recording
Once you have successfully set the Date and Time, exit the OSD Menu by clicking the EXIT button. By
default, the NVR will begin recording when it is properly connected to the cameras and has an installed
HDD. If it is recording, the recording icon “
”
will be displayed on screen.
Overwriting View:
When the system is in Overwrite recording mode, the oldest recorded data will be
overwritten automatically.
This NVR System is set to Overwrite by factory default
.
Record Times:
The NVR4ENTPACK system is capable of storing 2 weeks of recorded footage based on 1Tb of
storage and the 4 included 1.3MP Cameras set to 720P @ 15fps and Quality 5.


