14
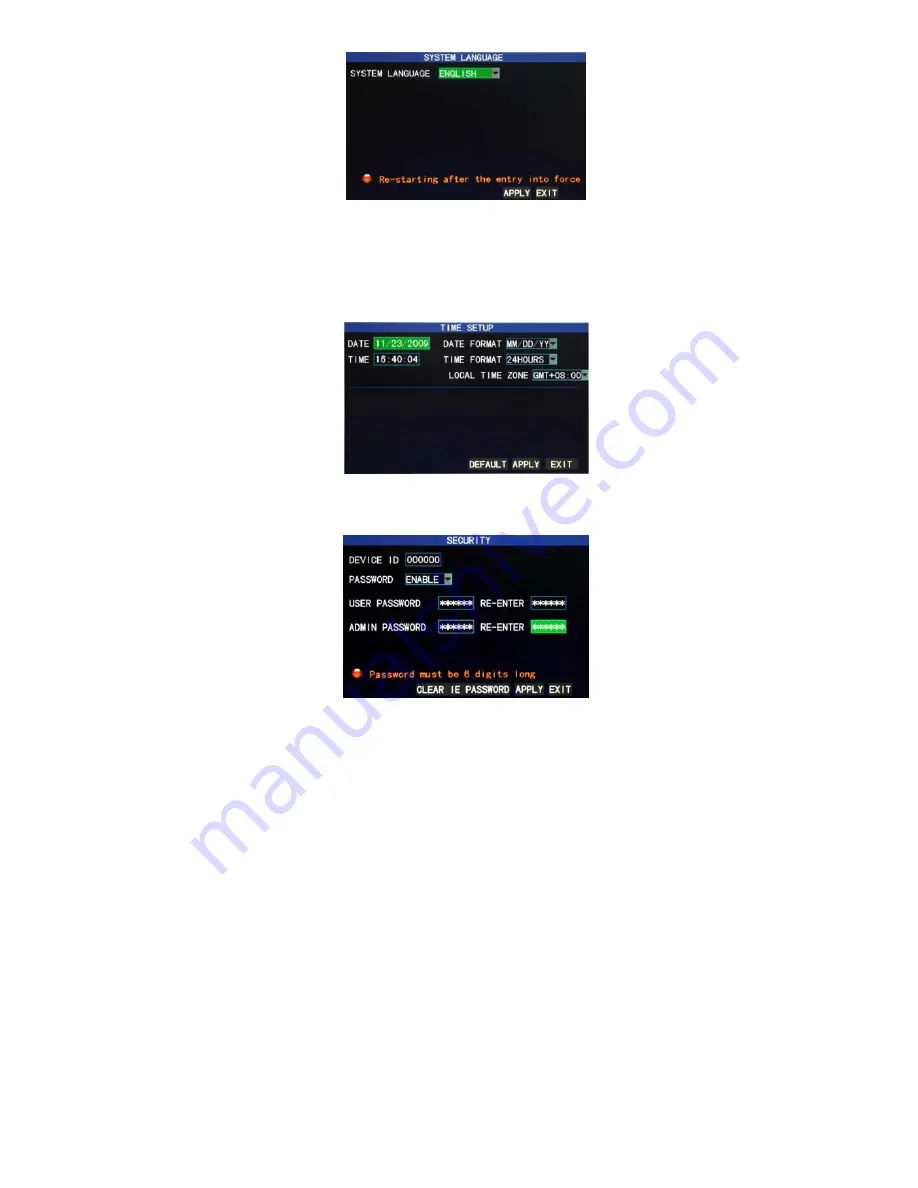
The system has optional multiplex languages, after choosing the language, click "Apply" button to save, and it will go into effect
after system restart.
3.6.2 Time setup
Move the cursor to the “DATE/TIME” option (the icon is surrounded by a yellow frame to indicate selection), and press “Enter” to
enter the setup screen of this option, as shown below:
The system time, date format, time format, time zone and summer time can be set up in this screen.
3.6.3 User password
DEVICE ID:
Enter digits directly to set up the DVR number;
PASSWORD
: Press “Enter” to select “ENABLE” or “DISABLE” the user password. If this option is enabled, the user has to enter
his/her password upon logging-in to log in successfully; if it is disabled, the main menu of the system can be logged in directly;
User Password
: This option is operated with keys or the mouse. Enter digits directly to set the user password;
Admin password
: This option is operated with keys or the mouse. Enter digits directly to set the administrator password.
Notes
:
1)
When you’re setting up passwords, it is recommended that the two passwords are set up together. If any set password is
forgotten, please contact your dealer or the technical department of the manufacturer.
2)
Only the locking, channel changeover, video search, log search, backup , PTZ control, mute, manual recording and stopping
recording functions are available to normal users.
3.6.4 CAMERAS
Move the cursor to the “CAMERAS” option (the icon is surrounded by a yellow frame to indicate selection), and press “Enter” to
enter the setup screen of this option, as shown below:


