13
3.5 Hard disk management
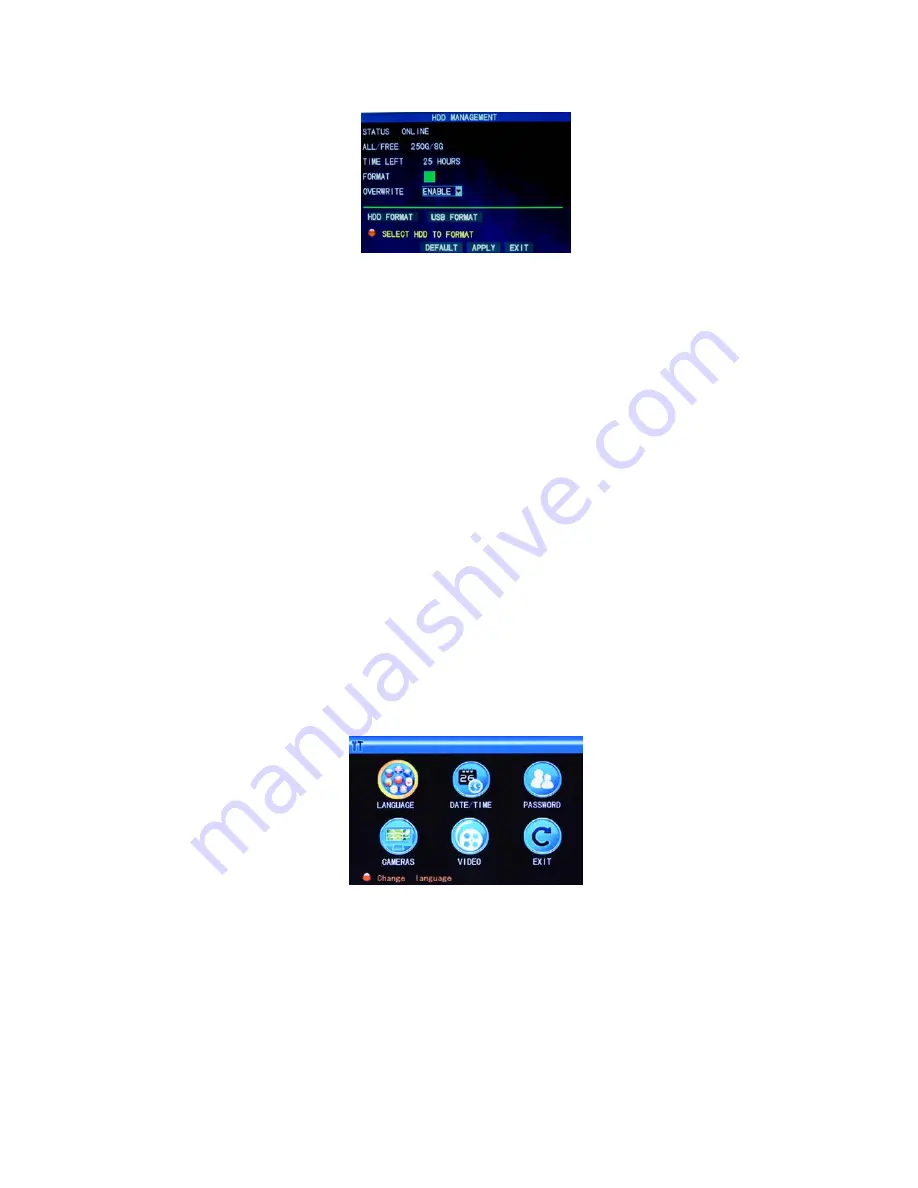
Enter the Hard disk Managemen
t screen from “Main Menu” →“HDD”, as shown below:
STATUS
: After the hard disk is connected, the system will detect if the hard disk is correct automatically. If the hard disk needs
formatting, “Unformatted” will be displayed in the hard disk state, when you can click “HDD Format” to format the hard disk. If the
system detects any available hard disk, the hard disk state will be “ONLINE”;
ALL/FREE:
referring to the total storage capacity and current remaining storage capacity of the hard disk;
TIME LEFT
: referring to the time remaining for recording based on the currently set picture “resolution” and “quality”;
FORMART:
Click the
check box, a “√” will appear in this box, indicating that this HDD has been selected.
OVERWRITE:
ENABLE: The hard disk will overwrite the earliest record when its memory is full; DISABLE: Recording will stop
when the memory of the hard disk is full;
HDD FORMART
: If the hard disk is used for the first time, it is often necessary to format the hard disk. Click the “Format HDD”
button, and then click “Enter” for formatting in the pop-up prompt message dialog box, otherwise click “Cancel”. After clicking
“Format HDD”, the system will prompt “You will lose all data by formatting the hard disk. Will you continue?” Then press “Enter”,
and the system will prompt “Formatting…” and then “Formatting Successfully”. The system will restart automatically;
USB FORMART:
formatting the data in the U-disk.
The “Default” button is used to restore the factory default values.
Note: In order to connect the hard disk data on the DVR securely, we recommend that the hard disk must be formatted before the
first time of recording.
3.6 Basic setup
Enter the Basic Setup
screen from “Main Menu” →“Basic”, as shown below:
The Basic Setup screen includes the 6 options of System Language, Time Setup, User Password, Display Setup, Video/Audio
Setup and Exit.
3.6.1 System language
Move the cursor to the “LANGUAGE” option (the icon is enlarged and highlighted to indicate selection), and press “Enter” to enter
the setup screen of this option, as shown below:


