Quick Start Menu > Timer
Using the Timer menu you can setup multiple recording schedules for recording and detection functions. The
DATE
specifies what days the schedule applies. The
START
and
END
times indicate (in 24 hour format) when the DVR will
record.
For both the RECORD TIMER and DECTION TIMER functions, use
/
to change the setting (ON/OFF). When set to
“ON”, press “ENTER” to open the submenu for further settings.
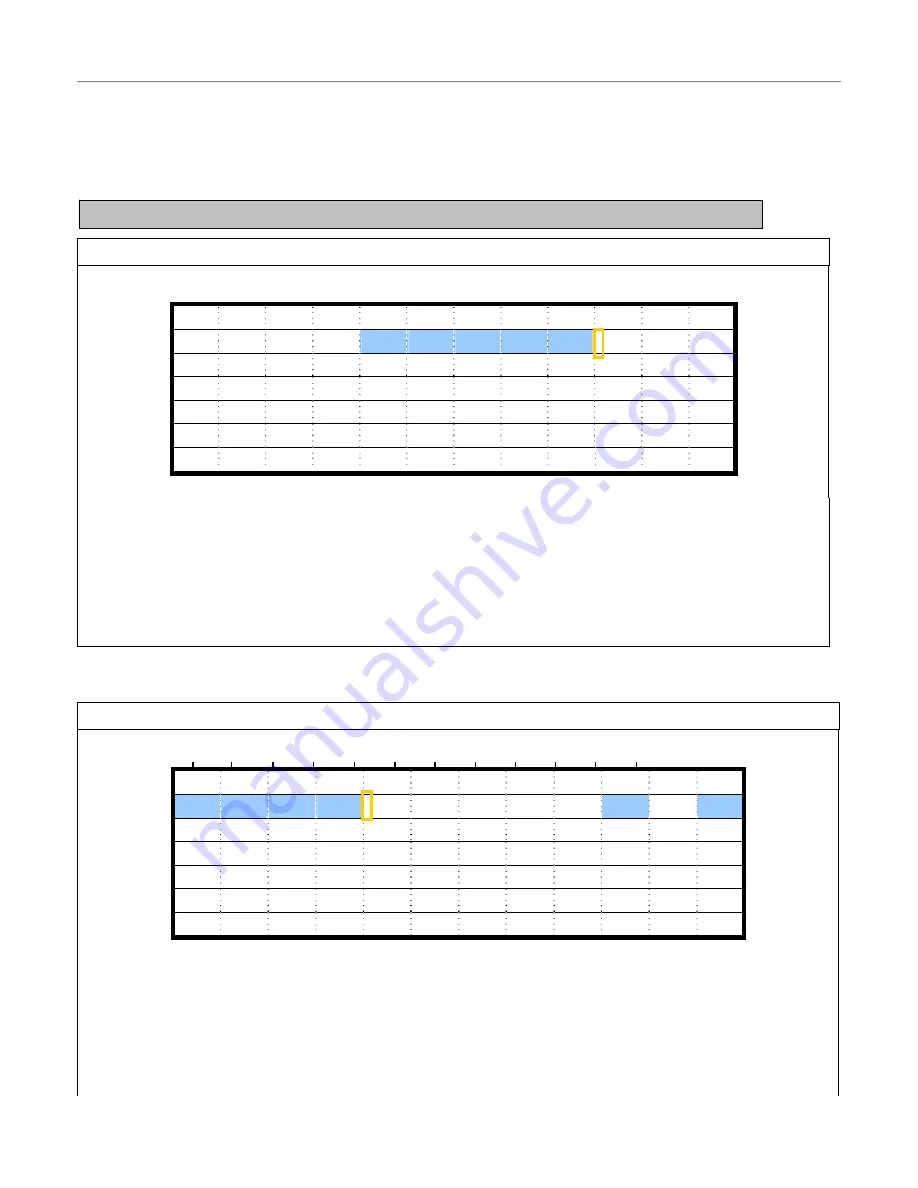
RECORDING TIMER
0 2 4 6 8 10 12 14 16 18 20 22 24
SUN
MON
TUE
WED
THU
FRI
SAT
PLEASE CONSULT YOUR INSTALLER FOR ADVANCE SETTINGS
MOVE
SELECT
X Axis:
0~24 Hours. Each time interval within a square is 2 hours (divided into four lots of 30 minutes)
Y Axis:
Sunday~Saturday
Operation:
Move to the starting time point and press ‘ENTER’ to set the starting time (marked in red colour). Then
use
/
/
/
to set the timer-recording schedule. After setup, press “ENTER” again to create an ending time
point (marked in yellow colour), and press “MENU” to exit.
DETECTION TIMER
0 2 4 6 8 10 12 14 16 18 20 22 24
SUN
MON
TUE
WED
THU
FRI
SAT
PLEASE CONSULT YOUR INSTALLER FOR ADVANCE SETTINGS
MOVE
SELECT
X Axis:
0~24 Hours. Each time interval within a square is 2 hours (divided into four lots of 30 minutes)
Y Axis:
Sunday~Saturday
Operation:
Move to the starting time point and press ‘ENTER’ to set the starting time (marked in red colour). Then
use
/
/
/
to set the timer-recording schedule. After setup, press “ENTER” again to create an ending time point
(marked in yellow colour), and press “MENU” to exit.
Note:
The DVR will only use the timer schedule if the
Record > Timer Record Enable
option is set to
YES
.
- 8 -


