18
5. Change the IP Cameras IP Address, Subnet mask, and Gateway to the new IP address
range. The camera’s IP Address must be in the same network range as your recorder.
6. Select “OK” to save your settings.
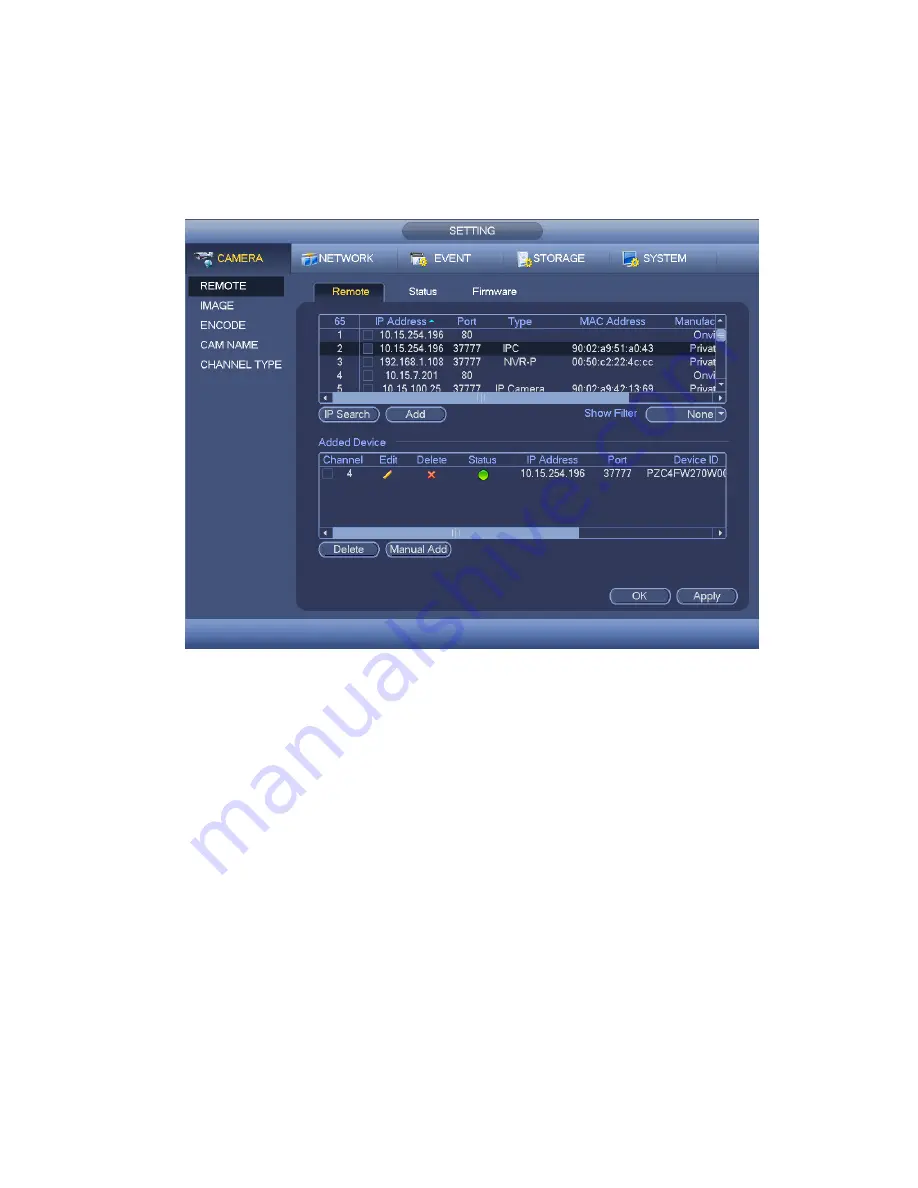
7. The IP Camera should now be listed with its new IP Address. You can then select the
new camera you wish to connect and select “Add” to have it connect to the recorder.
8. The IP Camera will now be shown in the bottom list, with a green “Status” indicator,
meaning it has been successfully added to the recorder.
9. This process can now be repeated for any additional cameras, one camera at a time.


