35
A. Gap Mode
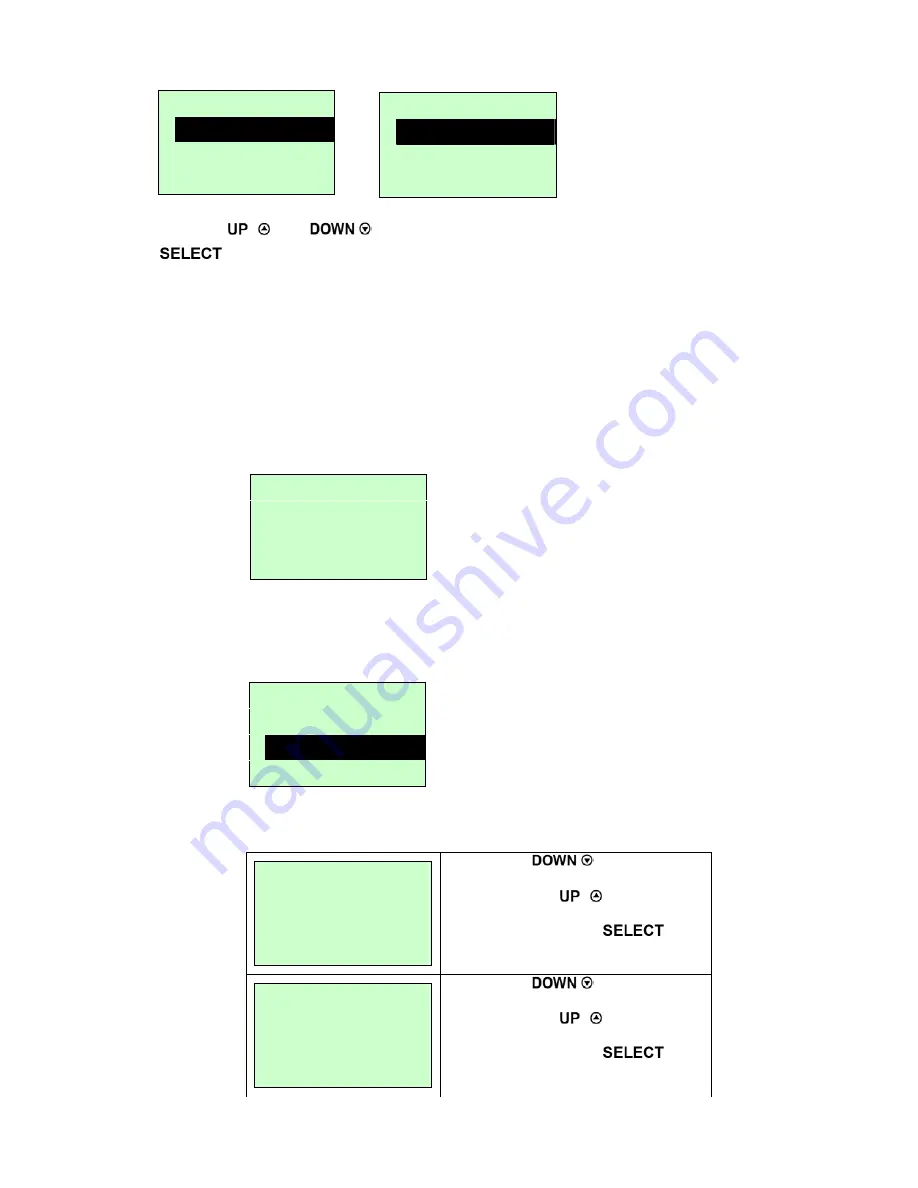
Press the
and
buttons to scroll the cursor to the media type and press the
button to enter the sensor calibration mode.
Note: If printing from enclosed software/driver, the software/driver will send out the GAP or
BLINE command, which will overwrite the sensor type setting set from the front panel.
A-1 Automatic
When you select the [Automatic] option, you will see the following message, and the printer
will feed 2 to 3 gap labels to automatically calibrate the sensor sensitivity. When calibration
is completed, the LCD screen will return to the previous menu.
A-2 Manual
In case “Automatic” sensor calibration cannot apply to the media, please use the “Manual”
function to calibrate the gap sensor manually.
When you select the [Manual] option, you will see the message below. Please complete
these steps
:
Paper Len.
00812 dot
1. Press the
button to move
the cursor from left digit to right digit,
and press the
button to set
the value from “0” to “9” and the “dot/
mm/ inch”. Press the
button to set the paper length into the
printer.
Gap Size
0024 dot
2. Press the
button to move
the cursor from left digit to right digit,
and press the
button to set
the value from “0” to “9” and the “dot/
mm/ inch”. Press the
button to set the gap size into the
printer.
Calibration 1/4
>
Gap Mode
Bline Mode
Cont. Mode
Gap Mode 1/4
>
Automatic
Manual
Pre-Printed
Gap Mode
Automatic
Gap Mode 2/4
Automatic
>
Manual
Pre-Printed
Summary of Contents for WPL608
Page 1: ...i Wasp 610 608 Barcode Printer User s Manual...
Page 14: ...11 Loading path for ribbon...
Page 20: ...17...


