94-0601-C
26
Radar Image Network Configuration
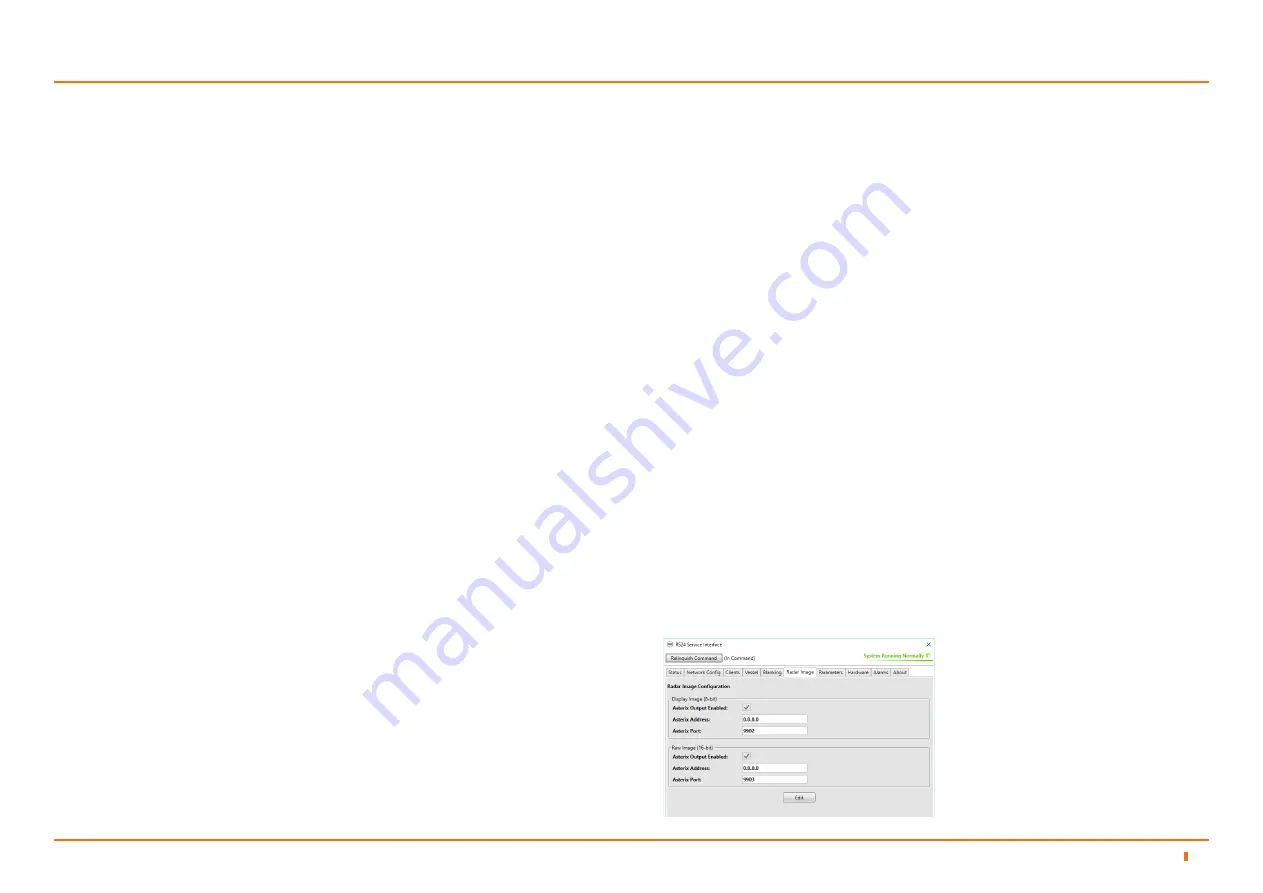
The Radar Image tab on the RS24 Service Interface is used to view and configure
the network settings for the radar image output channels.
The Channels
The sensor outputs radar images on two channels. For both channels, the radar
images are output over UDP in ASTERIX CAT-240 format allowing third party
applications supporting this protocol to receive the images.
Display Image (8-bit)
This channel transmits a radar image that has been pre-processed by the
sensor (for example thresholding). This is the radar image displayed on the RS24
Dashboard.
Raw Image (16-bit)
This channel transmits the raw (unprocessed) radar image. This is useful for
sensor diagnostics and for use by third party applications where full control over
the radar image processing pipeline is required e.g. autonomous vessels.
To Modify the Radar Image Channels
Each Radar Image Channel has the same configuration options but can be
configured independently. The configuration options are:
Configuring the RS24 System
4
4.3
ASTERIX Output Enabled
• This will Disable/Enable the radar image channel.
• Disabling the Display Image channel will result in no radar image being
displayed on the RS24 Dashboard.
• If bandwidth is an issue on the vessel network setup and raw radar
images are not required, then the raw radar image channel can be
disabled.
ASTERIX Address
This is the IP address of the receiving client. The default setting is “0.0.0.0” which
causes the radar image to be broadcast to all clients on the same subnet as the
sensor.
• If there is only one client you should change this setting to the IP address
of that client.
• In multiple clients are required on the network the settings should remain
as “0.0.0.0”. If this is the case we strongly recommend you consider the
network configuration. See the recommendations below.
ASTERIX Port
• The port that the Radar Image channel will use to communicate on. We
recommend that these values are left at their default values. Seek advice
from the Network Administrator if these values need to be changed.
Follow these steps to configure these settings:
1. Launch the RS24 Service Interface.
2. Check if the software is in In Command, if not then click the ‘Take Command’
button.
3. Click on the Radar Image tab of the RS24 Service Interface.
4. Click the Edit button at the bottom of the tab panel.
5. Make any changes required to the channels. You can apply changes to both
channels at the same time.
6. Once finished, click on Apply to save these changes to the sensor.
NOTE: If the RS24 Sensor is to be used with a third party client instead of
the RS24 Dashboard, you should disable the “Auto Suspend” feature. See
Parameter Configuration section on page 27.


