Walker WP11DTB Operating Instructions Manual Download Page 12


11

5.2. MOVING CHANNELS 

Reordering the list can be done by moving the programs one by one to new positions. In order to do that, the 
"Move"  button  should  be  highlighted  by  pressing  the 

“◄  /  ►” 

keys.  Using  the 

“▲  /  ▼” 

  keys,  select  the 

programme  which  should  be  moved  and  press  the  OK  button.  Then,  enter  the  new  channel  number  of  the 
programme you want to move and the programme will be settled as you entered. In some countries, the order of 
the channels is arranged automatically by the broadcaster. This is called logical channel number (LCN). If the 
selected country has LCN  support, the channels will be enumerated one by one, beginning from number 1. You 
cannot move any programme to a position after the last saved one. If you try to do this, both programmes will 
change their places. If LCN support is not available, you can move the channels between 1-999. 

5.3. DELETING UNWANTED CHANNEL  

To delete a channel highlight it using 

“▲ / ▼” 

/RED/GREEN, then highlight the “Delete” button using 

“◄ / ►”  

and press OK. A message is displayed to confirm your decision, if you still want to delete press OK  once more 
and the channel will be deleted, else the operation will be cancelled if you select “NO”.


5.4. RENAMING CHANNELS  

To  rename  a  specific channel, the  name must  be  highlighted and  then  select  the "Edit  Name" button  and OK 
button must be pressed. Following previous procedure, the name appears on the middle of the screen with the 
first  character  highlighted.  Now 

“◄  /  ►” 

  moves  to  the  previous/next  character. 

“▲  /  ▼” 

  toggles  the  current 

character, i.e., ‘

b’

 character becomes ‘

a’ 

on 

“▼” 

and ‘

c’ 

on 

“▲” 

. Pressing the numeric buttons ‘

0...9’

 replaces 

the  highlighted  character  with  the  characters  printed  above  the  button  one  by  one  as  the  button  is  pressed. 
Pressing MENU cancels the editing and OK


saves the new name. 

5.5. ADDING LOCKS TO CHANNELS  

Channel  Locking  provides  a  password-protected  access  to  channels  selected  by  parents.  In  order  to  lock  a 
channel you should know the parental Lock password (set to 0000 in the factory and can only be changed from 
the 

Configuration  Menu

),  then  highlight  the  channel  to  be  locked  and  select  the  “Lock”  button,  when  OK  is 

pressed  a  password  dialog  is  displayed.  Enter  the  parental  Lock  code,  press  OK  and  the  Lock  icon  will  be 
displayed in front of the selected channel. Repeat the same operation to cancel the Lock. 

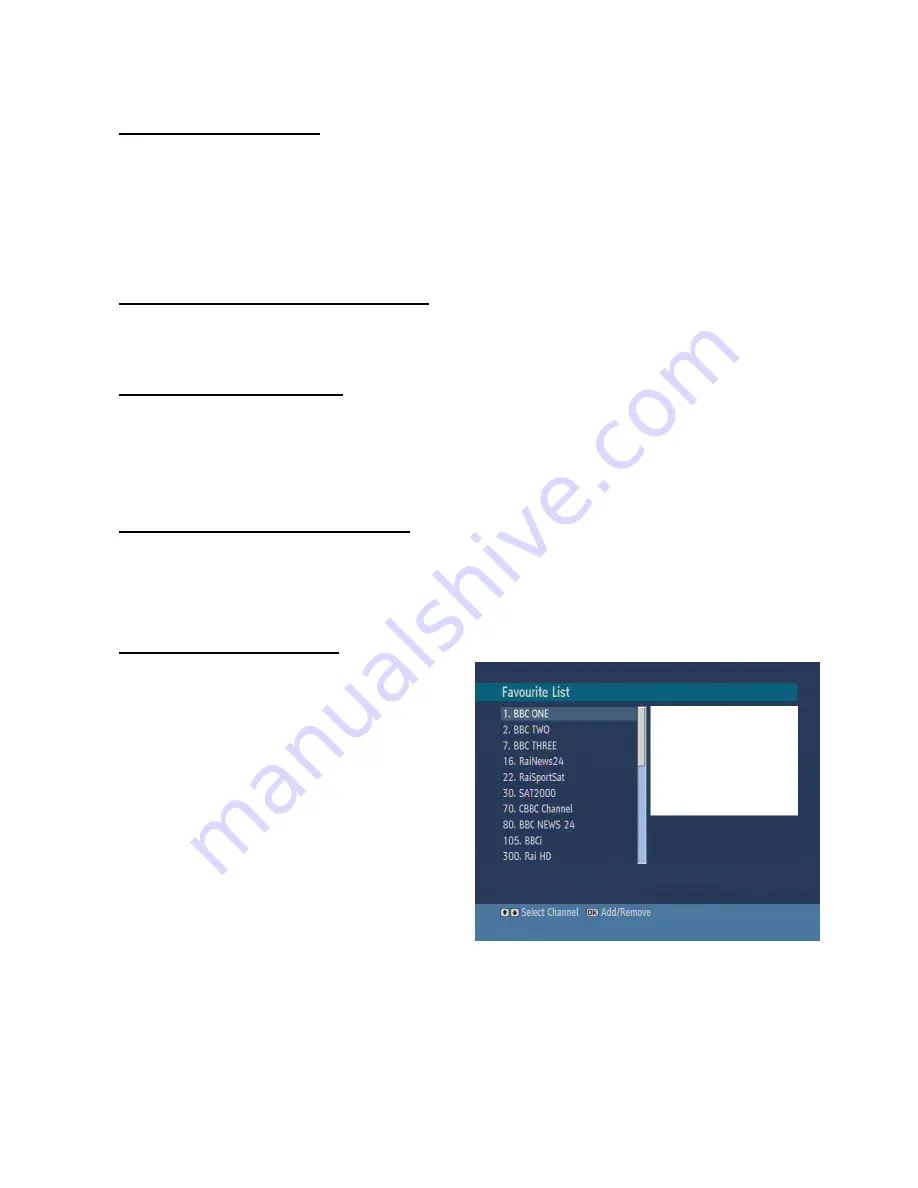
5.6. SETTING FAVOURITES   

Favourite  list  provide  an  easy  way  to  group  programs 
in a customizable way. In the channel list Table menu 
the  programs  can  only  be  added  or  removed  from  a 
favourite list. 
In  order  to  add or  remove  a  program from  a  favourite 
list,  highlight  the  “Favourite”  button  using 

“◄  /  ►”  

buttons, the favourite submenu will be displayed. Then 
select the program to be added / removed to/from the 
favourite list using 

 “▲ / ▼” 

choose the favourite list 

name (in which the program will be added) using 

“◄ / 

►”   

buttons  then  press  OK.  The  favourite  program 

icon will be displayed or removed in/from the selected 
program  bar.  Pressing  Menu  button  saves  all  your 
settings. 

Pressing Menu button saves all your settings. 


Summary of Contents for WP11DTB

Page 1: ...DIGITAL TERRESTRIAL RECEIVER OPERATING INSTRUCTIONS WP11DTB BE WALKER WISE logon to www walker ie SAORVIEW Digital Receiver...

Page 2: ...TIMERS 12 8 SETUP 13 8 1 CONFIGURATION MENU 13 8 1 1 DIGITAL AUDIO OUTPUT 13 8 1 2 AUDIO DELAY 14 8 1 3 LOW POWER 14 8 1 4 FAVOURITE MODE 14 8 1 5 CHANNEL LIST 14 8 1 6 ACTIVE ANTENNA 14 8 1 7 RECEIVE...

Page 3: ...rd protected Low power consumption less than 1 W Optional RECEPTION DVB T Compliant Input frequency range VHFIII 174 230 MHz 8 MHz bandwith UHFIV and UHFV 470 862 MHz 8MHz bandwith Input signal level...

Page 4: ...ct to direct sun light excessive dust or mechanical shock or in a location near heat sources The set should be placed on a solid and safe base Do not place the apparatus on a soft surface such as a ru...

Page 5: ...UDIO Optical Digital Audio Output 8 POWER SUPPLY DC IN 12V 3 PREPARING 3 1 REMOTE CONTROL First open the battery cover on the underside of the remote control Put in both batteries 1 5 Volt RO3 AAA ref...

Page 6: ...input of your TV only if your TV has an HDMI input If you want to get a high quality picture prefer the HDMI output The set top box gives RGB or CVBS output If you want to get the picture via scart c...

Page 7: ...e activating the receiver since booting of software will take some time Then you can turn on your digital set top box by pressing the standby button on the remote control You will see that the red lig...

Page 8: ...ONTROL LAYOUT OK TEXT BACK MENU INFO PR VOL 2 3 5 6 7 8 9 0 ABC DEF GHI JKL MNO LIB P P SUBT 1 4 PQRS TUV WXYZ FAV WIDE GUIDE PIP PIP SWAP PIP TIMERS AUX 1 2 3 4 5 6 7 8 9 10 11 12 13 14 15 16 17 18 1...

Page 9: ...ide TV aspect ratio mode 15 Subt Show Hide Subtitles 16 Swap Change the HDMI resolution 17 PIP optional PIP Window Channel Up 18 Mute Mute 19 Used in Media Browser and EPG menu 20 optional Search back...

Page 10: ...are located After choosing the country you have to set your TV type in the next window The next menu will ask you to choose the HDMI resolution If you intend just using the Scart output then just pres...

Page 11: ...Setting the favourite list Channel table is the place where the channels are managed 5 1 NAVIGATING THE WHOLE LIST OF CHANNELS In the channel table serves for moving the focus to the previous or next...

Page 12: ...e first character highlighted Now moves to the previous next character toggles the current character i e b character becomes a on and c on Pressing the numeric buttons 0 9 replaces the highlighted cha...

Page 13: ...listed below RED BUTTON SHRINK make the info boxes smaller GREEN BUTTON EXPAND make the info boxes larger YELLOW BUTTON PREV DAY displays the programs of previous day BLUE BUTTON NEXT DAY displays th...

Page 14: ...ns of GREEN button or cancel with RED button Edit the list via GREEN button and delete with the RED button 8 SETUP The adjustments in this menu are 8 1 CONFIGURATION MENU You can configure the setting...

Page 15: ...radio channels if you navigate Text Only you navigate through only Text channels with the PR PR buttons If you choose Show All all channels can be navigated with the PR PR buttons To save the recent...

Page 16: ...se check the HDMI resolutions supported by your TV set and select the most appropriate one from this menu Note that only stored channels can be watched over HDMI not VCR input This function duplicates...

Page 17: ...u write it down and keep it safe 8 1 10 TIME SETTINGS Use the buttons to go to the Time Settings option Press OK button to enter the Time Settings Menu In the Time Zone Setting option if you choose Au...

Page 18: ...ted automatically Any existing channels will be erased All channels found are stored in a sorted form with respect to their channel numbers 8 3 2 MANUAL SEARCH After the OK button is pressed in Instal...

Page 19: ...on or First Time Installation first plug the USB MEMORY CARD device out and power off on the box Plug the USB MEMORY CARD device in again Playing Media Files Play This plays the selected file Play Thi...

Page 20: ...slideshow Rotate rotate the picture using up down buttons BACK back to file list Shuffle shows the files randomly and continuous in current folder and icon turns the highlighted icon If during a slide...

Page 21: ...ing the steps below 1 Copy the bin file including higher version than the software loaded in flash into the USB flash memory root directory This file should be named upgrade bin 2 Insert the USB disk...

Page 22: ...box Timer Menu Channel Table Menus are not accessible Channel navigation is not allowed Therefore trying to enter these menus or do channel navigation will display a warning message on the screen Whe...

Page 23: ...n bar Program mode TV or Radio Channel number Name of the channel The second press of the info button brings up a box containing a brief description of the currently viewed programme You can now use t...

Page 24: ...The digital set top box is in standby Remote control is incorrectly aimed Battery exhausted Press the standby button Check if nothing blocks the front panel Change the batteries You have forgotten an...

Page 25: ...N Symbolrate COFDM with 2K 8K FFT mode Modulation 16 QAM 64 QAM FEC for all DVB modes automatically found ii VIDEO H 264 MPEG 4 part 10 main and high profile level 4 1 MPEG 2 MP HL video decoder HD di...

Page 26: ...4 GND 15 RED Output 5 GND 16 Fast Blanking Output 6 Audio Left Input 17 GND 7 BLUE Output 18 GND 8 Function Switching Output 19 CVBS Output 9 GND 20 CVBS Input 10 RX 21 GND 11 GREEN Output HARDWARE C...

Page 27: ...sposed of correctly you will help prevent potential negative consequences for the environment and human health which could otherwise be caused by inappropriate waste handling of this product For more...

Reviews: