Wacom nextbeat X-1000 User Manual Download Page 6

5

 CAUTION

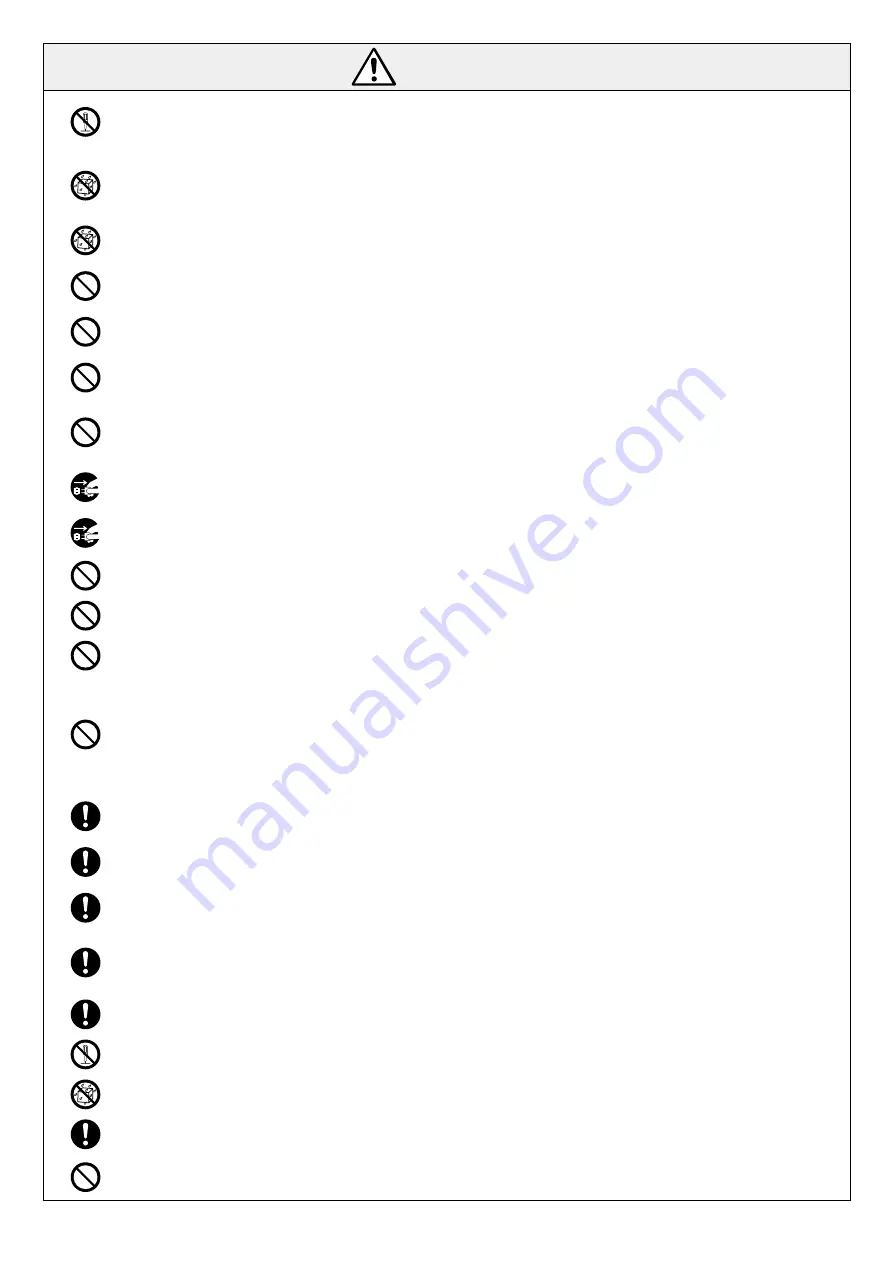
Do not attempt to disassemble or modify this product as this could cause the product to emit heat, 
catch fire, give an electric shock or otherwise cause injury.
Note that any disassembly of this product will void the product warranty.

Do not place cups or vases containing water or other fluids near this product.
Do not use this product in locations exposed to water.
Water or other fluids on this product could cause a malfunction, electric shock or fire.

If you operate the touch sensor with wet hands, it may cause malfunction. Also, if the sensor part is 
wet, wipe it dry immediately.

Do not place this product in an unstable or uneven location, or in a location subject to strong vibrations.
This could cause the product to fall or tip over, resulting in injury or malfunction.

Do not subject this product to strong impacts.
Doing so could damage the product and cause malfunctions, electric shock or fire.

Do not climb on or place heavy objects on this product.
This could cause a malfunction.

Do not leave this product in very hot (40°C or above) or very cold (0°C or below) locations.
Also, do not leave this product in locations subject to extreme temperature variations. This will 
adversely affect the product and its components and could cause malfunctions.

When a thunderstorm approaches, stop using this product and unplug the power cable. Lightning 
strikes could cause a malfunction, electric shock or fire.

Disconnect the AC adapter and USB cables when cleaning this product.
Failure to do so could cause an electric shock.

Do not clean this product with organic solvents as this could cause cracking.

Do not touch the connector sockets with your hands or any metal implement.

Do not drop the base unit or portable unit as this could cause a malfunction.

If the display is accidentally broken, do not touch the broken area or any fluid that leaks out of the 
display.
If you get any liquid crystal in your eyes or mouth, immediately flush the affected area with clean 
water and contact a medical professional for treatment.
If you get any liquid crystal on your skin or clothing, immediately wipe it off with alcohol and then 
wash the affected area with soap.

When connecting external components such as speakers, read the manuals supplied with the 
components to ensure that you connect them correctly.

If you are using headphones, take care not to turn the volume up too high. Listening to music at high 
volumes for long periods may result in impaired hearing.

When inserting a CF card, check that you are inserting it in the right direction.
Using the card incorrectly could damage the card or the product itself.

The use of excessive force when inserting a CF card could damage the CF card or the product itself.
When inserting a CF card, insert it straight and gently. If the CF card is at an angle or forcibly inserted, 
the CF card or connector on the nextbeat may be damaged.

Do not bend, drop or apply excessive force to CF cards.

Do not attempt to disassemble or modify CF cards.

Keep CF cards dry.

Store out of the reach of small children to avoid causing injury or accidents.

Do not use in locations subject to high levels of humidity, fumes, smoke or dust as exposure to these 
could cause a fire, electric shock or malfunction.

Summary of Contents for nextbeat X-1000

Page 1: ...User s Guide X 1000...

Page 2: ...ts processor Before using this product read this manual carefully and follow the instructions to ensure that you get the best possible performance from this product 1 1 Check the package contents care...

Page 3: ...re You Go Live 18 2 1 Transferring Tracks to CF Cards 18 3 Basic Operation 19 3 1 Switching Channels 19 3 1 1 Channel Switching and the LEDs 19 3 1 2 Adjusting the Headphone Sound 19 3 2 Track Selecti...

Page 4: ...ampling function 31 4 3 2 Sample playback function 32 4 3 3 Phrase recording function 33 5 Detaching and Using the Portable Unit 34 5 1 Detaching Remounting the Unit 34 5 2 Attaching the Strap 34 5 3...

Page 5: ...use of electronic equipment is prohibited In such locations inside aircraft etc this product must be turned off to prevent adverse effects on other electronic equipment Ensure that this product is ke...

Page 6: ...electric shock Do not clean this product with organic solvents as this could cause cracking Do not touch the connector sockets with your hands or any metal implement Do not drop the base unit or porta...

Page 7: ...battery terminals with a metal object When replacing the batteries turn off this product and unplug the AC adapter from the mains power outlet Then check that the portable unit is turned off before o...

Page 8: ...ject has been inserted into the adapter If the adapter has been affected by liquid or a foreign object leave the adapter unused and contact the Wacom Customer Support Centre for assistance Do not use...

Page 9: ...ICE for U S customers This device complies with Part 15 of the FCC Rules Operation is subject to the following two conditions 1 this device may not cause harmful interference and 2 this device must ac...

Page 10: ...In accordance with the Directive on Batteries and Accumulators and Waste Batteries and Accumulators 2006 66 EC battery collection and recycling schemes should be in place in all EU Member States by 2...

Page 11: ...ed in this manual to indicate trademarks or registered trademarks 1 3 11 Notes 1 Copyright for the firmware is retained by Wacom Co Ltd 2 Unauthorized copying or duplication of all or any part of the...

Page 12: ...iods via wireless communication This provides a portable play function that lets you use the console in front of your audience as if you were playing an instrument Fully digital The nextbeat supports...

Page 13: ...ant with ISO IEC 14496 3 File extensions mp4 m4a Tags Track name and artist name information supported Note that this does not apply to aac files The output sound format is fixed at a sampling frequen...

Page 14: ...D FUNCTION buttons 1 4 P 23 25 27 31 32 E Used by the sampler and loop functions P 27 31 33 F Used for basic playback P 19 22 25 31 36 G Press to detach the portable unit P 34 H Adjusts the EQ trim fo...

Page 15: ...k P 35 M Touch sensor area Controlled by tapping or sliding the fingers LEDs light to show the status M 1 Pitch fader channel A P 22 M 2 Pitch fader LED channel A M 3 Volume fader channel A P 24 M 4 V...

Page 16: ...L R output socket Master L R output socket SPDIF REC output socket USB port AC adapter accessory Insert into the power outlet Power cable accessory Amplifier speakers etc Recorder etc Computer CF car...

Page 17: ...rformance time has been played Track name Artist Playback screen normal playback Playback time Playback indicator Remaining playback time Channel A Artist Cue point Current playback point Current play...

Page 18: ...oid the risk of damaging the other products 1 Turn the nextbeat on by pressing the POWER switch The track selection screen appears when startup is completed To start playing P 20 3 2 Track Selection T...

Page 19: ...ard fit the cap firmly back onto the slot P 17 1 7 1 Preparing for Startup step 1 3 Connect the nextbeat to the computer nextbeat rear panel CF card slot USB port USB cable accessory To the USB port o...

Page 20: ...working buttons and LEDs change to the colour for that channel orange for channel A and green for channel B Depending on the operation mode the settings the circumstances of your performance and how t...

Page 21: ...annels with paused tracks or where the volume or cross fader volume is 0 A B Previous tracks are overwritten In situations where tracks can be uploaded to both channels in step 2 the tracks are upload...

Page 22: ...ding MP3 or AAC files the Time Search function does not work until track data extraction is completed 3 4 Fast forward Rewind 1 During playback slide your fingers firmly around the centre pad Should g...

Page 23: ...ed 3 6 1 Adjusting the speed with the pitch faders Adjust the speed using the left and right pitch faders channel A channel B You can adjust the speed in 0 5 increments 10 to 10 Fine pitch area Allows...

Page 24: ...ck speed Startup setting OFF Press the FUNCTION button to change the setting Toggles Master Tempo ON OFF for channel A Toggles Master Tempo ON OFF for channel B Master tempo settings channel A channel...

Page 25: ...P 36 3 8 2 Other volume adjustments Microphone volume Master volume 3 9 Cross Fader Adjustment Controls Used Use this feature to adjust the volume balance for channel A or channel B 1 Touch the curre...

Page 26: ...s allows you to measure the BPM by tapping a button The BPM is based on the intervals between the last 4 taps This can also be done when Auto BPM is set to ON 1 Select a channel 2 Tap the channel sele...

Page 27: ...it to input sound Microphone input socket Microphone third party product Use to adjust the microphone volume P 24 You can only apply the selected effect to the microphone sound when master output M is...

Page 28: ...oop points Turn or to adjust a loop point Moves the point forward Moves the point backward Reloop Function Loop points remain set until the next time tracks are selected or new loop points are set Pre...

Page 29: ...ol ON during sample playback Similarly you cannot use sample playback when effects control is ON 4 2 2 Effects Parameter List Low pass filter High pass filter Effect Effect selector button Function Lo...

Page 30: ...1 beat 1 1 beat Flanger Phaser Effect Effect selector button Function Flanger Adjusts the balance between the effects sound and the original sound Intensifies the effect Phaser TIME button Effects co...

Page 31: ...ded with 120 Hz and below cut 2 Decay Time 600 ms 3 Decay Time 2 sec 4 Decay Time 4 sec The beat used for effects is the BPM of the channel selected when you turn effects ON While you are using effect...

Page 32: ...ayed at the bottom of the screen 3 At the start point press the FUNCTION button for an unused memory Sampling begins Unused memory If you select a memory that already contains samples the new sample i...

Page 33: ...point 2 Playback loops sequentially from start point 2 3 4 end point start point 1 and so on 5 Playback ends when you take your fingers off the centre pad To adjust a start point You can adjust the l...

Page 34: ...at the loop in point To record a phrase during loop playback on the other channel The first time you press the current loop point becomes the loop point for phrase recording 4 Press at the loop out p...

Page 35: ...cidentally hitting people or objects causing injury property damage or unit malfunction Dedicated strap accessory 5 3 Holding the Unit For example you can hold it like this 5 4 Signal Reception 5 4 1...

Page 36: ...power when being used Batteries should be replaced quickly 5 6 Starting Up Shutting Down Starting Up Mount the portable unit back in the base unit The portable unit starts up when you start up the ba...

Page 37: ...LCD Brightness Sets the LCD brightness Low High 1 2 3 4 LCD Contrast Sets the LCD contrast Low High 1 2 3 4 Play Mode DJ Play Allows all DJ operations Continuous Plays the tracks in a specified folde...

Page 38: ...ged Connect the cable properly 15 The plugs or connection sockets are dirty Wipe off any dirt and reconnect 41 The volume fader is set to 0 Check the volume fader setting 24 The cross fader is set to...

Page 39: ...e playback 21 24 32 Sample playback is being used on the other channel You cannot use sample playback on both channels at the same time End sample playback on the other channel and then try again 32 P...

Page 40: ...or turn the nextbeat off during updating Doing so will prevent you from restarting the nextbeat 5 When updating is completed turn the nextbeat off and remove the CF card After updating ends you canno...

Page 41: ...e battery terminals with a metal object When replacing the batteries turn off this product and unplug the AC adapter from the mains power outlet Then check that the portable unit is turned off before...

Page 42: ...a soft dry cloth Take great care when handling the display and the nextbeat itself as strong pressure could crack the display or the nextbeat body Leaving water drops or other soiling on the product...

Page 43: ...dB to dB 13 kHz 8 dB to dB 1 kHz 8 dB to dB 70 Hz Microphone input sensitivity Input impedance 40 dBV 10 kHz Input output sockets Master L R output sockets RCA pin jack L White R Red Channel A L R out...

Page 44: ...rdance with Wacom s storage instructions or c the failure is due to normal wear and tear or d you fail to fulfill your obligations as described above In case that any claim presented under warranty is...

Reviews: