


1A-11
BS65Y
OPERATION
1A
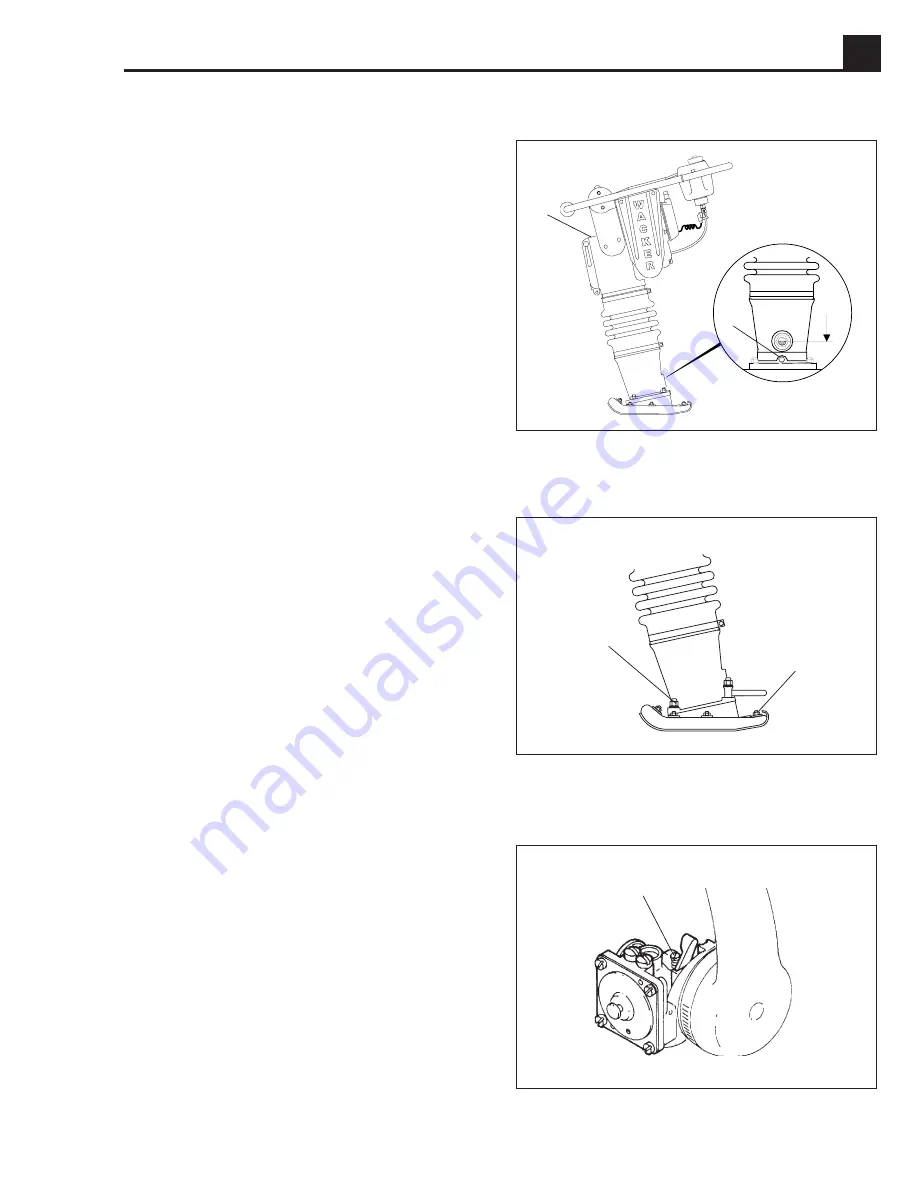
1.19 Shoe Hardware
On new machines, or after replacing shoe, check and
tighten shoe hardware
(g, h)
after the first 5 hours of
operation. Inspect hardware every week thereafter.
Torque hardware as specified.
1.20 Carburetor Adjustments
Bing Carburetor
Idle Speed
Adjust engine idle speed with the throttle closed and the
engine running at idle. Attach tachometer and set idle
speed screw
(i)
on carburetor to achieve the specified
idle speed. Refer to “Technical Data”.
No other carburetor adjustments are required.
i
h
18 ft.lbs.
(25 Nm)
g
58 ft.lbs.
(79 Nm)
1.18 Lubrication
1. Change ramming system oil after first 50 hours of
operation and every 300 hours thereafter. To drain oil,
remove plug
(d)
and tilt machine back until it is resting
on handle.
2. With rammer on level surface, add oil through plug
(e)
.
Proper ramming system lubrication is indicated when
approximately 1/2–3/4 of the sightglass
(f)
is full.
1004SD06
1002SD11
1014SD95
f
WACKER
e
d


