EN
11
WWW.VONROC.COM
4. Plug the charger plug into an electrical outlet and
wait for a while. The LED indicators on the charger
(6) will lighten up and show the charger status.
The charger has 2 LED indicators (31) which indi
cate the status of the charging process:
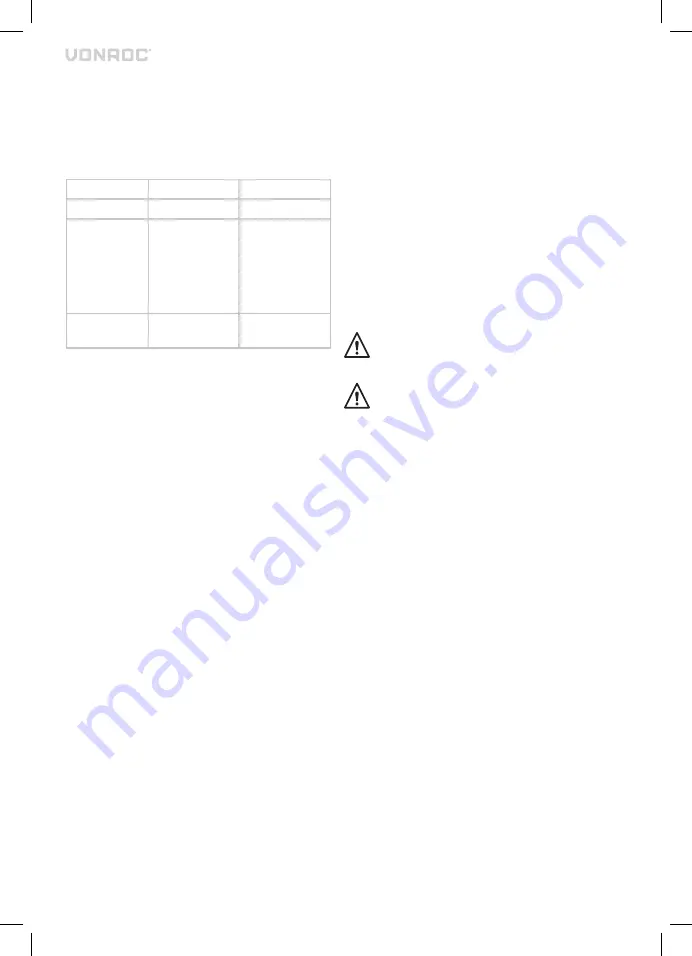
Red LED Status Green LED status Charger status
Off
Off
No power
Off
On
Standby mode:
- No battery is
inserted or,
- Battery inserted
but charging has
finished
On
Off
Battery charging in
progress
• Fully charging the 2Ah battery may take up to
60 minutes.
• Fully charging the 4Ah battery may take up to
120 minutes.
After the battery is fully charged remove the char-
ger plug from the outlet and remove the battery
from the charger.
for 12V cigarette plug use:
Storaqe for Cigarette plug (Fig. C)
The cigarette plug is stored in the bottom of the
machine.
Connecting to the cigarette lighter socket (Fig. A)
Verify the socket of the cigarette lighter in your
vehicle has an adequately sized fuse.
• Plug the cigarette lighter plug (29) into the
socket of the 12V cigarette lighter. If you are
unsure how to perform this, please consult the
manual of the vehicle.
Switching on/off the machine
• Press the Pressure selector (21) and the display
(28) will go on.
• The machine will automatically switch off after
a few miniutes or when battery / cigarette plug
is being removed or hold the Pressure selector
(21) for a few second and the display (28) will
go off.
HIGH PRESSURE, LOW VOLUME – TYRES &
BALLS - SWITCH ‘I’ (FIG. D1, D2)
Connecting the high pressure connection valve
without valve adapter
1. Open the connection valve (8); the clamping lever
(7) will be in position as shown on figure D1.
2. Insert the open connection valve (8) into the
valve of the inflatable (if necessary, first remove
valve cover of the inflatable).
3. Hold the connection valve (8) and close: push
clamping lever (7) towards the connection valve
(8).
Connecting the high pressure connection valve
with valve adapter
Take care not to over-inflate footballs, they
might burst.
Given the material composition of inflatable
mattresses, inflatable boats etc., the air
pressure cannot be indicated exactly. Take
care therefore not to over-inflate such
items or they might burst.
For valve adapter for balls and the extra small valve
adapter for inflatables
1. Open the connection valve (8); the clamping
lever (7) will be in position as shown on figure
D1.
2. Push or twist the respective valve adapter (14,
15) into the opening in the connection valve (8).
3. Secure the valve adapter (14, 15) by closing the
connection valve (8): push clamping lever (7)
towards the connection valve (8) as shown on
figure D2.
4. Insert the valve adapter (14, 15) into the valve
on the inflatable (if necessary, first remove
valve cover of the inflatable).
For valve adapter for tyres
1. Turn the valve adapter (16, 17, 18) on to the valve
of the tyre (if necessary, first remove valve cover
of the tyre).
2. Open the connection valve (8); the clamping lever
(7) will be in position as shown on figure D1.
3. Push the connection valve (8) on the valve
adapter (16, 17, 18)
4. Hold the connection valve (8): push clamping
lever (7) towards the connection valve (8) as
shown on figure D2.


