72
6
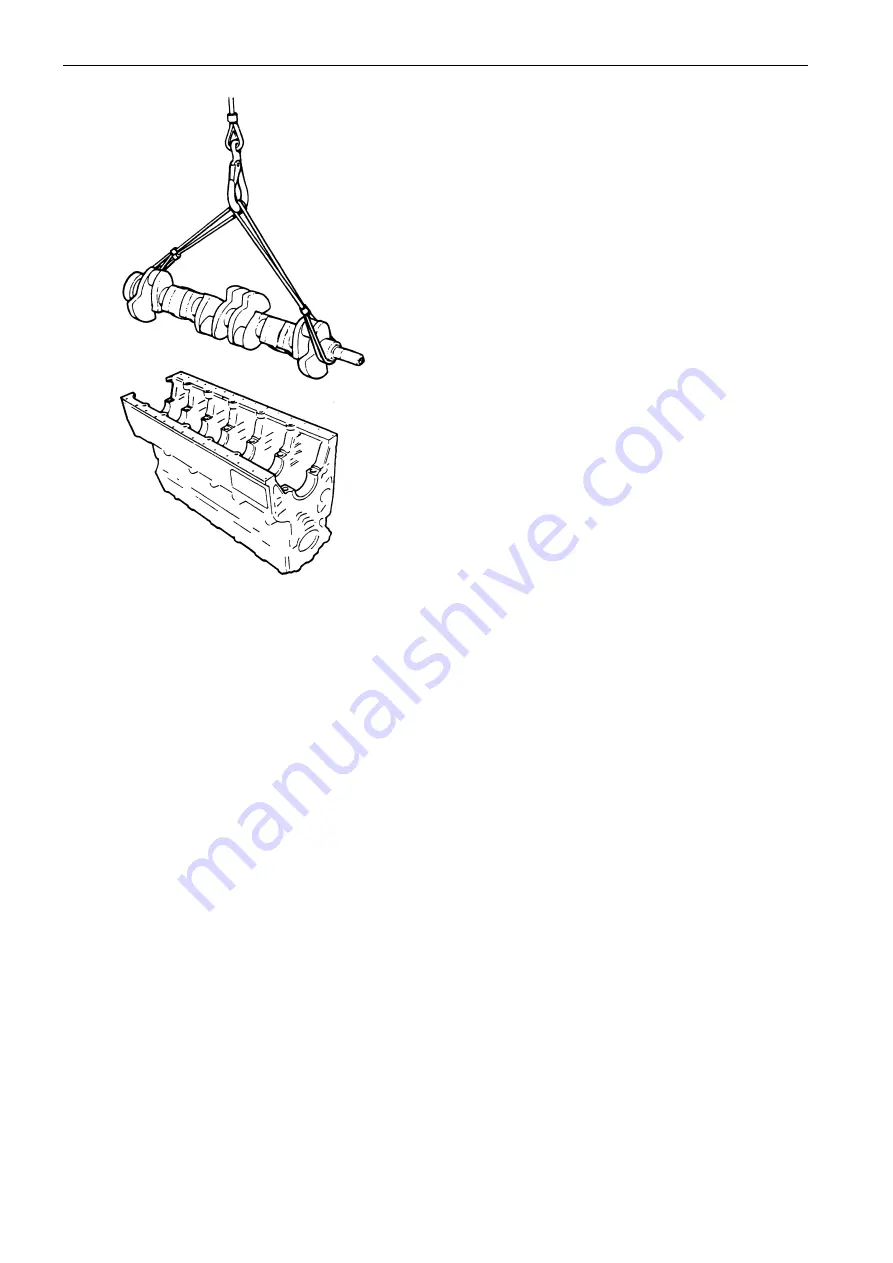
Carefully lift the crankshaft out with lifting strops and
a block and tackle.
Inspection, crankshaft and
bearings
The crankshaft is nitrocarburised. A nitrocarburised
shaft has greater fatigue resistance and wear
resistance than an induction hardened shaft. The
crankshaft must be inspected very carefully to avoid
unnecessary renovation.
Check the main bearing shells and big end bearing
shells. Change worn bearing shells or those where
the lead bronze lining is delaminated.
After removal, clean the all the oil ducts in crankshaft
carefully as in the instruction, to find out whether the
crankshaft needs to be renovated.
1
Measure wear and ovality with a micrometer. The
greatest permitted ovality on main and big end
bearings journals is
0.08 mm
, max. taper
0.05 mm
.
Grind the crankshaft to a suitable underdimension if
these values are exceeded.
2
Assess any surface damage. The following applies to
nitrocarburised shafts:
Features which would be classed as dirt scratches
on an induction hardened crankshaft may be normal
surface finish on a nitrocarburised crankshaft in
some cases, as on a new crankshaft. On a used
crankshaft, this is emphasized very clearly, because
of the extremely smooth bearing surface.
After a long period of operation, very small particles
may loosen from the surface layer (spalling). This
phenomenon can be confused with dirt scratches,
but differs since the marks do not go round the entire
bearing journal, and they have uneven edges. These
defects do not need to lead to re-grinding the
crankshaft. In general, a light buffing with emery cloth
and new bearing shells is sufficient.
3
Measure the runout of the crankshaft.
Put the crankshaft on a pair of V-blocks, which are
placed beneath main bearing journals nos. 1 and 7.
Alternately, the crankshaft can be set up between a
pair of centres. Measurement should be done on the
fourth main bearing journal.
The following values apply to the measured values
(total dial gauge indication):
l
< 0.2 mm: no action unless wear or surface
damage indicates re-grinding.
l
0.2 –0.7 mm: True the crankshaft carefully. Be
careful to avoid over-bending.
NOTE!
Do not true more than absolutely necessary.
l
> 0.7 mm: scrap the crankshaft since there is a
damage that cracking will occur during trueing.
4
Do a crack check in accordance with the instruction
below.
Repair instructions
Summary of Contents for TAMD61A
Page 2: ......
Page 86: ...84 References to Service Bulletins Group No Date Concerning ...
Page 88: ...7735718 4 English 08 1996 ...


