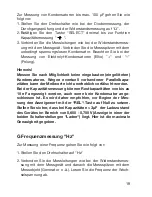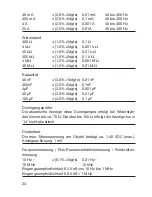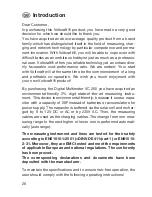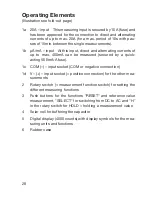
H Charging with 230V
Set the rotary switch to the switch position "CHARGE 230V MAX".
Connect the black measuring line with the COM socket and the red
measuring line with the "HzV
Ω
" socket. Then, connect the measu-
ring prods to a 230V power outlet. The measuring instrument requi-
res about 15 seconds to be optimally charged.
I Charging with 9V to 12V~/-
Set the rotary switch to the switch position "CHARGE 9-12V~/-".
Connect the measuring lines to the measuring instrument in the
same way as described for the charging process with 230V. Then,
connect the measuring prods to a 9 to 12V power supply (car bat-
tery, 9V compound battery, 9 or 12V plug-in power unit, etc.). The
measuring instrument requires about 15 seconds to be optimally
charged.
Note!
Even at an optimum sun incidence angle the energy of the solar
cell is not sufficiently high to charge the capacitor. It is to be
used as a buffer. It is provided to counteract a too rapid
discharge of the capacitor.
B Connecting the measuring cables
Before connecting the instrument check the connector plugs or
measuring prods and the insulation for damages.
The supplied measuring cables are approved for voltages of up to
max. 1000V. The measuring instrument VC-260 is designed for vol-
tages of up to 1000VDC or 750VACrms in the over-voltage category
II. Take particular care when dealing with voltages exceeding 30V
alternating current or 60V direct current.
33

