VoloAccess™
User Manual
Copyright © Vololink Pty Ltd 2006-2010
V1.43 July 2010
Page 39 of 78
●
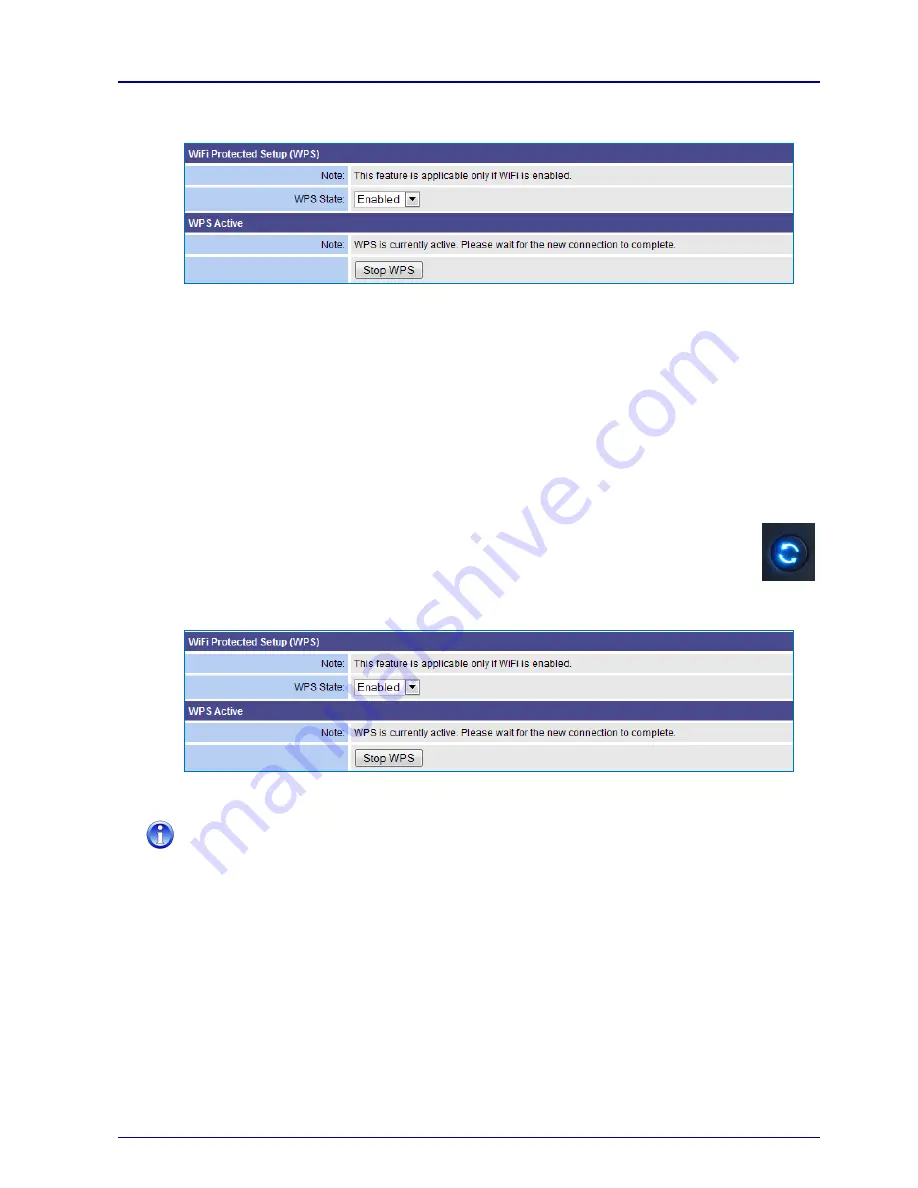
During negotiation the WPS page changes to reflect the
WPS Active
state and the WPS indicator on
the VoloAccess flashes.
●
After WPS negotiation has completed, verify the connection by selecting
LAN
>
View Leases
in
Admin.
PBC Method
●
On the client computer, run the Setup program supplied with the WPS-capable device. This usually
involves inserting the supplied CD into the computer‟s DVD/CD drive and allowing it to run
automatically. If this is not the case, refer to the user manual supplied with the WPS-capable device
on how to install the software.
●
The Setup program should take you through the steps required to connect to a WPS-capable Access
Point, in this case, the VoloAccess.
●
If an option for PIN or PBC method of connection is offered, select PBC.
●
Continue by following the steps offered by the Setup program.
●
If prompted by the Setup program to initiate WPS on the Access Point, press the
WPS
button (shown here) on the VoloAccess or, click the
Start
button in the
WPS
page of
Admin.
●
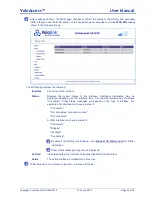
During negotiation the WPS page changes to reflect the
WPS Active
state and the WPS indicator on
the VoloAccess flashes.
●
After WPS negotiation has completed, verify the connection by selecting
LAN
>
View Leases
in
Admin.
You can still connect non-WPS-capable wireless clients using the process described in the next
section.


