Viz SDI I/O Module Operating Instructions
`15
V
IDEO
S
TANDARD
The
Video Standard
option is an important one, since it determines the framerate ‘family’ that the hardware
is able to access, and thus what formats will be available for input and output. Options are NTSC and PAL.
G
ENLOCK
The
Genlock
input on Viz SDI IO’s backplane is for connection of a ‘house sync’ or
reference signal
(typically
a ‘black burst’ signal intended specifically for this purpose). Many studios use this method to synchronize
equipment in the video chain. Genlocking is commonplace in higher-end production environments, and
genlock connections are typically provided on professional gear.
If your equipment allows you to do so, you
should
genlock all hardware sources supplying Viz SDI IO,
and
the
Viz SDI IO unit. To connect the genlock source, supply the reference signal from the ‘house sync generator’
to the
Genlock
connector on the backplane.
Note: The unit can use SD (Bi-level) or HD (Tri-level) reference. (If the Genlock switch is disabled, the unit
operates in an internally managed ‘free running’ mode, instead.)
In the
Genlock
control group, select the format of the reference signal you are supplying.
At this point, we’re ready to proceed to the
Live Desktop
, which is the normal operating environment.
SECTION 2.3
TITLEBAR & DASHBOARD
Viz SDI IO’s
Titlebar
and
Dashboard
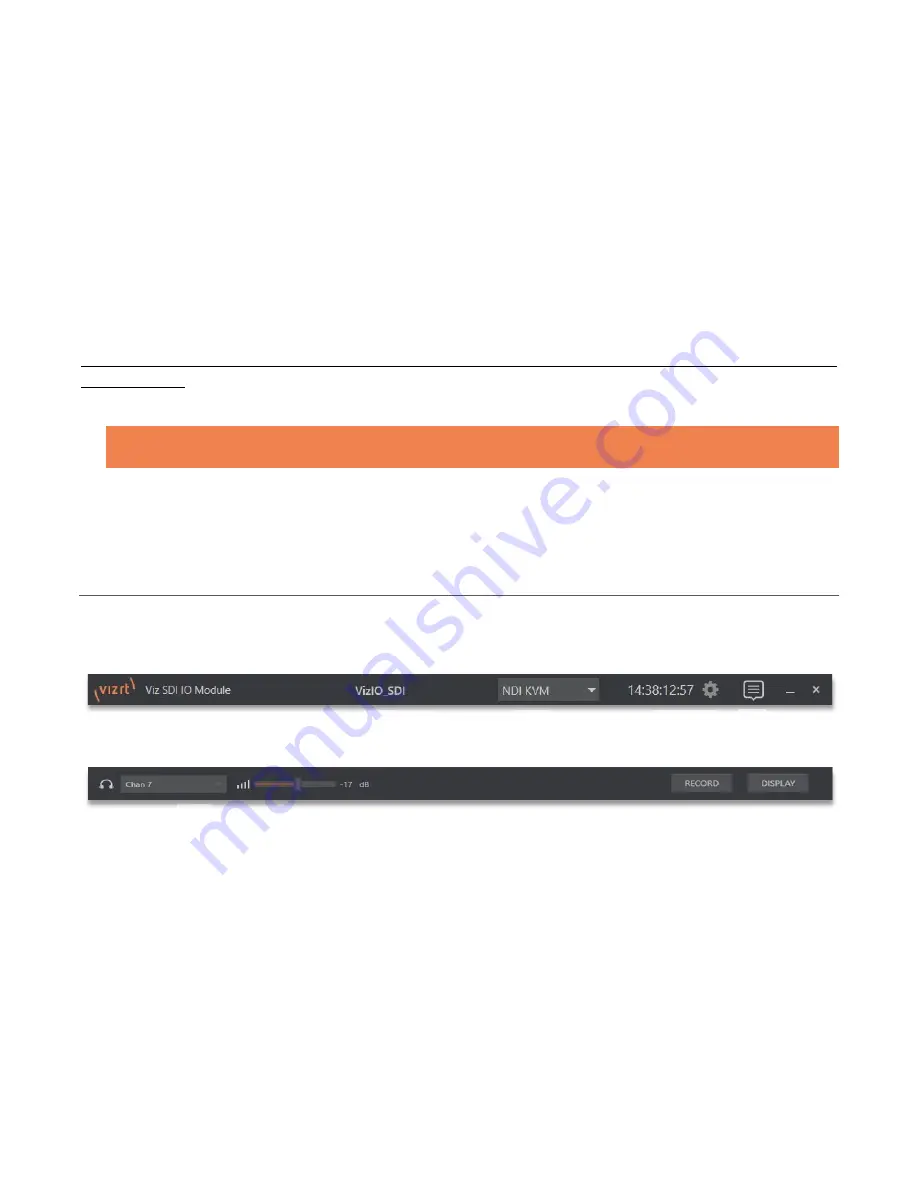
are home to a number of important displays, tools and controls.
Prominently located at the top and bottom of the
Desktop
, the
Dashboard
occupies the full width of the screen.
The various elements presented in these two bars are listed below (starting from the left):
1.
Machine name
(the system network name supplies the prefix identifying
NDI output channels)
2.
NDI KVM menu –
Options to control Viz SDI IO remotely via NDI connection
3.
Time Display
4.
Configuration
(see Section 2.2.1 )
5.
Notifications Panel
6.
Headphones Source and Volume
(see Section 2.3.1)
7.
Record
(see Section 2.3.1)
8.
Display
(see Section 2.3.1)
1
2
3 4
6
7
8
5


