


37
3.
Turn on the WiFi function on your device.
4.
In the network settings, select the SSID for your WiFi setup.
5. When prompted, enter the password to the selected SSID.
6.
Both the Qumi and your smart device are now connected to the same network
router, see the following image.
7. On the device, tap the EZCast Pro application to open.
Note:
The device must be networked to the Qumi prior to opening the EZCast Pro application.
8. Tap
EZCast Pro
to display the EZCast Pro menu. If the no other menu displays, your
smart device does not detect the Qumi on the network.
9. In EZCast Pro menu, tap
Setting
.
10.
In the Setting menu, use your smart device or the remote to select
Internet
.
11. Tap or press on the remote to continue.
12.
Press the ▲ or ▼ on the remote to select a listed SSID and press
.
13.
Once the SSID is selected, a password prompt displays. Enter the correlating
password if required. Tap or click
OK
to enter. Tap or click
Cancel
to stop the
process. Click
Forget
to remove the selected WiFi profile.
Note:
1. Both Qumi and the device must be setup to use the same network subnet. Failure to
setup the network correctly prevents access to the Qumi.
2. After setting up the wireless connection, the connection between your smart device and
the Qumi may be dropped. Connect to the Qumi again to continue using the EZCast Pro
app.
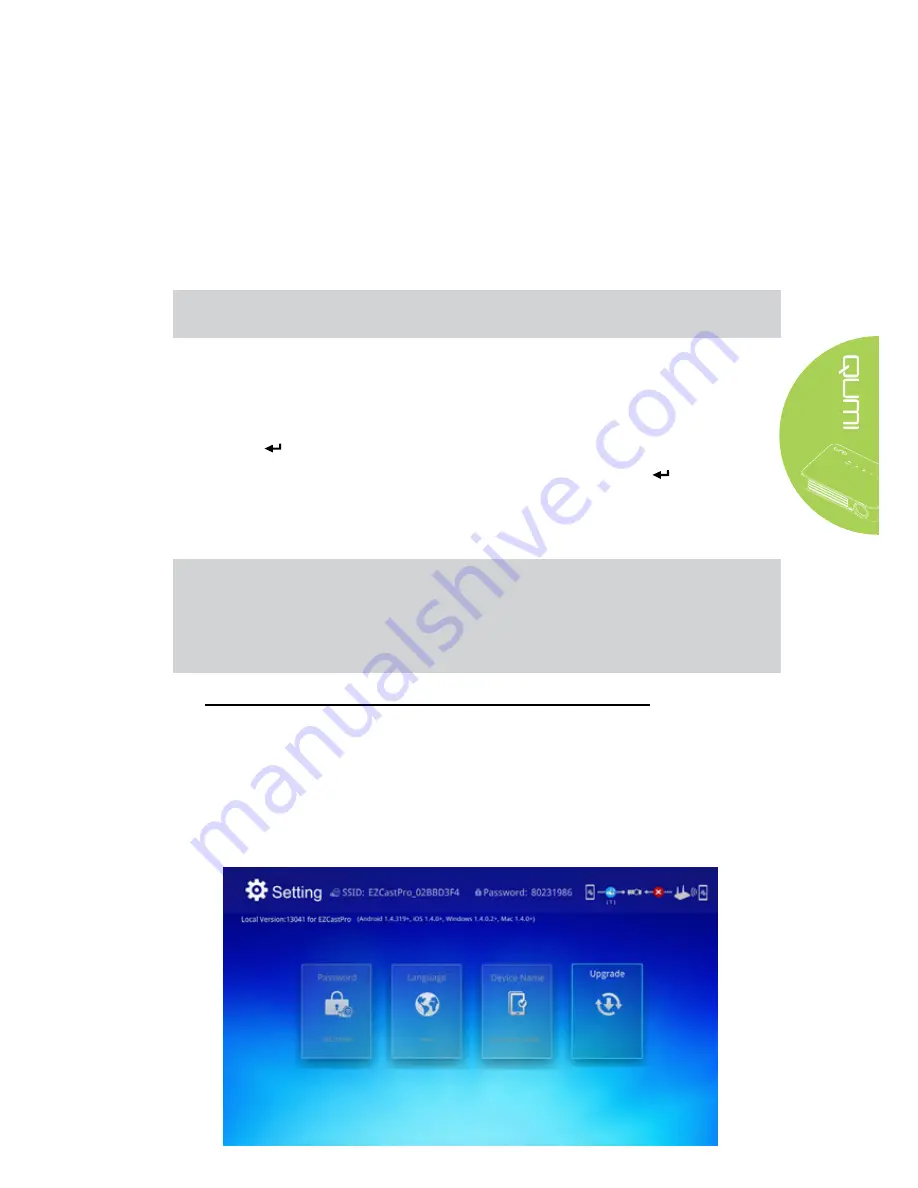
OTA Upgrade FW (Media Firmware Upgrade Over The Air)
Connect to Internet and use OTA function to check latest FW then upgrade.
In
Setting
menu, you can update the latest FW over the air.
1.
EZCast Pro
connected from App.
2. Choose
Setting
.
3. Select
More
4. Select
Upgrade
Summary of Contents for QUMI Q6
Page 1: ......
Page 76: ...70 Qumi Dimensions 102mm 4 03 165mm 6 6 34mm 1 34...


