4 Data Logging
Page 24 of 57
c.
Green
indicates that the frequency will be available both in the locator menu and frequency select
key.
d.
Blue
shows active line.
3. Make the selections required.
4. Clicking on the “Send Cfg” icon will send the configuration to the locator.
4.4.8
Saving a Configuration
Having created a configuration it is possible to save this for future use.
To save a configuration:
1. Click on the “Save Cfg” icon.
2. Browse to a desired file location.
3. Create a name for that file, the extension will be: filename.vmcfg.
4. Press “Save” in the window.
To retrieve the file:
1. Click on the “Open Cfg” icon and browse to select the desired file.
2. Click on “open” in the window.
3. The file will populate the MyLocator2 screen automatically with the settings from the configuration file.
4.4.9
Configuration Lock Dongle
A Configuration Lock dongle is available that allows “lockout” of features and functions so that operators are
forced to use particular settings. The dongle is also used to unlock these features.
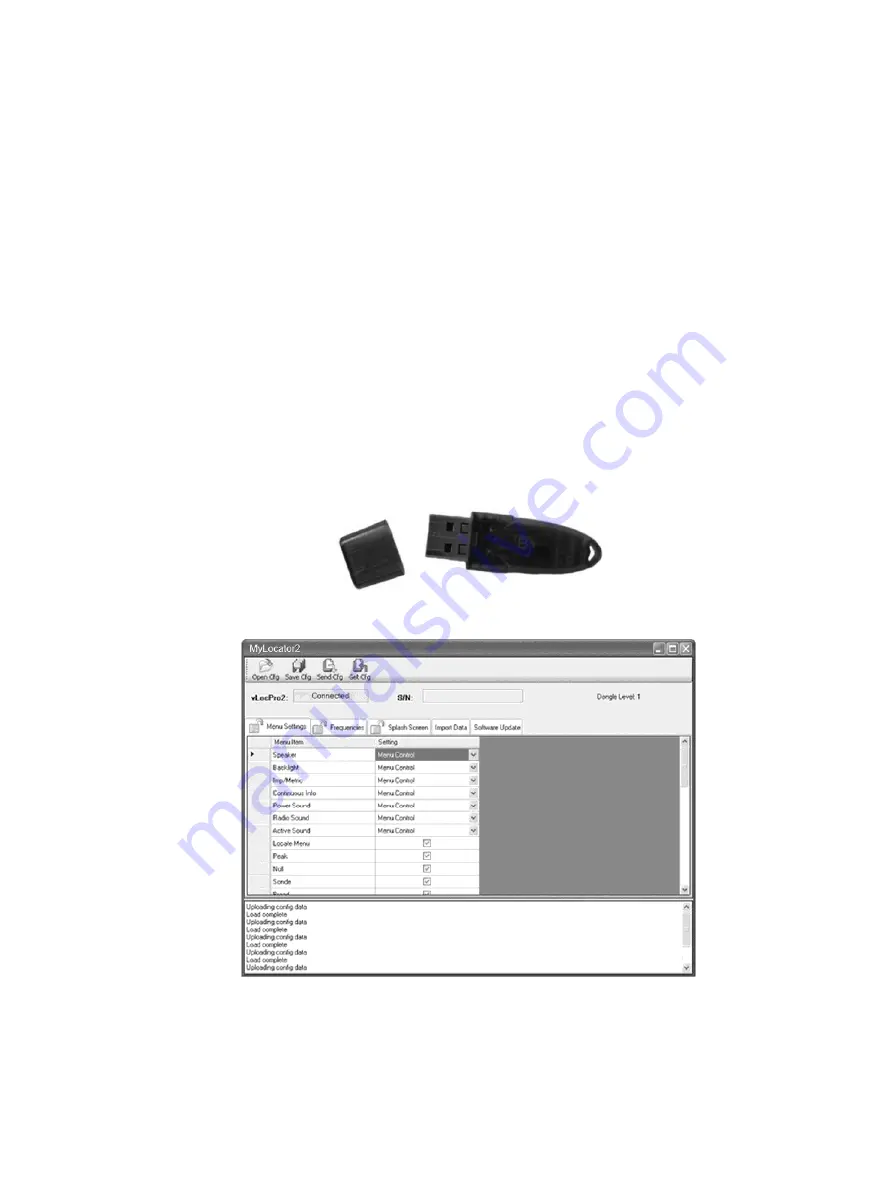
To activate the dongle, plug it into any USB socket on the host computer.
With the dongle active, the MyLocator2 screen will look similar to the picture below.
Note the padlocks on the three tabs, Menu Settings, Frequencies and Splash Screen.
When a locator is configured with these locks activated, the menu and frequency options in the locators user
menu will not appear, stopping the user from altering the settings downloaded to the locator by the Dongle
activated MyLocator2 facility.
To activate the padlocks simply double click on the desired tab.
[email protected] | 13309 Beach Ave. Marina del Rey, CA 90292 | Phone: 800-WCT-PROD (800-928-7763) | Fax: 310-306-9343


