BASIC FEATURES
21
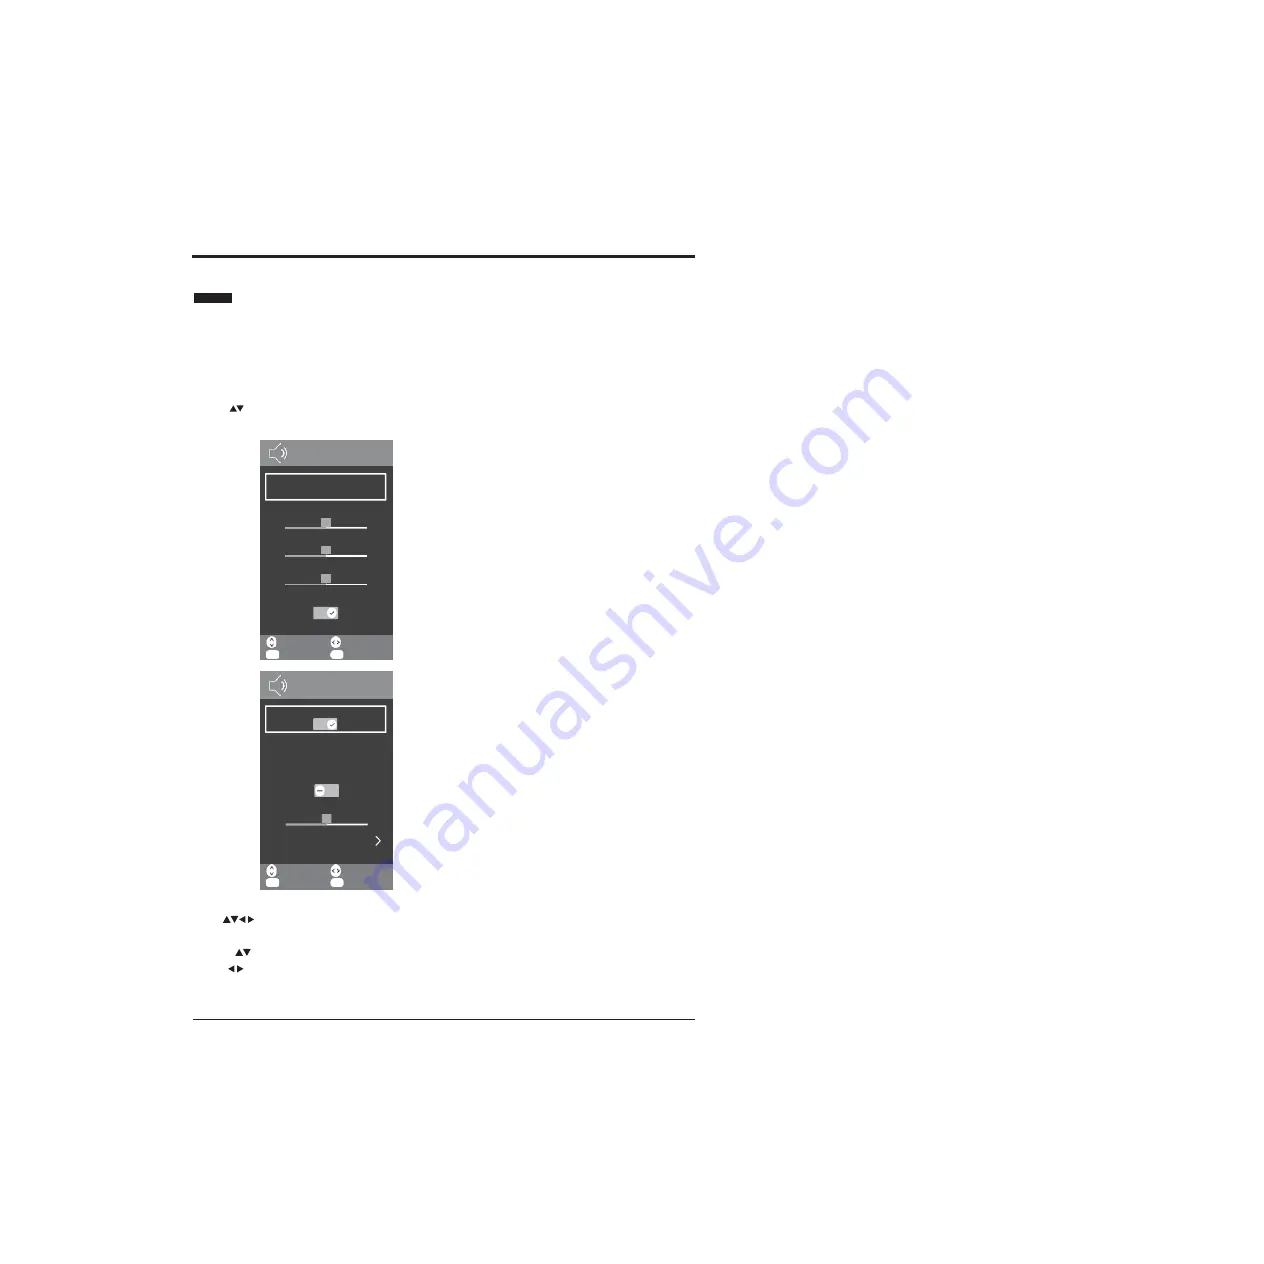
SOUND MENU
This menu allows you to select the best preset sound
mode or change them yourself.
Note: The menu shown in the diagram has been
extended to show all available options. You will need to
Sound Mode: Choose between Standard / Music / Movie
/ Sports / Personal modes.
Treble: Use to adjust the amount of treble in the TV’s
sound.
Bass:Use to adjust the
amount of bass in the TV’s sound.
Balance: Use to adjust the relative volume of the speakers
in a multiple speaker system.
use the
buttons to scroll through the menu to view all
of the options.
Auto Volume Level: Turn On/Off to automatically adjust
volume levels (e.g. volume levels in adverts are generally
louder than programmes).
Surround Sound: Switches the virtual surround sound
feature on or off.
Digital Audio Output: Use when a digital audio
connection is
attached to your TV. Select between PCM / Auto / Off.
Audio Description: Turn On or Off the audio description.
AD Volume: Use the to set the volume of the audio
description.
Audio Language: Select audio language
Note: If you want to change the sound mode, repeatedly
press S.MODE button on the remote control until you find
the one you want.
PLEASE NOTE
Surround Sound must be switched off to
change Sound Mode and EQ settings.Adjusting any
picture or sound settings will automatically change
the mode to Personal.If you wish to reset all picture
and sound adjustments:MENU>SETTINGS>Reset
Factory Default.
1.
Press MENU button to display the main interface, then
use
buttons to navigate and select SOUND
menu and press OK button to enter.
2.
Press
buttons to select the following options and
use
buttons to adjust each option’s setting.
Adjust
EXIT
Exit
Move
OK
Select
Sound Mode
Personal
Standard
Music
Treble
50
Bass
50
Balance
50
Auto Volume Level
1
/
10
SOUND
Adjust
EXIT
Exit
Move
OK
Select
AD Volume
50
Audio Language
Digital Audio Output
PCM
Audio Description
Surround Sound
6
/
10
SOUND
Summary of Contents for Infinite Vision 24SOLO1
Page 1: ......
Page 11: ...9 PREPARATION Remote Control...
Page 12: ...10 CONNECTING EXTERNAL DEVICES...
Page 41: ...39...
Page 42: ......


