


2. Getting Started
1. Plug the VPMP-75511R / VPMA-75511R Storage Appliance into an AC power
outlet and turn the VPMP-75511R / VPMA-75511R power switch to ON.
2. Attach the VPMP-75511R / VPMA-75511R Storage Appliance to the host computer
with an external SATA cable.
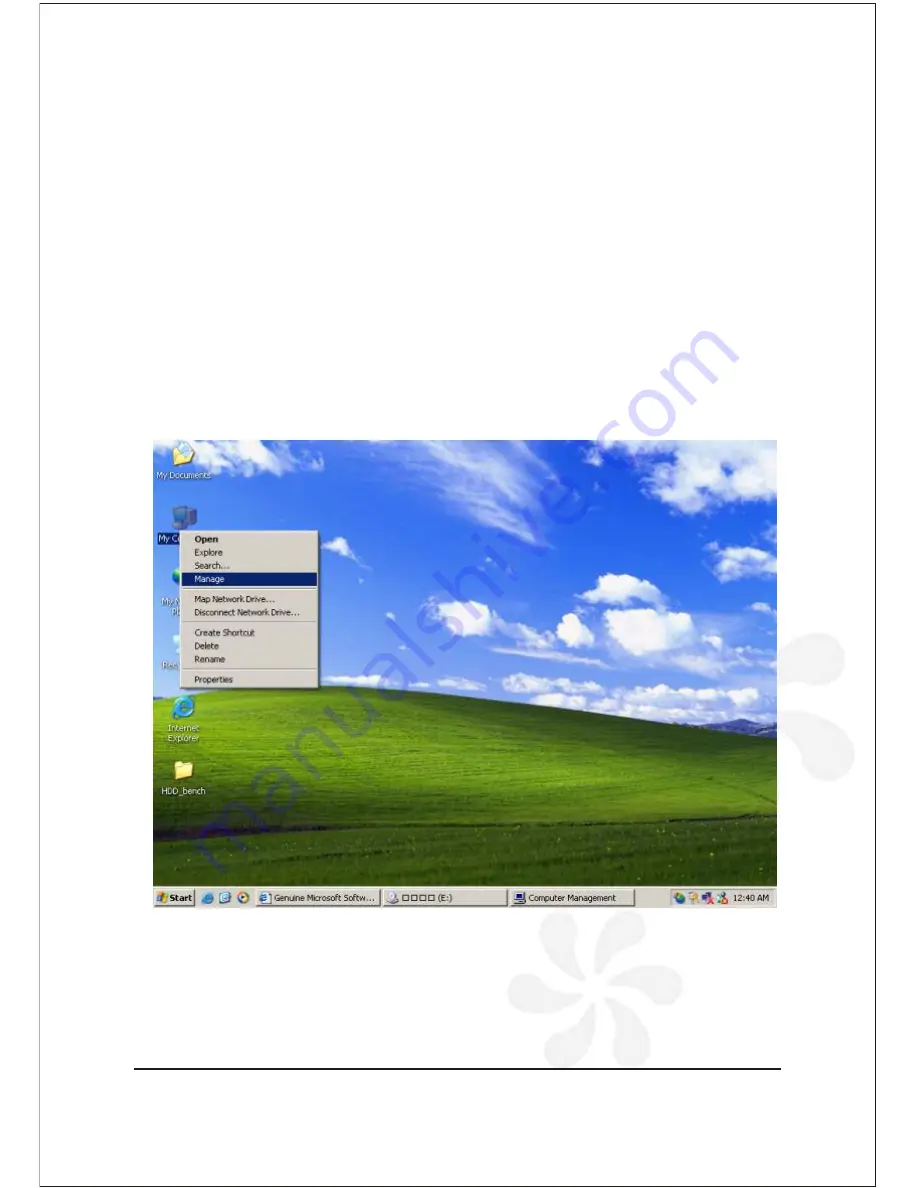
3. Right-click the
My Computer
icon on your desktop and select
Manage
from the
pop-up menu.
MS Windows
4. Click
Disk Management
under
Storage
to view the disk drives.
5. If an
Initialize and Convert Disk Wizard
dialog appears, click
Cancel
to close the
Wizard and proceed to
Disk Management
.
5 Bay Raid System User Manual 3
2-1 Connect the Host to the
VPMP-75511R / VPMA-75511R
Start the SteelVine Manager
Summary of Contents for VPMA-75511R
Page 16: ...14 5 Bay Raid System User Manual Toolbar Buttons on the Advanced Configuration Wizard...
Page 20: ...18 5 Bay Raid System User Manual 5 Select Create a new volume from the toolbar...
Page 24: ...22 5 Bay Raid System User Manual 17 Click Update Volume...
Page 25: ...5 Bay Raid System User Manual 23 18 Click Update Volume...
Page 33: ...5 Bay Raid System User Manual 31 5 Select the Primary or Extended option and click Next...
Page 35: ...5 Bay Raid System User Manual 33 7 Assign a drive letter or mount path and click Next...
Page 36: ...34 5 Bay Raid System User Manual 8 Select file system and name the partition and click Next...
Page 48: ...www vipower com...


