Vig395P Motherboard Manual
76
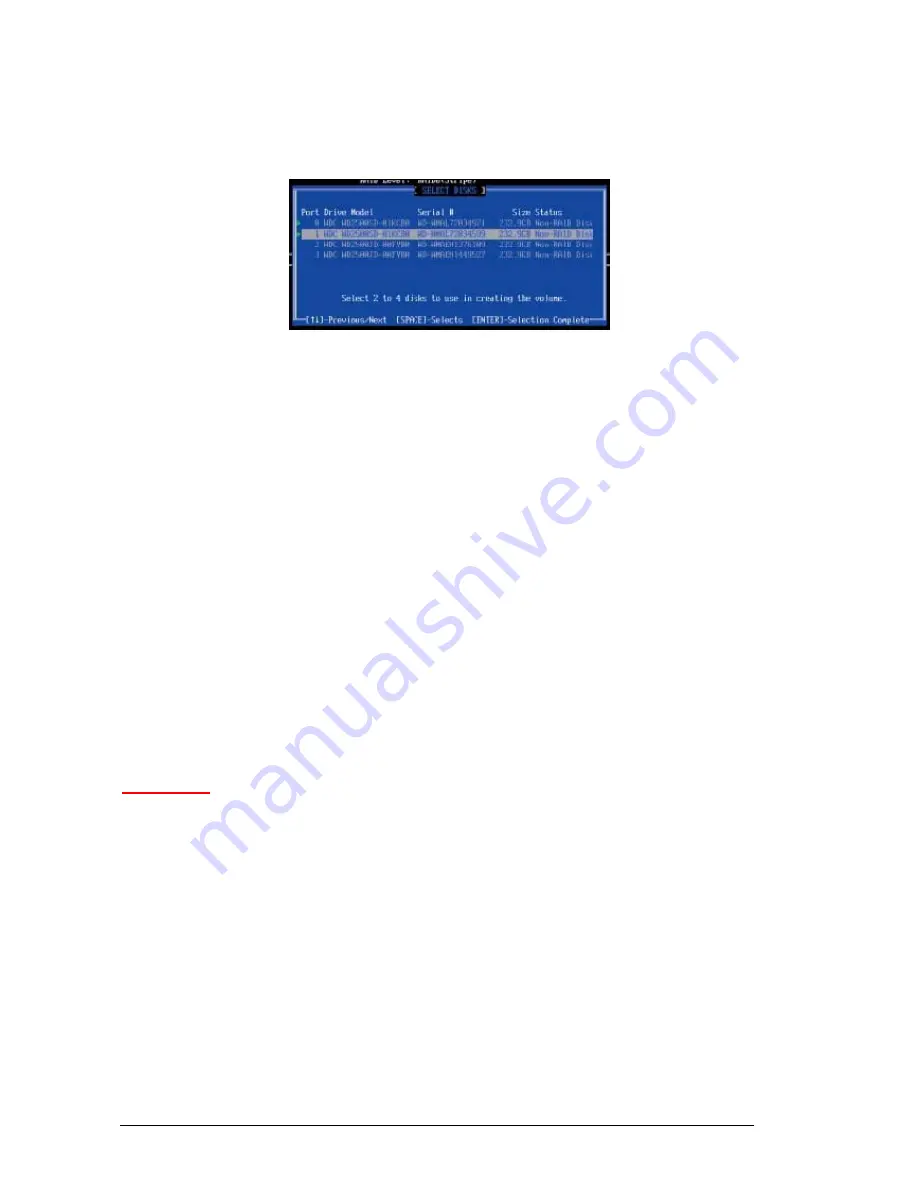
4. When the Disk item is highlighted, press <Enter> to select the HDD to configure as
RAID. The following pop-up screen (See Note on Page 70) displays:
Figure 52:
Selecting Drives for RAID 5 (Parity) Volume
5. Use the <Up Arrow>, <Down Arrow> keys to highlight a drive and press <Space> to
select it. A triangle appears to confirm the selection of the drive.
6. Use the <Up Arrow>, <Down Arrow> keys to select the stripe size, ranged from 4
KB to 128 KB for the RAID 5 array, and hit <Enter>.
Note:
For a server, please use a lower stripe size, and for a multimedia system, use a
higher stripe size. The default stripe size is 128 KB.
7. Enter your desired RAID volume capacity and press <Enter> when the capacity
item is highlighted. The default setting is the maximum capacity allowed.
8. Press Enter when the Create Volume item is highlighted. A warning message
displays.
9. When asked "Are you sure you want to create this volume (Y/N), press "Y" to create
the RAID volume, or type "N" to go back to the Create Volume menu.
Deleting RAID Volume
CAUTION!!
Be sure to back up your data before deleting a RAID set. You will lose all data on
the disk drives when deleting a RAID set.
1. From the main menu, select item2-Delete RAID Volume, and press <Enter>.
2. Use the <Up Arrow>, <Down Arrow> keys to select the RAID set you want to delete
and press <Del>. A Warning message displays.
3. When asked "Are you sure you want to delete this volume (Y/N), press "Y" to delete
the RAID volume, or type "N" to go back to the Delete Volume menu.


