


28
|
ViconNet VN-NVR Shadow Installation and Configuration Guide
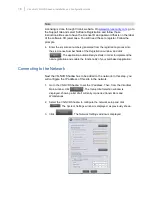
Change Network Settings
1. Right click on Start and choose the “Explore” option.
2. Right click on “My Network Places” and choose “Properties.”
3. Right click on the “Local Area Connection” icon and choose ''Properties.”
4. Left click the “Advanced” tab and click Settings.
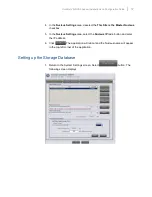
5. Make sure that the green shield with the check mark is selected On for
the Windows Firewall. Click OK.
6. Left click the “General” tab.
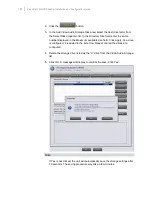
7. Scroll down the menu and double click on “Internet Protocol (TCP/IP).”
8. Enter the “IP Address,” “Subnet mask.”
9. “Default Gateway” and “DNS” are optional and might be used while
connecting to the Internet, etc.
10. Press “OK” and then OK again to approve the network settings.
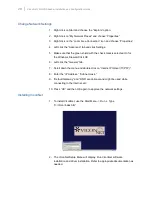
Installing ViconNet
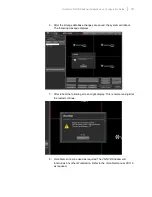
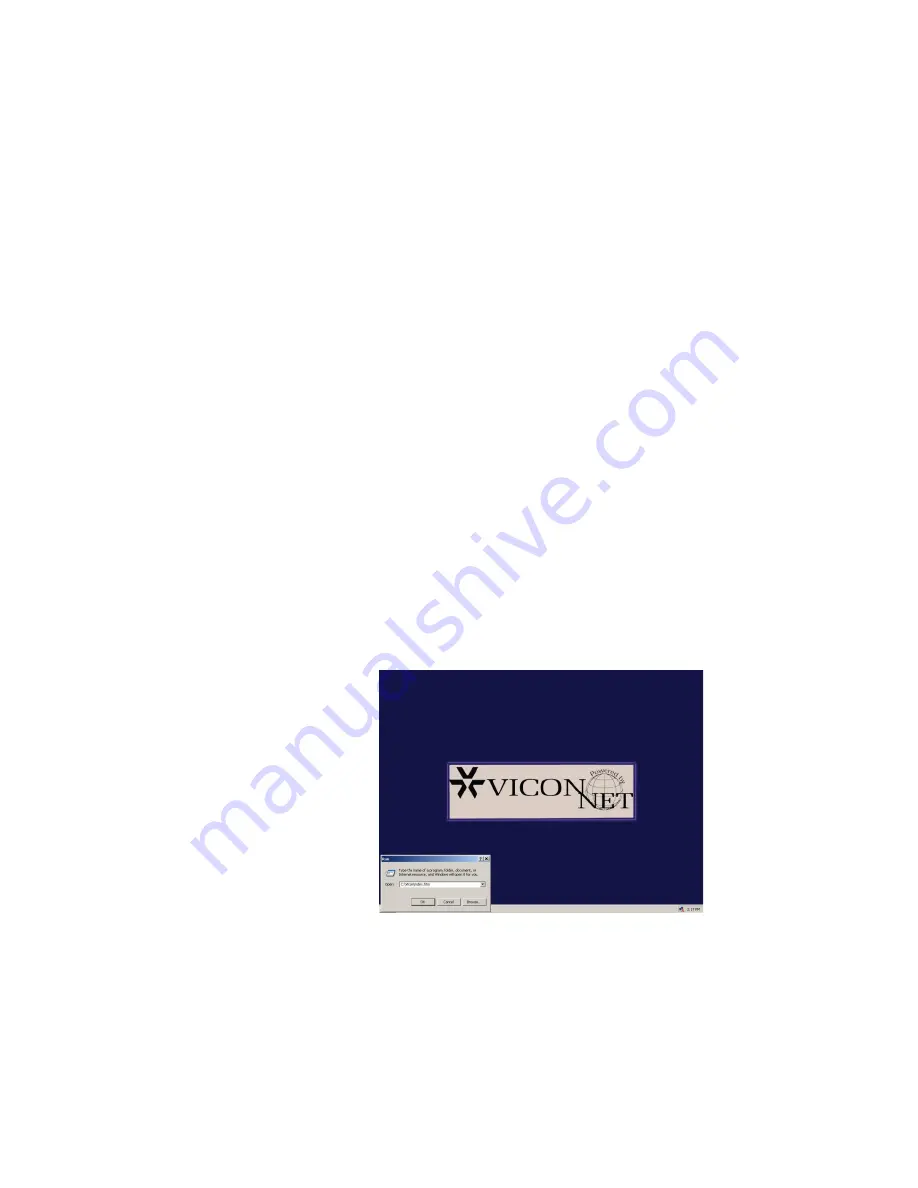
1. To install ViconNet, use the Start Menu -> Run -> Type
“C:\Vicon\Index.htm”.
2. The ViconNet Setup Menu will display. Run ViconNet software
installation and driver installation. Refer to appropriate documentation as
needed.


