background image

Manual   page 8 

DETERMINING PROPER SPAN GAIN (F2) 

Note: Normally done from factory. 

OVERVIEW 

The Span Gain parameter found in F2 of the Setup Menu is directly related to the ADC (Analog to Digital Converter) integration time. This 
means that the lower the setting, the higher the number of measurements per second. A span gain setting of 

25

 produces about 25 to 30 

measurements per second, while a span gain of 

200 

produces only about 3 or 4 measurements per second. 

There is really no wrong setting for span gain – except in two cases. Using a low setting for a high resolution, low output system could yield 
instability. Using a high setting in a high output system could yield non-linearity. 

SETTING THE INITIAL VALUE FOR SPAN GAIN 

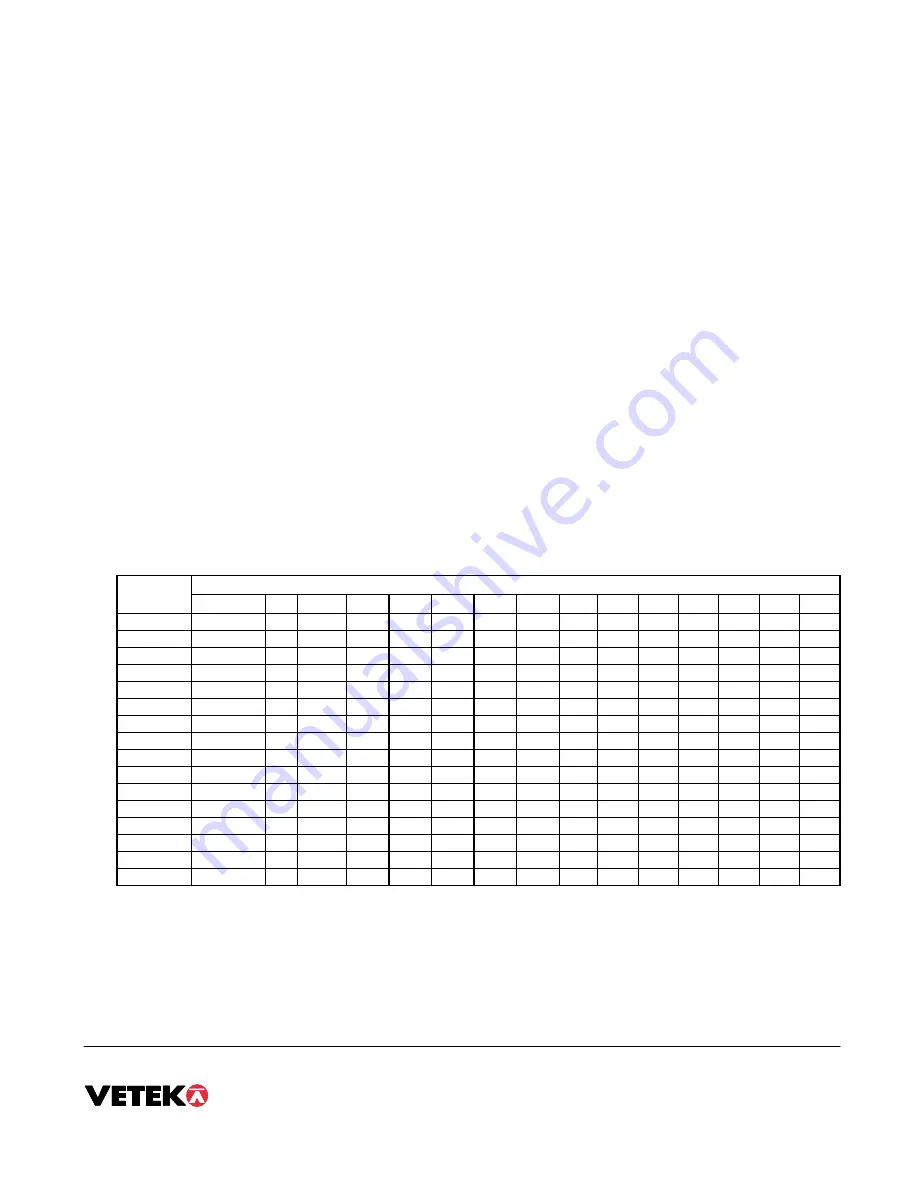
1. Determine the number of desired external graduations and choose the corresponding value listed in Table C-1 under the number closest to

your full-scale input range in millivolts.

2. Enter the Setup Menu and save this number for the Span Gain parameter in F2.

3. Perform a system calibration. If the calibration proves unsuccessful, or you wish to view the internal counts, proceed to the next set of

instructions.

VIEWING THE INTERNAL COUNTS 

1. Enter the zero calibration menu (F16) and follow steps 1 to 3, 

but do not save the zero point.

2. After pressing 

ZERO

 to zero the offset, place the test weight(s) on the platform. The displayed count is the internal count. If the count

remains on zero, check your load cell connections.

3. At full scale, the displayed count should be a minimum of 2 times the desired external graduations. However, for maximum stability, a ratio

of 6:1 or higher is recommended.

4. If the displayed count is large enough, remove the test weight(s), re-zero the indicator if necessary, and proceed with the calibration. If the

displayed number is 

not

 large enough, increase the Span Gain to the next highest choice in the Setup Menu and re-calibrate.

External


Full Scale Input Range (mV/V)


Grads


0.2 

0.4  0.6 0.8 1.0 1.2 1.4 1.6 1.8 2.0 2.2 2.4 2.6 2.8 3.0 

500 

75 

50  25  25  25  25  25  25 25 25 25 25 25 25 25 

1,000 

150 

75  50  50  25  25  25  25 25 25 25 25 25 25 25 

1,500 

200 

100  75  50  50  50  25  25 25 25 25 25 25 25 25 

2,000 

– 

150  75  75  50  50  50  50 25 25 25 25 25 25 25 

2,500 

– 

200  100  75  75  50  50  50 50 50 50 25 25 25 25 

3,000 

– 

200  150 100  75  75  50  50 50 50 50 50 50 25 25 

4,000 

– – 

150 150 100  75  75  75 50 50 50 50 50 50 50 

5,000 

– –  200 150 150 100 100  75 75 75 75 50 50 50 50 

6,000

– – 

200 150 150 100 100 75 75 75 75 75 50 50 

8,000

– – – 

200 150 150 150 

100 100 100 75 75 75 75 

10,000

– 

– – – 

200  200  150 150 150 150 100 100 100  75 

12,000

– 

– – – – 

200  200 150 150 150 150 150 100 100 

15,000

– 

– – – – – 

200 200 200 150 150 150 150 

20,000

– 

– 

– – – – – – – 

200 200 200 150 

30,000 

– 

–  – – – – 

–  – – – – – – – – 

40,000 

– 

–  – – – – – – – 

– 

– – 

– – 

Summary of Contents for TI-1200

Page 1: ...geable battery and with a smaller cabinet Note When TI 1200 is shipped as a part of a complete Scale e g AV 250 seies and AL 100 21 the Scales are normally calibrated When TI 1200 is shipped together with Loadcells it is adjusted to the application but a calibration is always needed at the place of installation EC type approved non automatic weighing instrument Number FI 01 1 04 Accuracy class Man...

Page 2: ...erate identically All readout up to 50 000 display divisions on a liquid crystal display LCD with back light All set up parameters may be entered via the front panel keys including calibration An external power supply is included The external power supply functions 9 VDC as a charger for the rechargeable battery The power supply may also be used as the main power supply TEST CERTIFICATE Number FIT...

Page 3: ...pplications is the charger board disconnected and the power is connected direct to J2 In this case the battery normally is removed If you want it is possible to demount the contact and connect the cable direct to battery charger or J2 Note centre contact The cable from the Loadcell s should be connected to J1 Remove a sufficient part of the external isolation to avoid strength on the wires Colours...

Page 4: ...able direct to battery charger or J2 Note centre contact Calibration Normal The cable from the Loadcell s should be connected to J1 Remove a sufficient part of the external isolation to avoid strength on the wires Colours se next page Connect the shield to E Display PCB Calibration switch Automatic start Automatic start Short transistor Q1 between above two points ...

Page 5: ...used as a simplex RS 232 port designed for connection to a remote display Connect your serial printer remote display or computer communication cable not included to terminal J3 on the main board J3 GND RXD TXD nc nc Figure 2 3 Connection assignments for the serial communication terminal Terminal J1 Loadcell Input Output Input Output Loadcell Input Output Input Output If more than one Loadcells all...

Page 6: ...press ZERO OFF down key once The current saved selection is shown 3 To move to a new F heading use TARE left or ON PRINT right key to move right or left in the Setup Menu Chart 4 If you want to go back whithout saving press lb kg 5 If a digit flashing use lb kg and ZERO OFF for choosing value 6 To save a new selection press the NET GROSS Set key To exit without saving press the PRINT up key to ret...

Page 7: ...he desired formula which determines the point at which the indicator shows overload All selections are based on the primary unit selected in F8 FS Full scale in primary units FS FS 2 US FS 1d FS 9d CE F8 Calib Unit Selects the primary base unit to be used in the calibration process Also the default unit for normal operation 1 primary unit is lb 2 primary unit is in kg 1 US 2 CE F9 Display Division...

Page 8: ...o 3 but do not save the zero point 2 After pressing ZERO to zero the offset place the test weight s on the platform The displayed count is the internal count If the count remains on zero check your load cell connections 3 At full scale the displayed count should be a minimum of 2 times the desired external graduations However for maximum stability a ratio of 6 1 or higher is recommended 4 If the d...

Page 9: ...t the power A1 Baud Rate 1200 2400 4800 9600 A2 Data Bits Parity 8n 7O 7E A3 Transmission Mode C d A4 Display Check A5 Enable lb kg Key 0 1 Press ZERO key to begin A7 ID No Enable A6 Serial Port Mode 0 1 0 1 A8 ID No Entry Press ZERO key to begin A9 No of Line Feeds Press ZERO key to begin 7n A10 Auto Power Off 5 8 10 15 OFF 1 2 3 20 30 ID Number Entry A8 1 While in the User Menu mode scroll to A ...

Page 10: ... to scroll down one level begins the test sequence Press ZERO key to begin sequence A5 Disable the lb kg Key Allows the lb kg key to be disabled so that an operator cannot accidentally press the key and change the displayed units 0 Disable the lb kg key 1 Enable the lb kg key 0 CE 1 US A6 Serial Port Mode Selects the mode of the RS 232 serial port Refer to Bilaga B for more information 0 Full Dupl...

Page 11: ...lected in F10 Place the test weight on the weighing mechanism 3 Use the four directional keys to adjust the displayed value to the actual test weight value Increase the flashing digit by pressing the lb kg key Decrease the flashing digit by pressing the ZERO key Pressing the TARE key or the PRINT key will change the position of the flashing digit 4 After setting the exact value press the NET GROSS...

Page 12: ...en revert back up to F19 KEY IN SPAN CALIBRATION VALUE F20 Note This procedure is intended for emergency use only in the case of non volatile memory loss A valid span calibration value obtained from a successful F17 calibration procedure must be used 1 While in the Setup mode scroll to F 20 then scroll down once using the ZERO key 2 The display will momentarily show CAL 1 followed by a flashing ze...

Page 13: ...ROM 256 x 8 external to uC Digital Filtering Software selectable SERIAL COMMUNICATIONS Serial Port Full Duplex 1200 2400 4800 9600 Baud 8 data bits no parity 1 stop bit 7 data bits odd parity 1 stop bit 7 data bits even parity 1 stop bit 7 data bits no parity 2 stop bits OPERATOR INTERFACE Display 0 75 19 mm 7 segment Liquid Crystal 6 Digit Additional Symbols Net Gross Stable Tare lb kg Zero Keybo...

Page 14: ... will not respond if the scale is in motion positive overload or negative overload Z This command is sent to the indicator to zero the scale The indicator will not respond if the scale is in motion positive overload or negative overload The indicator will also not respond if it is not in gross mode or within the zero range specified in F4 of the Setup Menu T This command is sent to the indicator t...

Page 15: ... A7 of the User Menu ID NO 123456 GROSS 25 00 LB TARE 1 48 LB NET 23 52 LB INDICATOR PRINTER 3 RXD CTS 2 TXD 3 S GND 5 20 DTR 7 S GND DSUB9 DSUB25 FIGURE B 3 Print Ticket FIGURE B 4 Cable Diagram for Indicator to Printer SIMPLEX MODE The Simplex Mode provides a continuous serial transmission mode and is selected by setting A3 to C and A6 to 0 The Continuous mode is used to interface to computers s...

Page 16: ...dicator needs service Err 5 Key in Span Calibration Mode F20 You have attempted to enter a zero value for C1 Enter a known calibration value greater than zero Err 7 Initialization No reading from the ADC Make sure there is a load cell s connected to the indicator at start up Err 9 Normal Operating Mode Span calibration value has been lost Re calibrate the scale Fault localization If it is problem ...

Page 17: ...ht is within 0 25 divisions of true zero N Indicates that the indicator is displaying net weight G Indicates that the indicator is displaying gross weight T Indicates that a tare weight has been established in the system lb kg Indicates the unit of the displayed weight Indicates a low battery condition Re charge the battery Indicates stable reading ...

Page 18: ...tor is off the PRINT key is used to turn the indicator on GENERAL SCALE OPERATION WEIGHING AN ITEM 1 Select the desired weighing unit by pressing the lb kg key until that unit is indicated on the display 2 If necessary press the ZERO key to obtain a weight reading of zero 3 Place the object to be weighed on the scale s platter and allow the weight indication to stabilize If the item weight exceeds...

Reviews: