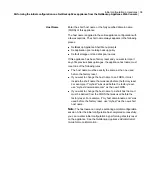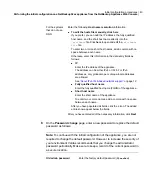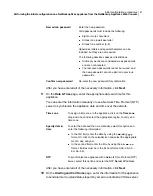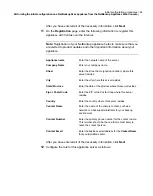
■
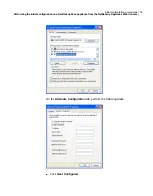
For the
IP address
, enter
192.168.229.nnn
, where
nnn
is any number
from 2 through 254 except for 233.
■
For the
Subnet mask
, enter
255.255.255.0
.
■
Click
OK
.
2
On the laptop that is connected to the appliance, open a web browser to the
following URL:
https://192.168.229.233
Note:
Starting with NetBackup appliance software version 2.6.0.4, the
NetBackup Appliance Web Console is accessible only over HTTPS on the
default port 443. Port 80 over HTTP has been disabled. The exception to this
change is in NetBackup appliance software version 2.6.1. With that version,
the NetBackup Appliance Web Console is accessible only over HTTPS on the
default port 80.
3
Log on to the appliance as follows:
■
For
User Name
, enter
admin
.
■
For
Password
, enter
P@ssw0rd
.
4
On the
Welcome to Appliance Setup
page, review the summary of information
that you need to perform the initial configuration.
■
Download Configuration Checklist
To help with the initial configuration, click this link to open a file where you
can record all of the configuration settings. Veritas recommends that you
print this file and fill it out for use as you perform the configuration. Then
store it in a secure location for future reference.
■
Setup Appliance
After you have filled out the configuration checklist, click this item to start
the configuration.
5
On the
Appliance Hardware Inventory
page, verify that the appliance has
detected the correct number of connected hardware devices.
If any connected devices are not displayed, click
Rescan
.
When all connected devices have been detected and are displayed, click
Next
to start the initial configuration.
If any connected devices are still not displayed, check the following items:
■
Verify that all cables are connected and secured.
34
Initial configuration procedures
Performing the initial configuration on a NetBackup 52xx appliance from the NetBackup Appliance Web Console


