Page 8 of 65
Turning the camera on
Step 6
. Observe the IP address display on the lower left side of the camera and refer to the next section.
2.2 Getting an IP address
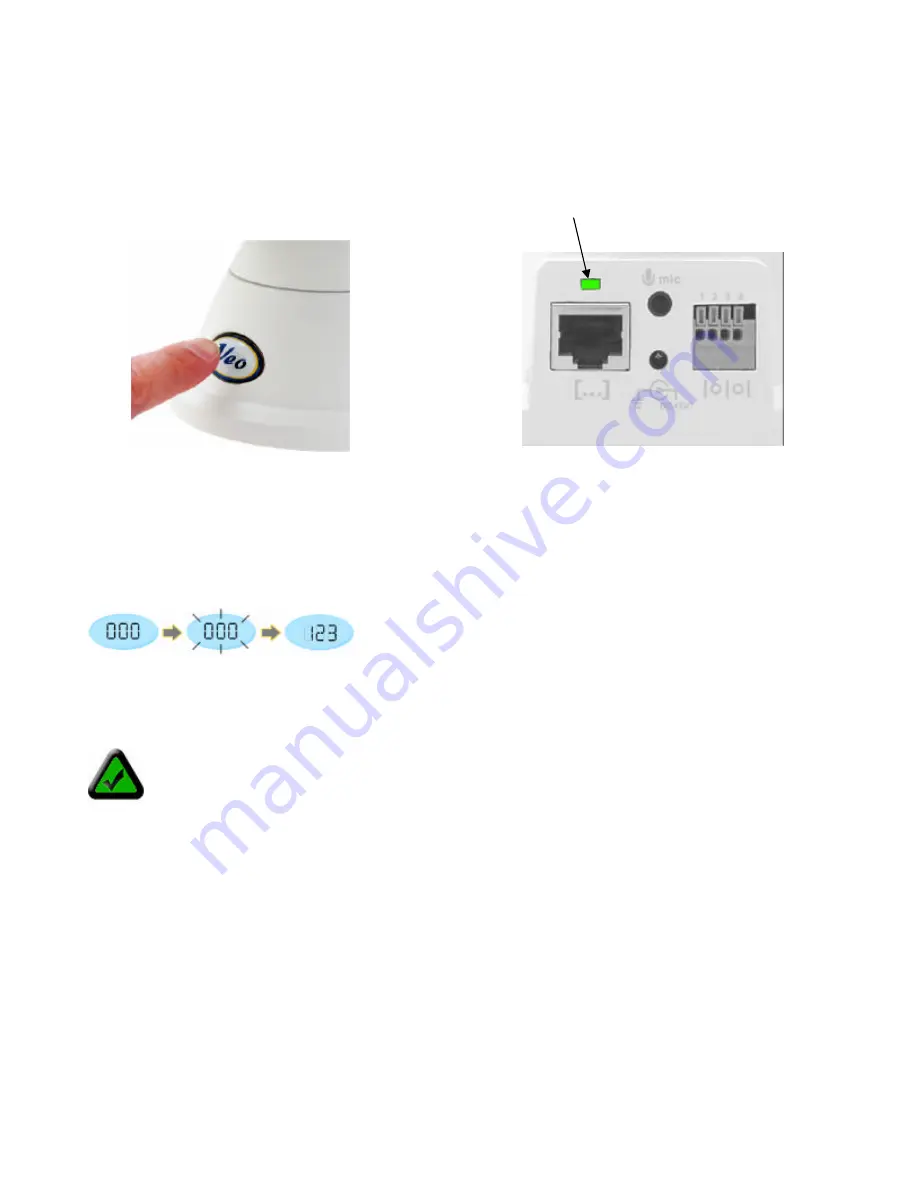
As soon as you power up your camera you’ll notice that the IP address display starts blinking. This means the
camera is searching for an IP address using DHCP. After a few seconds the display stops blinking and shows
the last 3 digits of the address it received.
At this point the camera is communicating with your network and is ready to be accessed. You’re almost ready
to access its home page and begin using the camera. This is accomplished by one of two easy methods.
Method B offers a shortcut but you need to know a little more about your network to use it.
Note:
If the display continues to blink for more than a minute, your network may not support DHCP
and you will need to assign an address manually. Refer to
Section 5.1: Manually Assigning a
Static IP Address
for more information on manually assigning an IP address.
Step 5.
Check that the green
Ethernet status LED on the back of
the camera is lit indicating a good
LAN connection. The LED will blink
when there’s activity.
Step 4
. Press the power button on
the front of the camera to turn it on.
The button lights up confirming that
the camera is powered up.


