- 9
Veo Europe_VIPN-2xxx Observer Plus_UserManual rev1.0 EN
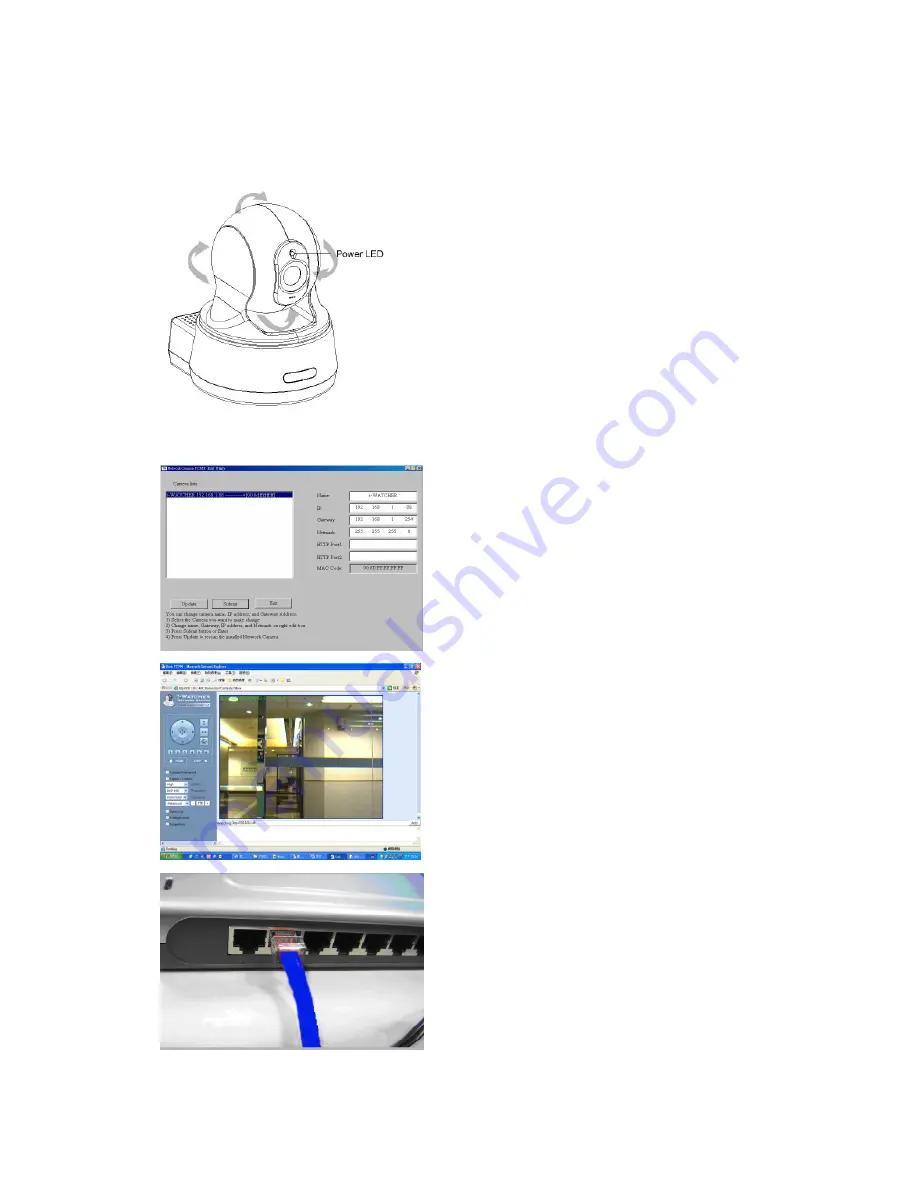
Step 4. Ensure the Camera power light is lighting
When the Observer Plus is connected with power,
the LED light on top of the Observer Plus will light
up. This indicates that the Observer Plus is powered
on.
Wait 45 sec to 60 sec, camera will auto pan tilt
and moving camera center
Step 7. Connect Camera to the ADSL Modem
or LAN Hub
1. Remove the Red LAN cable from the PC when all
the settings are completed.
2. Reconnect the existing network cable to the PC.
3. Using the blue network cable provided, connect
one end to the IP-Cam, and the other, to the
ADSL model of LAN hub.
4. Return to Step 6
Step 6. Using IE to view Observer Plus image
1. Start the Internet Explorer, key in the IP Address
of Observer Plus into the Address field, such as
192.168.1.245.
2. Turn the lens to the left or right to adjust the
clarity of the focus.
Step 5. Using IPEdit.exe to test the IP-Cam
1. Use IPEDIT.EXE to find the installed Observer Plus.
2. The Observer Plus without IP allocated by DHCP will
have a default IP Address of 169.254.xx.xx.
3. Select this Observer Plus on Camera List Window.
4. The default configuration will be shown on
the right window.
5. Change Observer Plus network settings.
Update the Camera Name (Fixed IP).
Update the Gateway Address
Update the IP address
Update the Network Mask
Http Port update the 80 port then ‘Submit’ it.
After the ‘Submit’ button is clicked, the IP information of
this Observer Plus will be updated.


