4
Quick Start
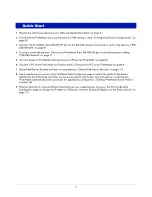
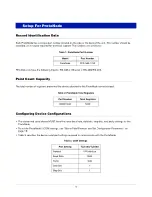
1. Record the information about the unit. (“Record Identification Data” on page 5 )
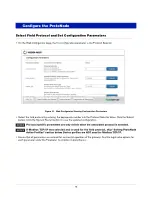
2. Check that the ProtoNode and customer device COM settings match. (“Configuring Device Configurations” on
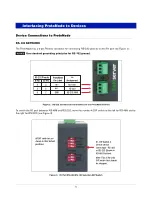
3. Connect the ProtoNode 3 pin RS-232 R1 port to the RS-232 network connected to each of the devices. (“RS-
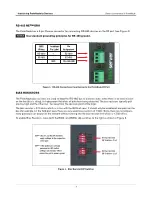
4. If using a serial field protocol: Connect the ProtoNode 3 pin RS-485 R2 port to the field protocol cabling.
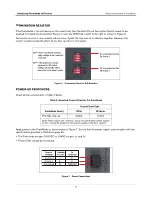
5. Connect power to ProtoNode 3 pin power port. (“Power-Up ProtoNode” on page 8)
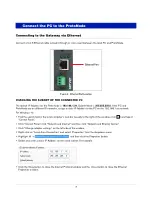
6. Connect a PC to the ProtoNode via Ethernet cable. (“Connect the PC to the ProtoNode” on page 9
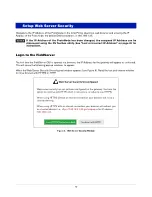
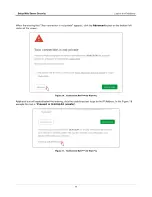
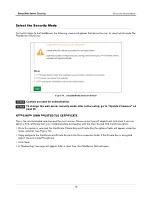
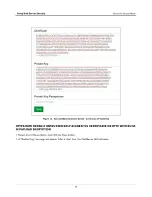
7. Setup Web Server Security and login via web browser. (“Setup Web Server Security” on page 10)
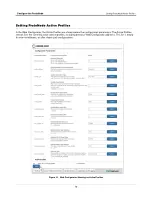
8. Use a web browser to access the ProtoNode Web Configurator page to select the profile of the device
attached to the ProtoNode and enter any necessary device information. Once the device is selected, the
ProtoNode automatically builds and loads the appropriate configuration. (“Setting ProtoNode Active Profiles”
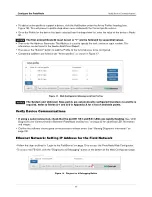
9. Ethernet Network: If using an Ethernet field protocol, use a web browser to access the ProtoNode Web
Configurator page to change the IP Address. (“Ethernet Network: Setting IP Address for the Field Network” on


