17
Configure the ProtoNode
Verify Device Communications
•
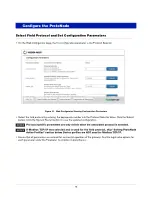
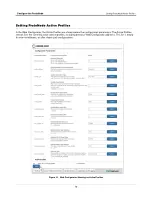
To add an active profile to support a device, click the Add button under the Active Profiles heading (see
Figure 16). This will present a profile drop-down menu underneath the Current profile column.
•
Once the Profile for the device has been selected from the drop-down list, enter the value of the device’s Node-
ID.
The first entered Node-ID must be set to “1” and be followed by sequential values.
•
Then enter the Address Parameter. The Address is used to specify the tank, sensor or input number. This
information can be found in the Veeder-Root Panel Report.
•
Then press the “Submit” button to add the Profile to the list of devices to be configured.
•
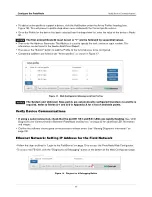
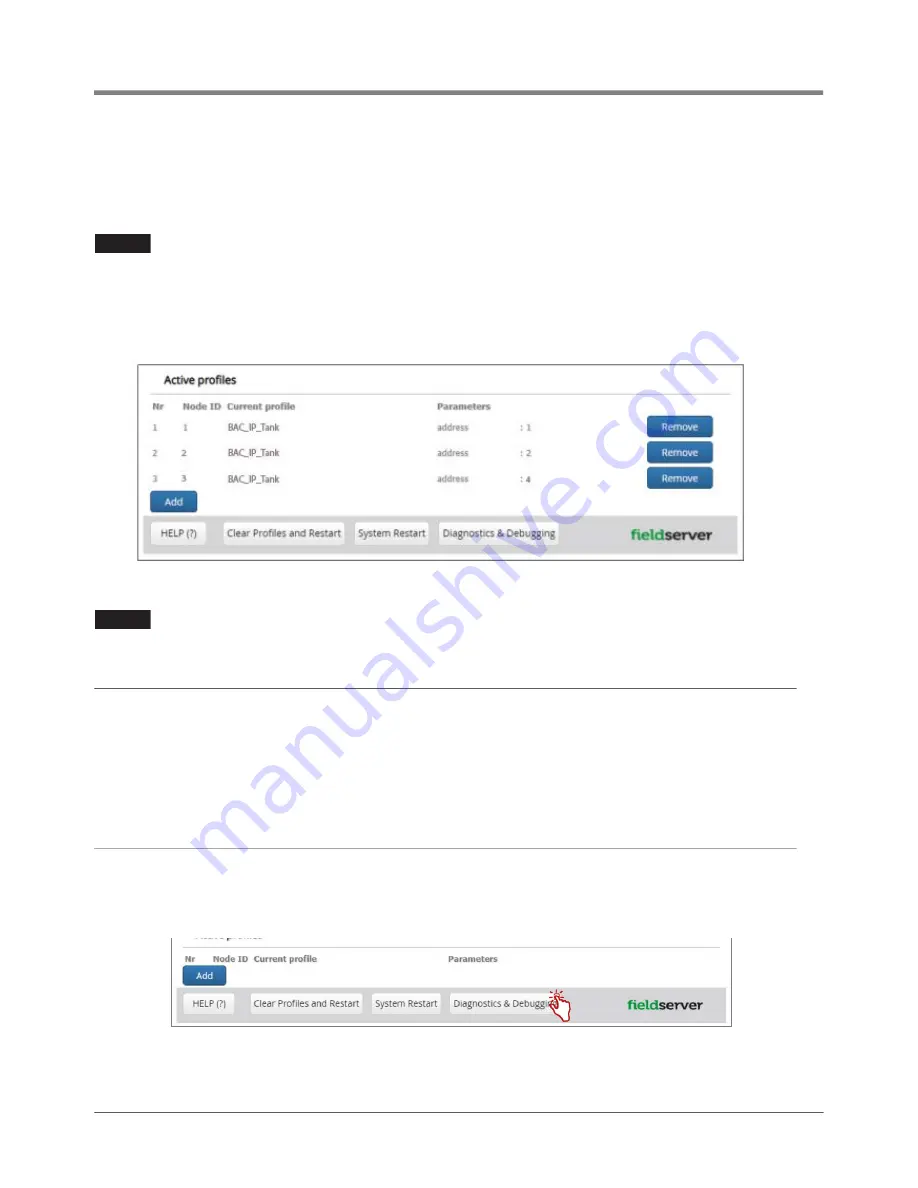
Completed additions are listed under “Active profiles” as shown in Figure 17.
Figure 17. Web Configurator Showing no Active Profiles
The System and Unknown Type points are automatically configured therefore no profile is
required. Refer to Tables A-1 and A-2 in Appendix A for a list of available points.
Verify Device Communications
•
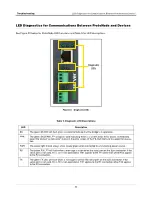
If using a serial connection, check that the port R1 TX1 and RX1 LEDs are rapidly flashing
. See “LED
Diagnostics for Communications Between ProtoNode and Devices” on page 22 for additional LED information
and images.
•
Confirm the software shows good communications without errors (see “Viewing Diagnostic Information” on
Ethernet Network: Setting IP Address for the Field Network
• Follow the steps outlined in “Login to the FieldServer” on page 10 to access the ProtoNode Web Configurator.
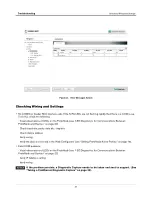
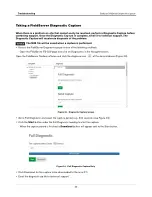
• To access the FS-GUI, click the “Diagnostics & Debugging” button at the bottom of the Web Configurator page.
Figure 18. Diagnostics & Debugging Button
NOTICE
NOTICE

