VEC-1120K/1130K/1140K/1180K Instruction
Manual
11
Good
Not Good
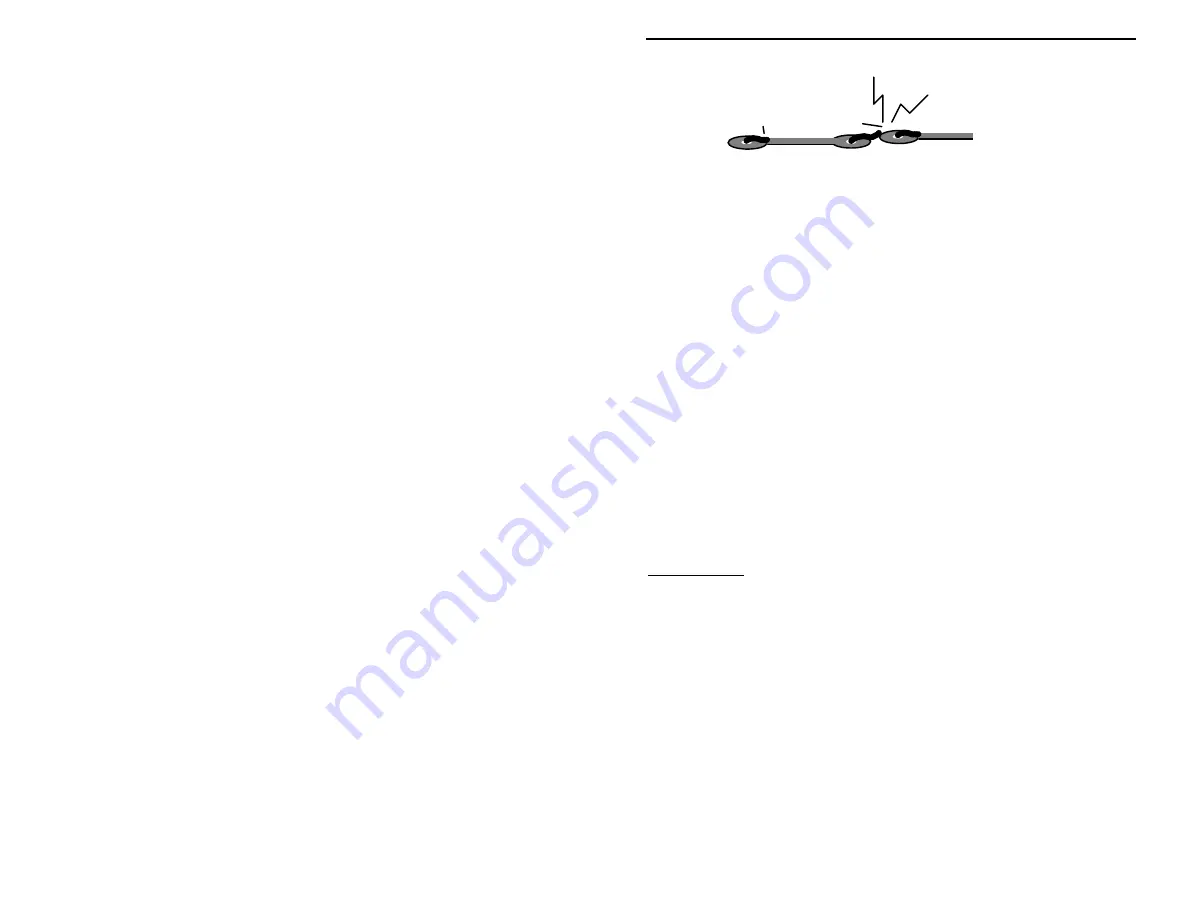
“Solder”
When you are directed to
solder,
this means to solder the part’s leads
in place, and to inspect both (or all) solder connections for flaws or solder
bridges. If no soldering problems are noted, nip off the excess protruding leads
with a sharp pair of side cutters.
We will begin by installing those parts that are unique to the particular model
receiver you are constructing. Proceed to the directions that are associated with
your kit’s model number.
VEC-1180K 80-75-Meter Receiver:
!
!
1.
Install
the 3.3-uH molded-choke (orange-orange-gold) at the L2
location designated by the silk-screened legend on the PC board.
Solder.
!
!
2. Install and solder the 33-uH choke (orange-orange-black)at location
L3.
!
!
3. Install and solder one of the 470-pF monolithic capacitors (471) at
location C3.
!
!
4. Install and solder the remaining 470-pF monolithic (471) at location
C5.
Important Note:
Capacitor C4 is
not
used in the 80-meter receiver.
!
!
5. Locate the 6.8-uH tunable-inductor. Note this part has five coil leads,
and two shield tabs to be inserted and soldered.
!
!
6. At location L1, align the coil leads to match the hole pattern and insert
coil L1.
!
!
7. While ensuring the can remains fully seated and standing vertical,
bend over the two shield tabs flush to the PC board foil and solder.
!
!
8. Solder the five coil leads.
!
!
9. Check that all parts are correctly installed in the proper locations.
This completes the installation of parts unique to the 80-meter receiver. Proceed
to the section titled
"GENERAL ASSEMBLY"
.
VEC-1140K 40-Meter Receiver:


