68
Navigation
The additional information and phone
number strings are optional.
The POI name and the additional
information string may not exceed 60
characters each. The phone number
string may not exceed 30 characters.
The POI data of each destination
address must be entered in a single
separate line, see image above.
Storing the POI data on a USB drive
In the root directory of a USB drive,
create a folder named "myPOIs",
e.g. "F:\myPOIs", where "F:\" is the
root directory of the USB drive.
In the "myPOIs" folder, store the text
file with your POIs, e.g. "F:\myPOIs
\TomsPOIs.poi".
Note
Optionally, subfolders may be
created in the "myPOIs" folder and
several POI files stored.
Downloading the POI data to the
Infotainment system
Connect the USB device with your
user defined POI data to the USB port
3
53 of the Infotainment system.
A message is displayed that prompts
you to confirm the download.
After confirmation, the POI data will
be downloaded to the Infotainment
system.
The downloaded POIs are then
selectable as destinations via the My
POIs menu, see "Selecting a point of
interest" in chapter "Destination input"
3
68.
Destination input
The navigation application provides
different options to set a destination
for route guidance.
Press the
;
button and then select
the NAV icon to display the navigation
map.
Entering an address via
keyboard
Select the DESTINATION screen
button in the interaction selector bar
and then select the ADDRESS tab.
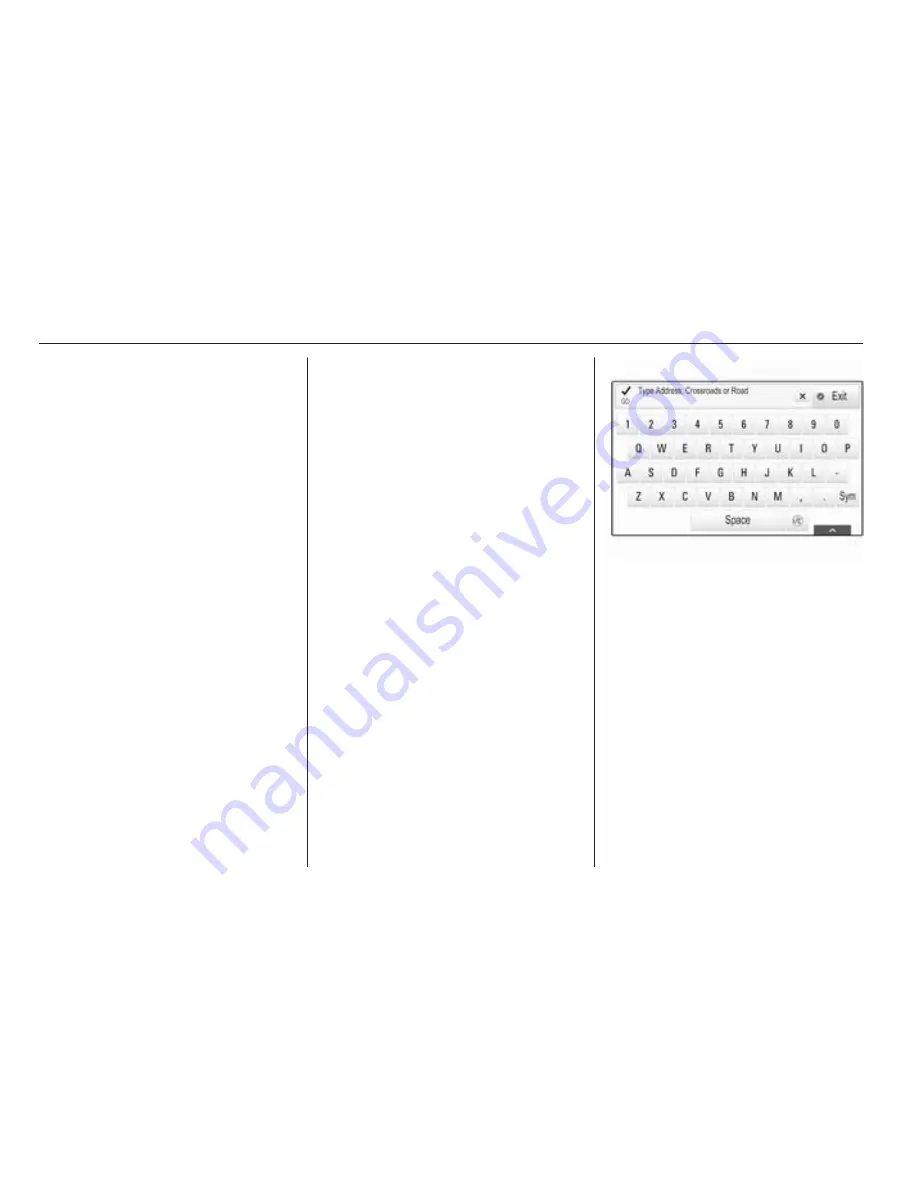
You may enter an address,
crossroads or the name of a road.
Find important information on the
country-specific input orders for
destination addresses
3
60.
Note
If a different input order is used than
specified for the respective country,
the system may not find the desired
destination.
Type in the desired address.
Find a detailed description on the
keyboards
3
22.
Summary of Contents for KTA-2677/11-VX-en
Page 2: ...Touch R700 Navi 900 3 R300 Color R400 Color 101 Contents...
Page 3: ......
Page 7: ...6 Introduction Control elements overview Centre display with controls...
Page 35: ...34 Basic operation Confirm the message The entry is deleted...
Page 101: ...100...
Page 105: ...104 Introduction Control elements overview Control panel...
Page 138: ...Phone 137...


