AutoTrak 2.0 Camera Tracking System
AutoTrak 2.0 Camera Tracking System - Document Number 342-0382 Rev. E Page 17 of 52
Installing the PTZ Cameras
The IR Reference Camera
requires two (2) Cat-5e cables run from the head-end
equipment; one for composite video and power, and one for control. The installation
steps for the IR Reference Camera are as follows:
1) Identify the IR Reference Camera, the HD-18 with the 37mm lens adapter on the lens
2) Make sure the 37mm to 58mm adapter ring is in place
3) Make sure the 58mm polarizing filter is in place
4) Make sure the 58mm band-pass IR filter is in place
5) Mount this camera to the top shelf of the dual mount with the supplied ¼”-20 screws.
6) Connect the 18”/45.8mm BNC to RCA Video Cable to the Composite (CVBS) BNC-M video connector on the
back of the camera and connect the RCA-M connector to the RCA–F connector on the AutoTrak 2.0 Quick-
Connect Box 998-1105-020.
7) Connect one side of the 12”/30.48cm Cat-5e Patch Cable to the EZ Power Video RJ-45 connector on the
camera and the other end of the cable to the AutoTrak 2.0 Quick-Connect Box 998-1105-020 to the end marked
“IR Reference Camera”. This connector is only providing power to the EZ Power Video Port.
8) Connect the 1
st
Cat-5e cable (up to 100’/30.5m not supplied) to the AutoTrak 2.0 Quick-Connect Box 998-1105-
020 to the RJ-45 port labeled “AutoTrak 2.0”. This Cat-5e cable is terminated at the head end to the other
Quick-Connect Box (998-1105-001) RJ-45 connector.
9) Take the composite output of the Quick-Connect Box 998-1105-001 and connect it to the AutoTrak 2.0 CPU
composite video input (you’ll need a RCA-M to RCA-M cable, which is not supplied) to the center yellow
composite input on the back of the AutoTrak 2.0 CPU.
10) Connect the 2
nd
Cat-5e cable (up to 100’ /30.5m - not supplied) to the RS-232/IR port on the camera, and at the
head-end connect it to the Control Adapter that is on
COM PORT 1
on the CPU.
11) Connect the 24VDC power supply to the 998-1105-001 Quick-Connect Box.
The Tracking Camera
requires two (2) Cat-5e cables run from the head-end equipment; one for YPbPr
HD video and power, and one for control.
Note:
AutoTrak 2.0 999-7250-000 includes a HD-18 Camera
for Tracking and 999-7260-000 includes a HD-20 Camera for Tracking.
1) Identify the HD-18 or HD-20 Tracking Camera (the normal camera without the 37mm lens adapter).
2) Mount this camera on the lower shelf of the mount with the supplied ¼”-20 screws.
3) Run one Cat-5e (up to 100/30.5m) cable between the EZ Power Video Port on the HD-18 or HD-20 Tracking
Camera to the EZCamera Power & HD Video Port on the Quick-Connect DVI-HDMI-SR Interface 998-1105-018.
4) Connect the HD Video DVI-D or the YPbPr output (or both) to a high definition monitor
5) Run the 2nd Cat-5e from the RS-232/IR port on the back of the HD-18 or HD-20 Camera to Control Adapter that
is connected to
COM PORT 2
on the AutoTrak 2.0 CPU.
6) Connect the 24VDC Power supply to the Quick-Connect DVI-HDMI-SR Interface.
Booting up the System and Initial Set-up:
1)
W
ith the AutoTrak 2.0 Belt Pack on (at least the system power switch on) and the lanyard plugged into the belt
pack (with the battery fully charged), place the lanyard/belt pack in a centered location approximately 20’
(6.096m) from the AutoTrak 2.0 stacked camera assembly and about 5’ (1.524m) off the floor to imitate the
height of a presenter/instructor.
2) Turn on the cameras and AutoTrak 2.0 CPU. The AutoTrak 2.0 CPU should boot up to the AutoTrak 2.0
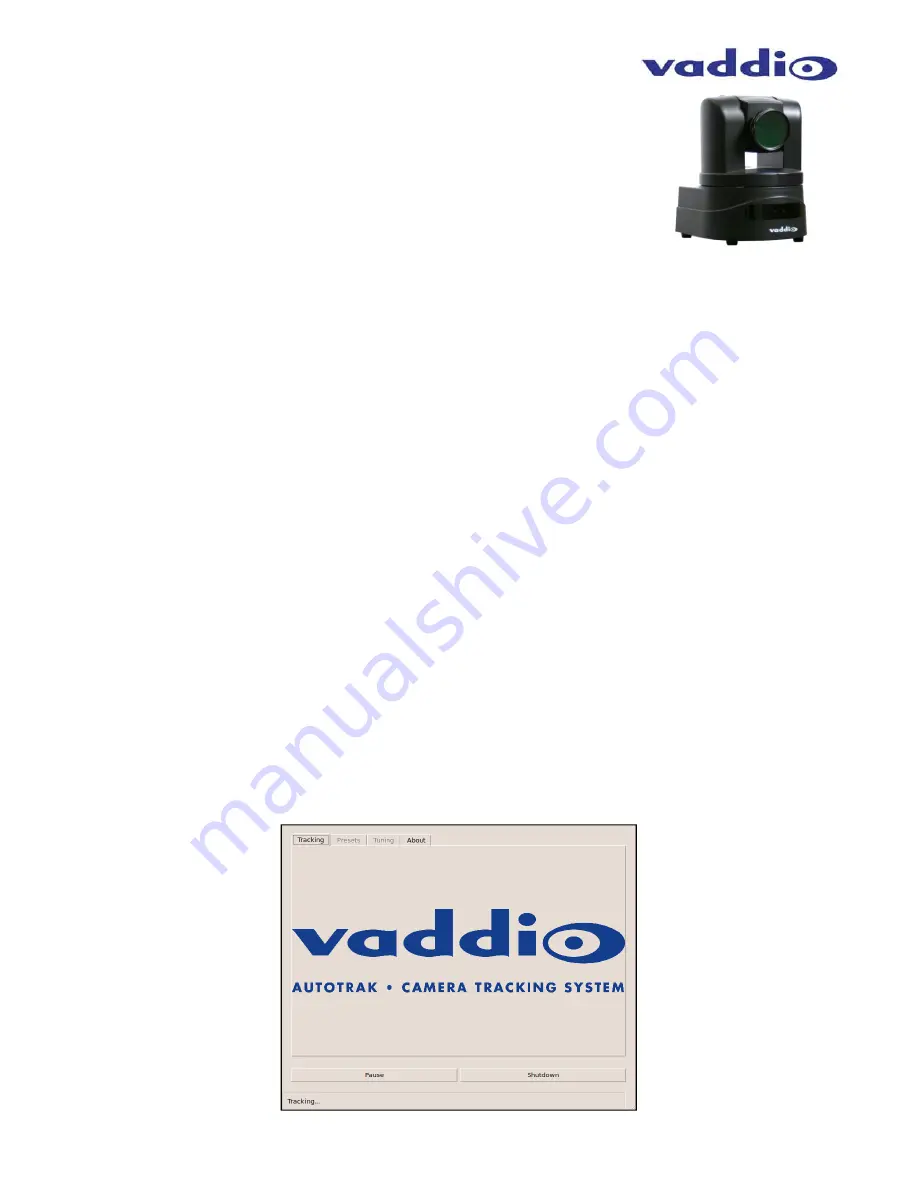
application automatically. Click the Pause button to enter setup. The screen shot is below:


