


- 8 -
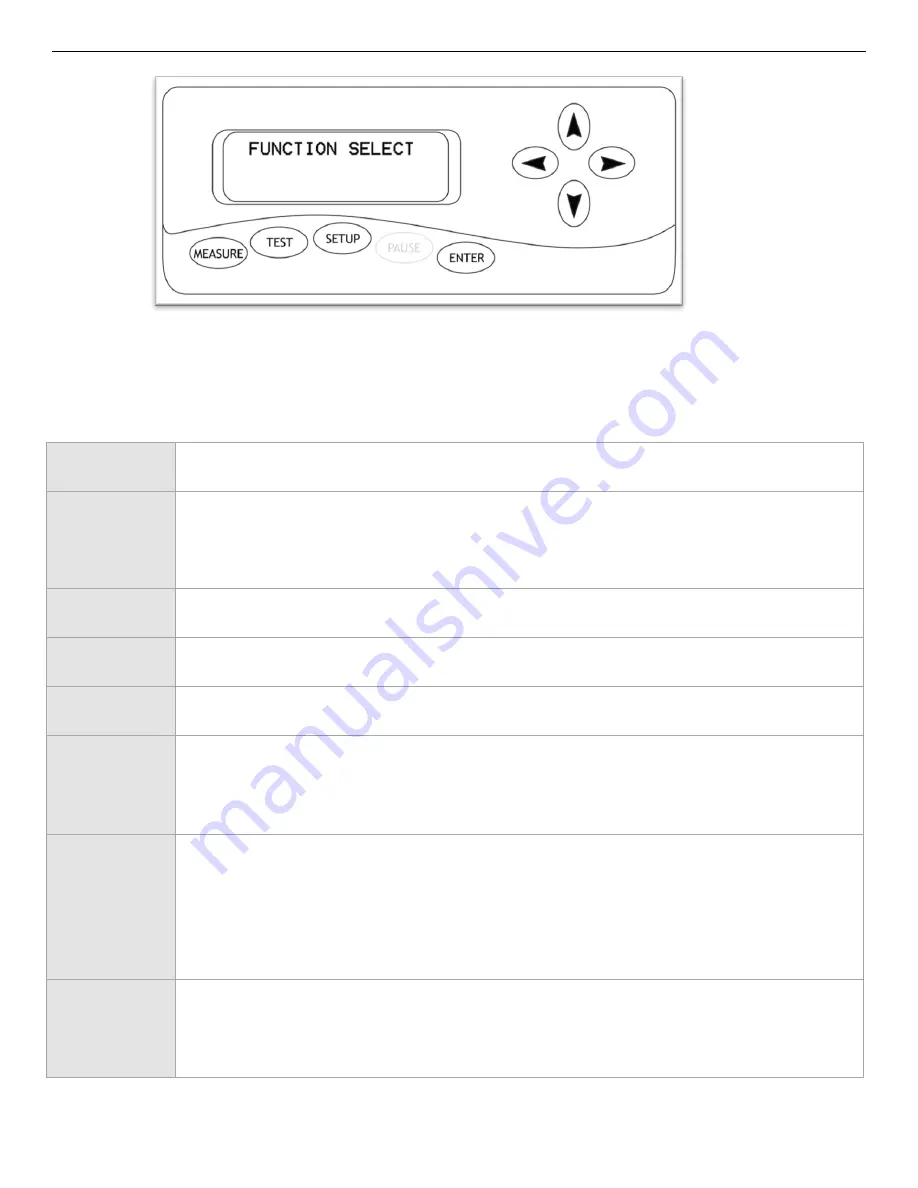
Function Select Screen
The Function Select Screen is the main screen for the cutter. From this screen you can access the Measure
and Setup Screens, make test cuts, make a repeat cut of the last cut made by the cutter, or adjust the origin
of the of the next cut to be made.
Measure
Button
Accesses the Measure Screen (
page 7
) where the material loaded in the cutter can be
measured and the size of the cuttable area can be displayed.
Test Button
Cuts a small test pattern to demonstrate the current settings of the cutter and allow you
to see if they are appropriate for your current material. After the test cut has been
made, the cutter will display the Setup Screen (
page 9
) to allow the option of changing
any settings.
Setup Button
Accesses the Setup Screen (
page 9
) where the main settings of the cutter can be
viewed/changed.
Pause Button
Has no function on this screen.
Enter Button
Has no function on this screen when used alone.
Can be used with the right and left arrow
keys to perform advanced functions (
below
).
Enter Button
+
Left Arrow
Button
When the Enter Button is pressed simultaneously with the Left Arrow Button a detailed
test cut is made. This detailed test cut can be used to test the current settings of the
cutter when the small test pattern is not sufficient for testing and also for more advanced
troubleshooting.
Enter Button
+
Right Arrow
Button
When the Enter Button is pressed simultaneously with the Right Arrow Button a repeat
cut is made of the last cut that was sent to the cutter. This is a simple way to make
duplicate cuts of the same design.
The repeat cut function will only retain the last cut
information until the cutter is powered off. When the cutter is powered off, the last cut information
is removed from the cutter memory and the repeat cut function will not be available until a new cut
has been made.
Up/Down/
Left/Right
Arrow
Buttons
Pressing any of the arrow buttons will access the Jog screen of the cutter (
Page 10
)
where a new starting position can be entered for the next cut.
Summary of Contents for Copam
Page 1: ......


