w w w . u q d e v i c e s . c o m
L o g i c 1 6 U s e r M a n u a l
| 19
iii
Run
the program “Xilinx iMPACT”
and connect iMPACT to device
Once the program is running, a prompt will appear to create a new project. Click
“yes”. Select “Configure devices using Boundary-Scan (JTAG)” and then click “OK”.
Once connection has been established with Logic16, another prompt will appear to
Auto Assign the configuration files. Click “No”. Choose “Cancel” if a further window
appears.
Note: An error may pop up if Logic16 is not powered on. Make sure power LED is on
when trying to connect to the device.
iv
Assign new configuration file
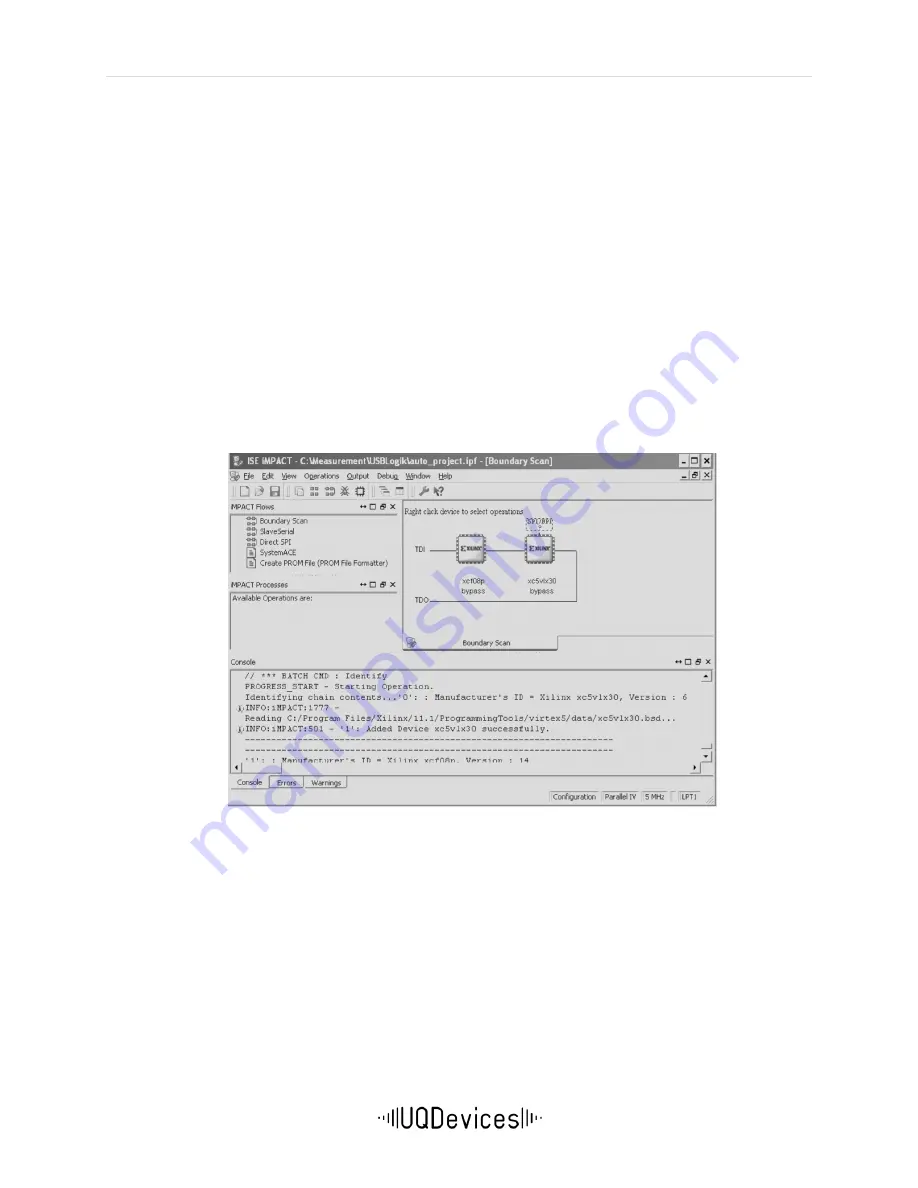
iMPACT will display two devices. Only the first will have its firmware updated. Right
click on the first device (xcf08p) and choose “Assign new configuration file”. Choose
the desired file .mcs file under “Firmware” from the CD drive provided with the
device. i.e. “Timetag_230_06_highres.mcs”. Once selected, right click again on this
device and choose “Program”. The device programming properties will open. Select
the checkmark beside "Verify" and click "OK". Once done, iMPACT will display
“Program Succeeded”.
v
Close iMPACT and disconnect Logic16
Close iMPACT, power down the device, and disconnect the Xilinx Parallel Cable. If
the side panel had been detached for this process, secure it back on the device. The
firmware update is complete.
vi
Reboot and confirm firmware update was correct
Reconnect power to the Logic Unit to reboot the device, then check firmware
version with Time Tag Explorer (or your own program).


