All rights reserved
25
Servicemanual_UR3_en_rev3.1.2
3.1.11 Wrist 1 joint – Lower arm
Disassemble
For details and photos please see:
3.1.4 General guidance to separate joint from counterpart
1.
Shut down the controller.
2.
Remove blue lid on Wrist 1 joint and
connect ESD wristband.
3.
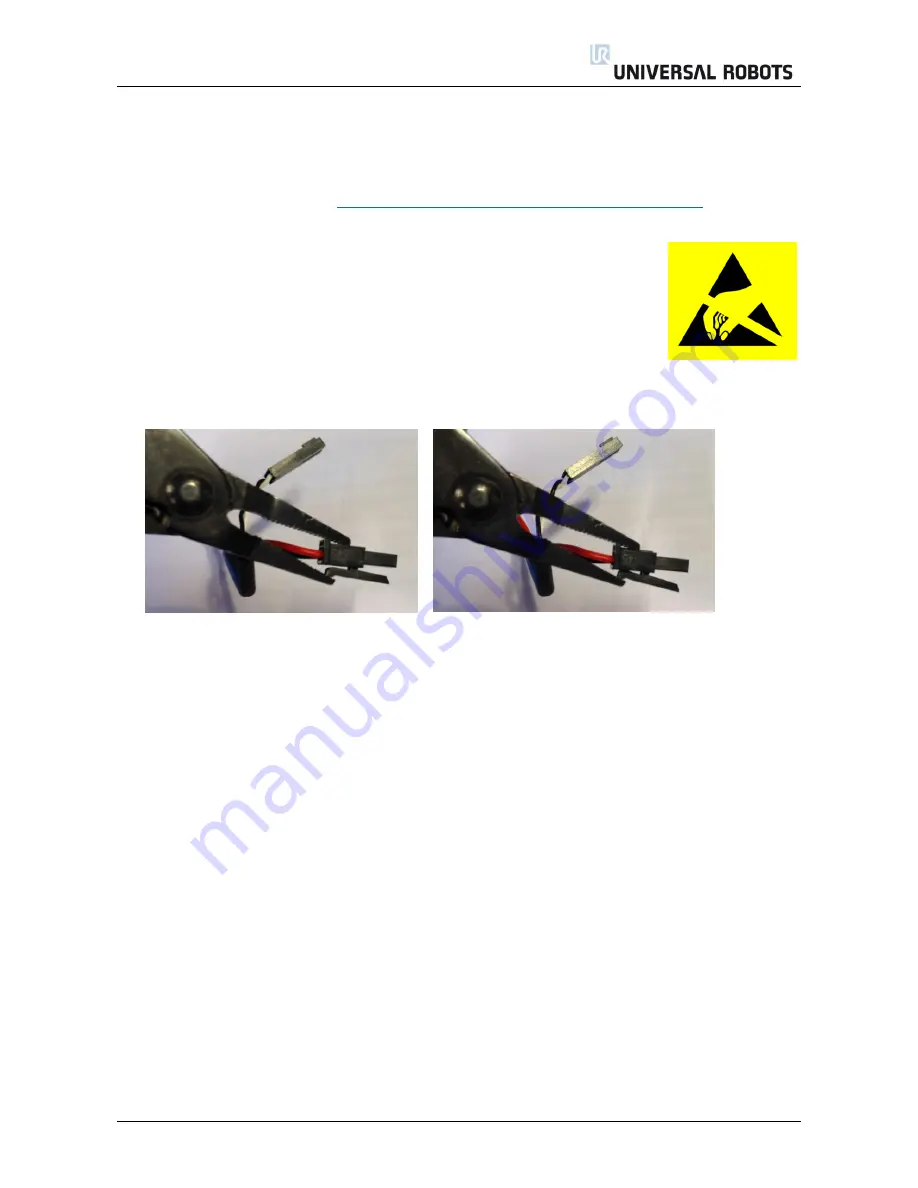
Disconnect wires between Wrist 1 joint and Lower arm.
Without bending the printed circuit board.
The power supply connector has a lock that has to be engaged before it is pulled out of the printed
circuit board.
4.
After disconnecting the wires, gently remove black flexible flat ring with a tiny screwdriver and twist it
around the Lower arm.
5.
Remove the plastic cover ring. 6 screws become visible. Loosen the screws.
6.
Pull the Wrist 1 joint and Lower arm gently apart.
Summary of Contents for ur3
Page 96: ...All rights reserved 96 Servicemanual_UR3_en_rev3 1 2 ...
Page 97: ...All rights reserved 97 Servicemanual_UR3_en_rev3 1 2 ...
Page 98: ...All rights reserved 98 Servicemanual_UR3_en_rev3 1 2 ...
Page 99: ...All rights reserved 99 Servicemanual_UR3_en_rev3 1 2 ...
Page 101: ...All rights reserved 101 Servicemanual_UR3_en_rev3 1 2 ...
Page 102: ...All rights reserved 102 Servicemanual_UR3_en_rev3 1 2 ...
Page 103: ...All rights reserved 103 Servicemanual_UR3_en_rev3 1 2 ...
Page 104: ...All rights reserved 104 Servicemanual_UR3_en_rev3 1 2 ...
Page 105: ...All rights reserved 105 Servicemanual_UR3_en_rev3 1 2 ...
Page 106: ...All rights reserved 106 Servicemanual_UR3_en_rev3 1 2 ...
Page 107: ...All rights reserved 107 Servicemanual_UR3_en_rev3 1 2 ...
Page 108: ...All rights reserved 108 Servicemanual_UR3_en_rev3 1 2 ...
Page 109: ...All rights reserved 109 Servicemanual_UR3_en_rev3 1 2 ...
Page 110: ...All rights reserved 110 Servicemanual_UR3_en_rev3 1 2 ...
Page 111: ...All rights reserved 111 Servicemanual_UR3_en_rev3 1 2 ...
Page 112: ...All rights reserved 112 Servicemanual_UR3_en_rev3 1 2 ...


