


Setup Guide
2
Connect the emergency stop connector to the
EMERGENCY port on the robot’s interface panel.
3
Connect the USB cable to the
PC port on the robot’s
interface panel.
EMERGENC
Y
RESET
POWE
R
MEMOR
Y
PROGRA
M
AUTO
TEACH
ESTO
P
ERRO
R
TEST
STATUS
MODE
PC
LAN
OPTIO
N
I/O-OUT
I/O-IN
AC 110V
-240V
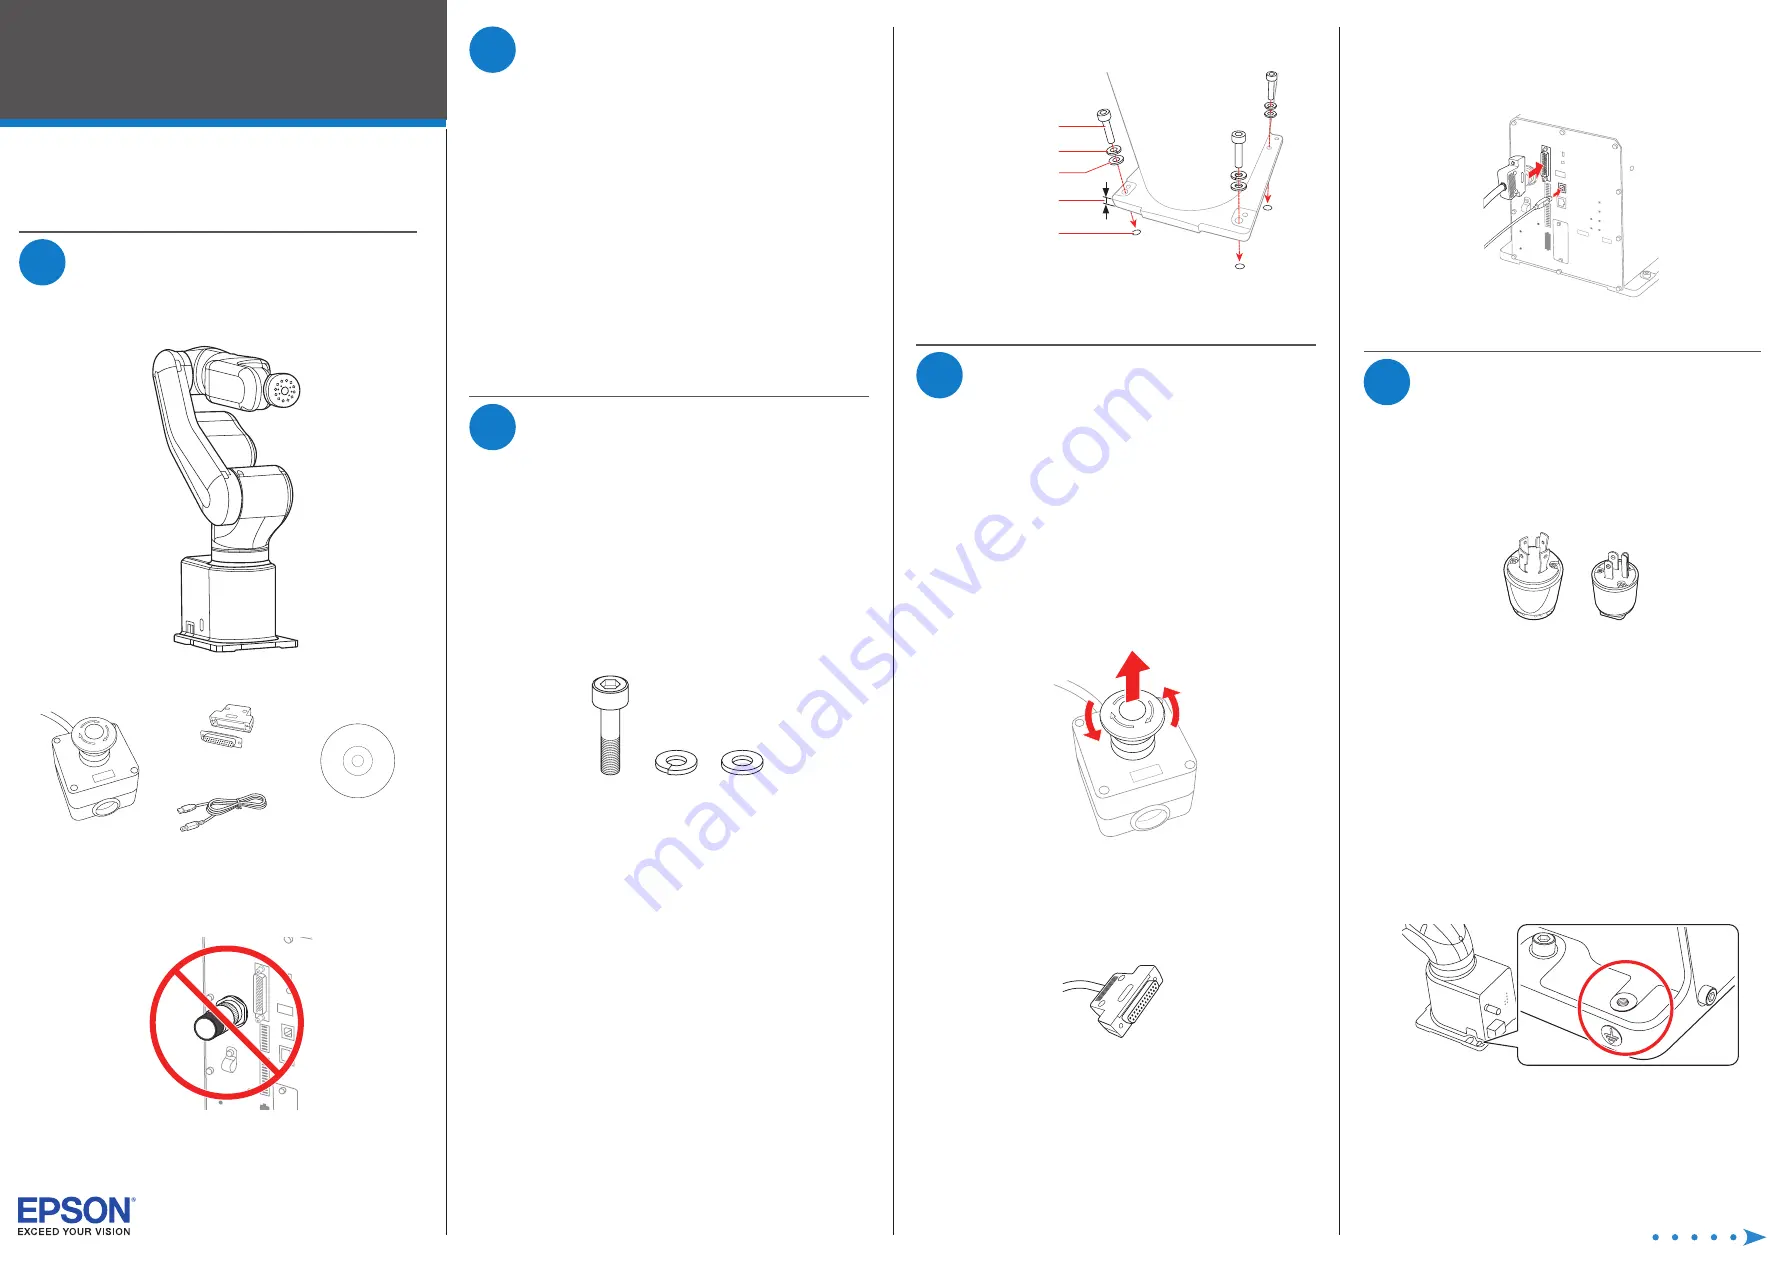
5
Attaching a Power Adapter
and Turning on the Robot
The power cable is already attached to the robot’s power
supply. You must attach a power adapter plug to the other
end of the power cable. See the example power adapter plugs
below:
220 V
110 V
Warning:
Wire the power cable only to a power adapter plug; never
wire the power cable directly to a power panel or other hard-wired
power supply. You must be able to unplug the cable from a power
outlet for safe operation.
Make sure the power line includes a two-pole, disconnect
type, ground leakage circuit breaker or a circuit breaker in the
AC power cable line with a rated current of 20 A or less.
For wiring details and information on the robot’s power supply,
see the online Epson Robot Manual.
Caution:
The robot does not have a power switch; once you plug it
into a power outlet, the robot’s power is on.
1
Attach a grounding wire with a core size of 5.5 mm
2
or
larger to the bolt hole shown here.
Warning:
Improperly connecting the ground wire may cause a
fire or electric shock.
IMPORTANT: Before using this product, make sure you read these
instructions, and the safety instructions and guidelines in the online Epson
Safety and Installation Manual.
1
Unpacking the Robot
1
Remove the robot and optional equipment from the
packing container.
2
Set aside these parts for use later:
Emergency stop
Optional emergency
stop connector
USB cable
Epson
®
RC+ 7.0 DVD
3
Remove all the packaging materials from the robot.
Caution:
Do not remove the TP Bypass Plug from the interface
panel or the robot cannot operate.
EMERGENCY
RESET
POWER
MEMOR
Y
PC
LAN
OPTIO
N
I/O-OUT
I/O-IN
AC 110V
-240V
TP
Bypass
Plug
2
Installing the Software
(Windows
®
Only)
1
Insert the Epson RC+ 7.0 DVD into a DVD drive on the
computer you will use to program the robot.
Note:
You can download manuals for your product from the
Epson website. Visit
www.epsonrobots.com/product-manuals
and search for your product. If you need to download the Epson
RC+ 7.0 software, send an email request to
applications@
robots.epson.com to receive a download link.
2
Follow the on-screen instructions to install the software.
3
Double-click the
EPSON RC+ 7.0 icon on your desktop to
start the Epson RC+ 7.0 software.
See the online Epson Safety and Installation Manual for details
on installing and using the Epson RC+ 7.0 software.
3
Mounting the Robot to Your
Work Surface
Before you begin, make sure your work area and the surface on
which you will install the robot meet the requirements listed in
the Epson Robot Manual.
You need the following hardware (not included) to mount the
robot to your work surface:
• 4 M8×35 bolts
• 4 spring washers
• 4 flat washers
X4
X4
X4
Note:
The bolts must conform to ISO898-1 Property Class 10.9 or
12.9.
1
Place the robot on your work surface.
Caution:
The robot cannot stand on its own. Be sure to properly
hold and support the robot during the mounting process.
2
Trace the location of the mounting holes onto your work
surface so you can tap M8 holes, if you have not already.
For details on work surface and hole requirements, see
the online Epson Robot Manual.
3
Align the mounting holes with the holes in your work
surface and secure the robot using the four M8×35 bolts.
Spring washer
M8x35
Flat washer
0.67 inch (17 mm)
Screw hole
(0.71 inch [18 mm]
or more depth)
Note:
Tighten the bolts to a torque of 32.0+/-1.6 N-m.
4
Connecting the USB Cable
and Emergency Stop
Caution:
Do not attach the power adapter or attempt to plug in the
robot now; connect the USB cable and emergency stop first.
You can install the emergency stop that came with the robot
or install your own emergency stop that meets the safety
requirements listed in the online Epson Robot Manual.
1
To connect an emergency stop, first do one of the
following:
• If you are installing the emergency stop included with
the robot, rotate the stop button counterclockwise to
release the button, or the robot cannot operate.
• If you are installing your own emergency stop, wire it to
the 25-pin D-Sub connector that came with your robot.
Be sure to use the clamshell and strain relief during
assembly. For wiring details, see the online Epson
Robot Manual.
VT6L
All-in-One 6-Axis Robot


