The General Store For Windows
27
for the selected were not counted and sets the quantity on those items to zero. This is reflected
on the adjustments report that gets generated in step 4.
When complete, you will be returned to the General Store main menu.
=
Note! Any items you counted that do not match the vendor criteria you selected will be
dropped. Any items dropped here in step 3 will not be processed in step 4.
Step 4 – Processing the METRO.DAT File
Now that you have selected an inventory function for the METRO.DAT file, the last step is to
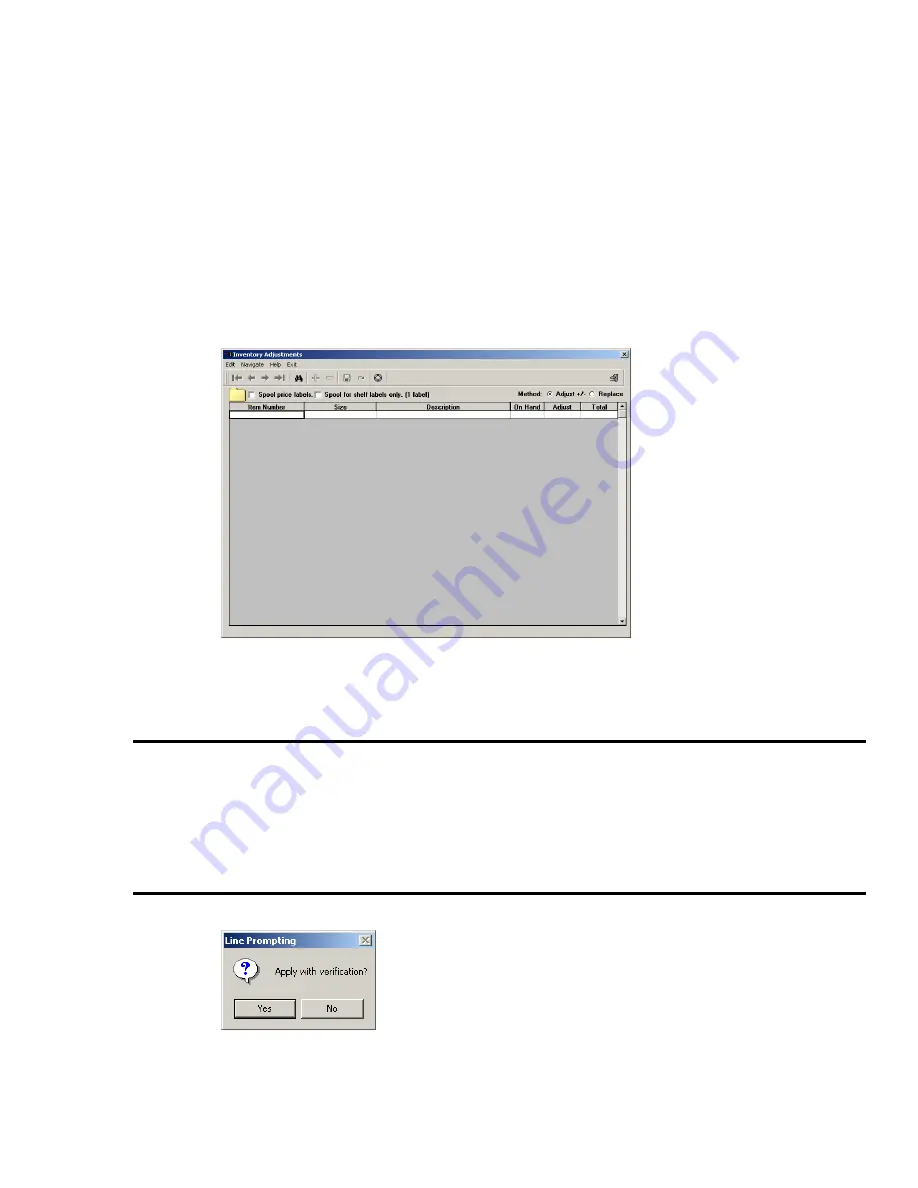
process it. In your case, select Item adjustments by clicking Inventory, Maintenance, and
Adjustments from the main menu. You will see the following:
You should see the vanilla folder icon in the top left of the adjustments screen.
Step 4A – Select the Adjust Method – Adjust or Replace
First, however, you must select whether you wish to replace, or adjust your inventory by clicking
the appropriate radio button at the top right corner of the adjustments screen.
If you counted your entire store in one run, select replace.
=
NOTE: Selecting “Physical Count w/Match” in step 3 forces the “Replace” method.
Step 4B – Open the Folder Icon and process the data
Once the adjust method is selected, click the folder icon. You will see the following prompt:
Click Yes, and the system will force you to manually accept each quantity with the Enter key.
Click No, and the system will apply the adjustments without verification.


