17
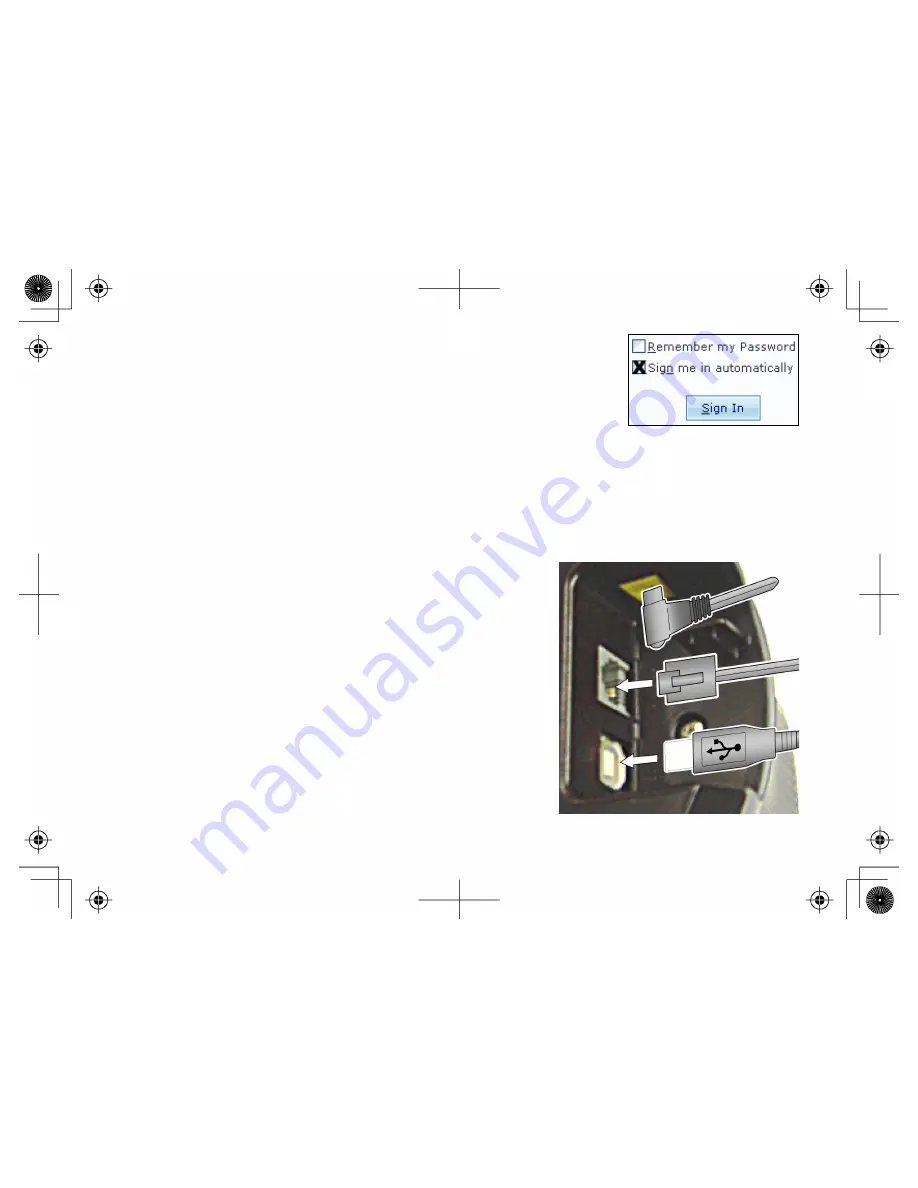
7. Be sure to select the SIGN ME IN AUTOMATICALLY checkbox at the bottom
of the screen.
8. Click the SIGN IN button at the bottom of the screen to log in to Windows
Live™ Messenger.
While your handset is charging, you might want to spend some time getting familiar with the new Windows Live™
Messenger features. Update your contacts, organize them in groups, and add any phone numbers you want to save to
the phone (see
Creating and Editing Contacts
on page 25 or click the Help menu at the top of the main window).
Connecting to Your Computer
After your handset battery is fully charged, follow the steps below to
connect your phone to your computer:
1. Turn on your computer and open Windows Live™ Messenger.
NOTE: The messenger phone works with Windows Live™
Messenger versions 8.0 and later. If the top of your
Messenger window does not say
Windows Live™
Messenger,
see page 16.
2. Use the included USB cable to connect the
USB
port on the
phone to a USB port on your computer. You should see a pop-
up window in the lower right corner of your screen that says
FOUND NEW HARDWARE. You will not have to install any
software or drivers: these install automatically.
3. From the standby screen, press the
PC Call
soft key. The
usb
light on the base comes on, and the screen displays your
contact list. If you can't see your contact list, follow the
troubleshooting steps below.


