26
27
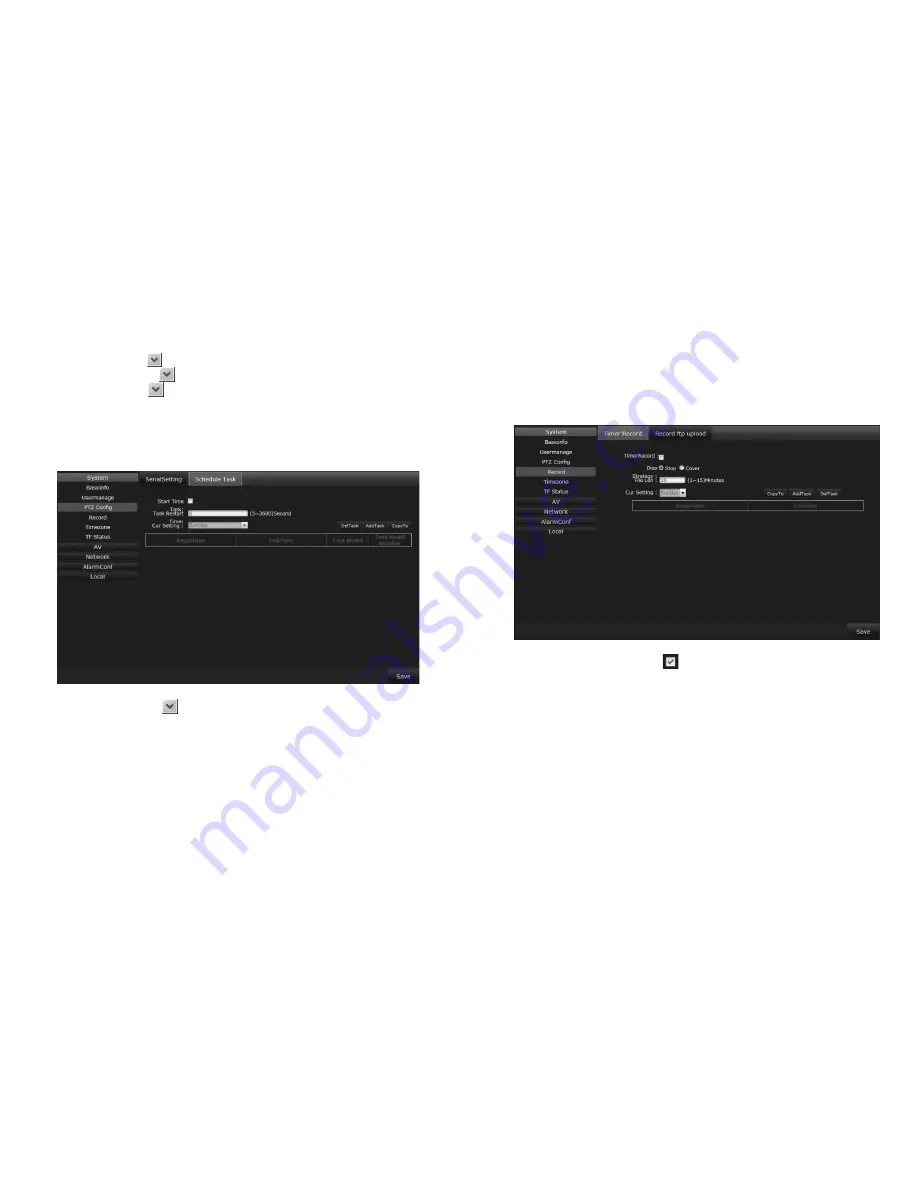
3.5.1.4 Record
1)
Timer Record:
Click
Setting
→
System
→
Record
→
Timer Record
to view the IP Camera
Timer Record
screen.
•
Timer Record:
Click the box to enable a timed recording.
The recorded video will be stored on the TF Card automatically.
(Note: You will need to turn off the power when inserting or
removing the TF Card.)
•
Disp Strategy:
In the event of insufficient storage space, select
Stop
to stop recording or Cover to record over existing
recordings.
•
File Len:
Set the file length in between 1 and 15 minutes.
•
Cur Setting:
Set the current video recording time. You can set
up to 10 per day.
• After setting, click
Save
.
•
Start Time:
Click to activate the
Task Scheduler
feature.
•
Task Restart:
Set a restart time if a scheduled task was
interrupted.
•
Cur Setting:
Set the time for the current schedule, there is a
maximum of 10 periods per day.
• After setting, click
Save
.
2) Schedule Task:
Click
Setting
→
System
→
PTZ Config
→
Schedule Task,
to view the IP camera’s
Task Scheduling
screen.
•
Address:
Click to select or modify the IP Camera’s address
•
Baud Rate:
Click to select or modify the baud rate.
•
Protocol:
Click to select or modify the protocol.


