Groups shown with a grey icon are hidden; blue icons are visible on the
map, while the ones shown in two colours have some of their subcategories
shown and some others hidden.
If you highlight any of the POI groups by tapping them, the button in the bottom left
corner will become Show if the POI group is hidden, or Hide if the group is shown or
partly shown.
Tip: To make a partly shown group fully shown, tap this button twice. First you will
hide the whole group, and then you will have it displayed with all its subgroups.
Tapping again the highlighted POI group (except for My POI – described later) opens
the list of subcategories of that group. Here you cannot see bicolour subgroups, as
visibility can only be set for the top two levels of categories. Showing and hiding a
subgroup is done the same way as for the main groups.
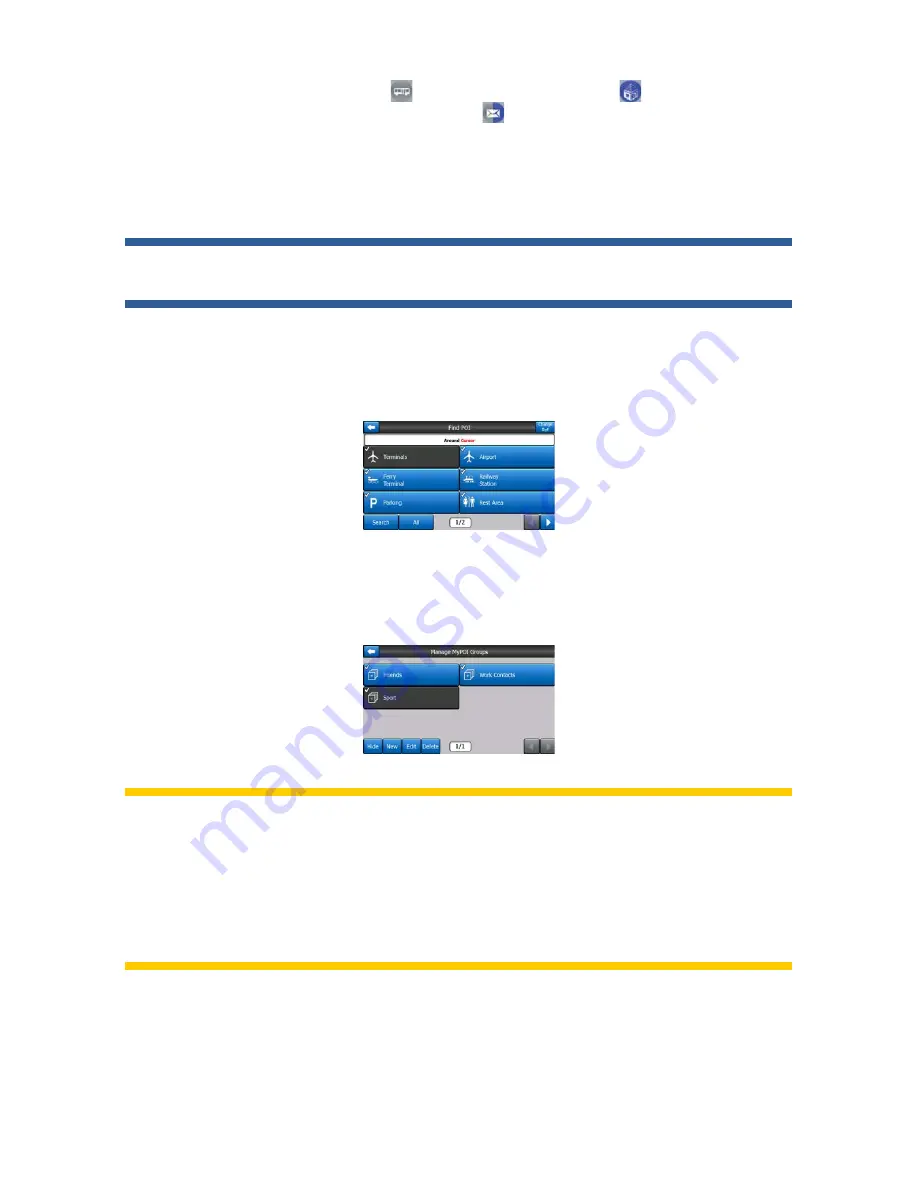
Manage My POI
By highlighting then tapping again the My POI switch on the Manage POI main screen
you can manage the POI groups and items that you have created.
Note: The group Unnamed only appears if you have previously saved a POI item
without creating a new POI group for it.
Note: If there are valid entries in the Contacts application of your GNS8430/8435,
the ones Uniden Navigation can recognise the address in will be imported as My
POIs, added to a new group named Contacts. Each time Uniden Navigation starts, it
reloads the points from the Contacts application database. With the help of these
points you can plan a route to any of your contacts by only a few screen taps.
Tapping any of the group names will open a list of POIs saved in that group. This
list is similar to the list of POI results in Find. The POIs are ordered based on their
distance from your current position. If GPS position is not available or you have
disabled Lock-to-Position by tapping the map, the POIs will be ordered by their
distance from the Cursor.


