Care, maintenance and repair
PG-I Series | Version 1.03
25
Tightening torque:
20.0 Nm
Check the spark plug regularly, replace if necessary. The
generator will start more easily and run better.
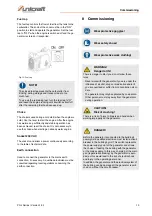
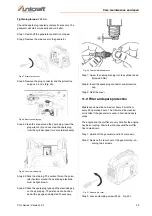
Step 1: Switch off the generator and let it cool down.
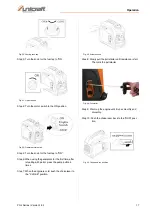
Step 2: Remove the side cover of the generator.
Fig. 47: Remove the cover
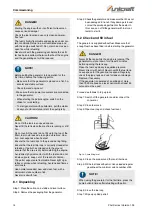
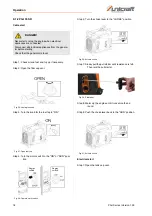
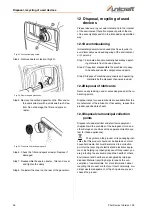
Step 3: Remove the plug connector and the protective
cap pos. 3 and 4 (Fig. 50).
Fig. 48: Remove sealing cap
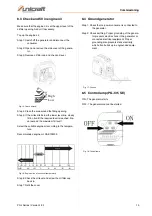
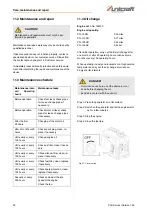
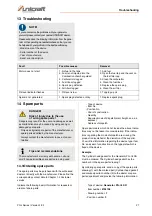
Step 4: Clean the area around the spark plug, insert the
plug wrench (5) and unscrew the spark plug
from the cylinder head (turn counterclockwise)
Fig. 49: Unscrew spark plug
Step 5: Check the staining. The carbon film on the porce-
lain insulator around the spark plug electrode
must be light brown.
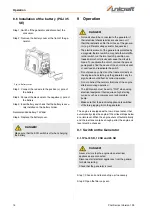
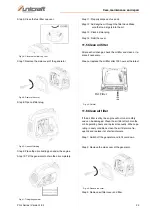
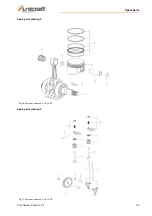
Step 6: Check the spark plug type and the electrode gap
on the spark plug. The distance can be chec-
ked with a gauge and adjusted if necessary.
Fig. 50: Check electrode distance
Step 7: Screw the new spark plug into the cylinder head
(torque 20 Nm)
Step 8: Insert the spark plug connector and protective
cap.
Step 9: Refit the cover.
11.9 Filter and spark protection
Maintenance must be carried out every 3 months or
every 50 operating hours. The filter must be cleaned
more often if the generator is used in humid and dusty
areas.
The engine and the muffler are very hot after the engine
has been running. Wait a few minutes until the muffler
has cooled down.
Step 1: Switch off the generator and let it cool down.
Step 2: Remove the rear cover of the generator by loo-
sening the 4 screws.
Fig. 51: Remove the cover
Step 3: Loosen clamping screw (Pos.3 , Fig. 52) .


