31
ENGLISH
Installation Instructions
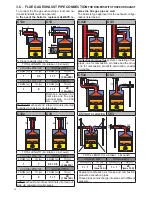
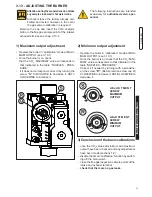
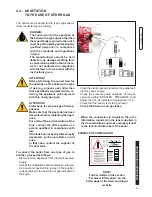
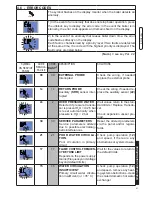
A D J U S T M E N T
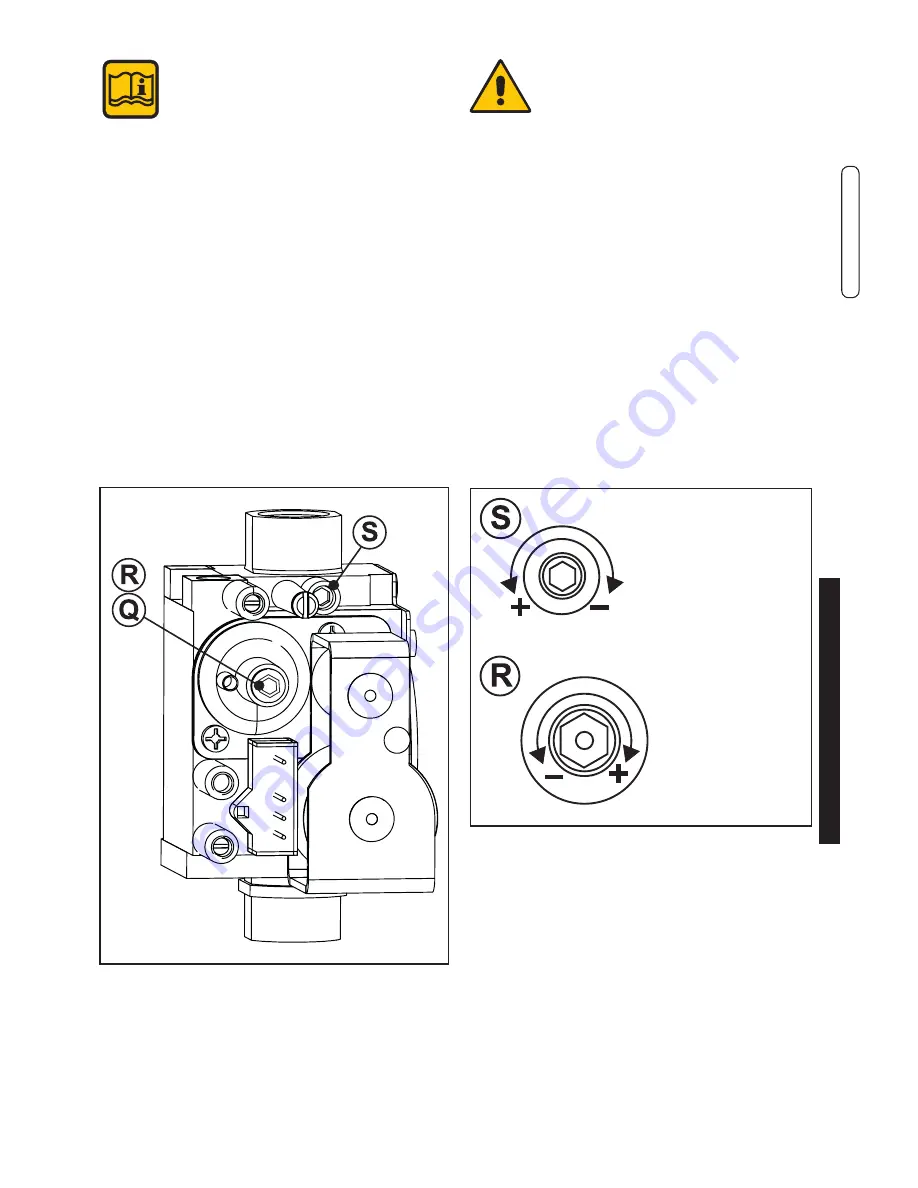
SCREW
MAXIMUM
OUTPUT
ADJUSTMENT
SCREW
MINIMUM
OUTPUT
The following instructions are intended
exclusively for
authorised service per-
sonnel
.
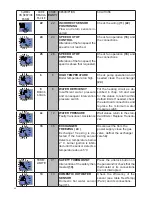
1) Maximum output adjustment
- Operate the boiler in “calibration” mode at MAXI-
MUM OUTPUT (see 3.10.1)
- Once the burner is on check
that the CO
2
“MAXIMUM” value corresponds to
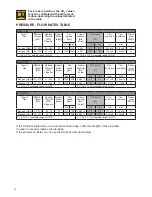
that indicated in the table “NOZZLES - PRES
-
SURE”.
- if it does not correspond, correct it by turning the
screw
“S”
CLOCKWISE to decrease it, ANTI-
CLOCKWISE to increase it.
3) Conclusion of the basic calibrations
- once the CO
2
values at minimum and maximum
output have been checked and any adjustments
have been made (sections 1-2):
- disable the timed “calibration” function by switch-
ing off the
main
switch.
- close the flue gas inspection sample points of the
intake and exhaust terminal
-
check that there are no gas leaks.
3.13 - ADJUSTING THE BURNER
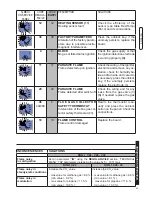
2) Minimum output adjustment
- Operate the boiler in “calibration” mode at MINI-
MUM OUTPUT (see 3.10.1)
- Once the burner is on check that the CO
2
“MINI-
MUM” value corresponds to that indicated in the
table “NOZZLES - PRESSURE”.
- Correct it if needed by turning (with a screwdriv
-
er) the screw
“R”;
(Before remove screw cap Q)
CLOCKWISE to increase it, ANTICLOCKWISE to
decrease it
- Remove the cap and insert the CO2 analysis
probe in the flue gas sample point of the intake/
exhaust terminal, see chap. 3.10.2.
All boilers leave the factory already cali
-
brated and tested, however in the event
the gas valve recalibration is required:
Attention, during these operations do not take
any samples in domestic hot water mode.

